Manual Tire Pressure Gauges: How They Work and How to Read Them Correctly
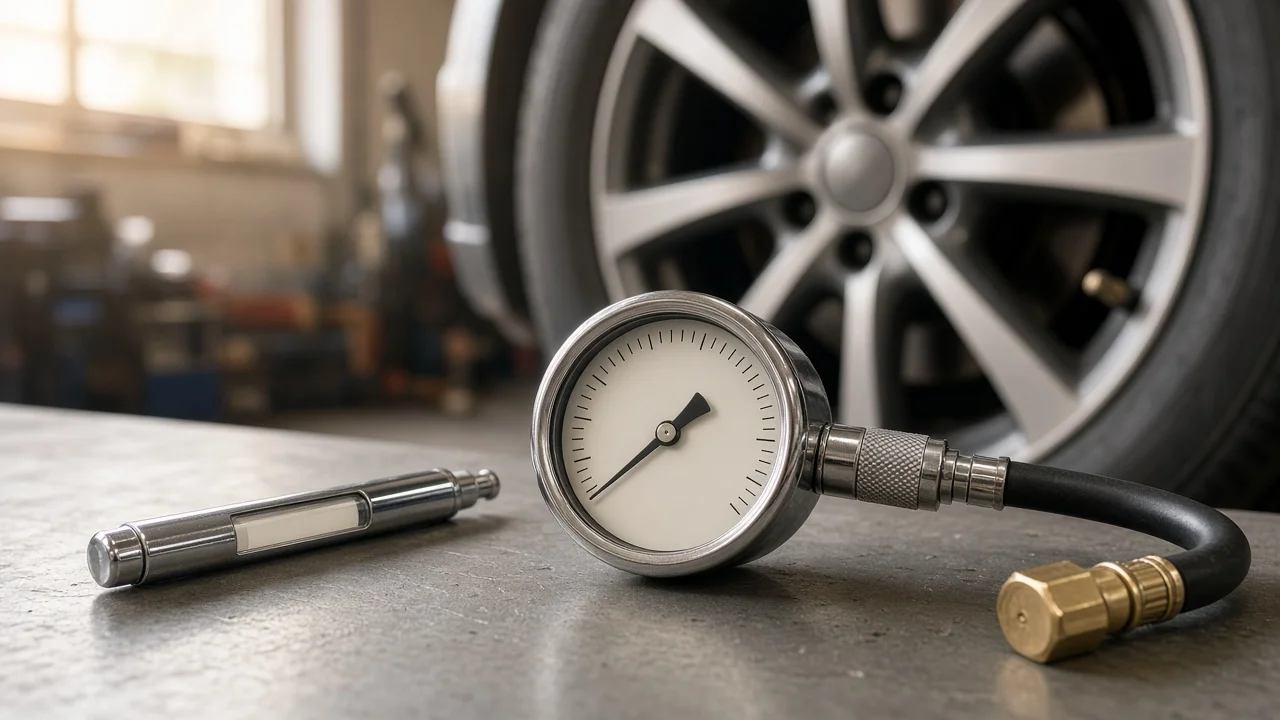
A manual tire pressure gauge is a mechanical tool that reads the air pressure inside a tire without batteries or electronics. It is one of the simplest ways to check inflation, but the number it shows is only useful when you take it under the right conditions and compare it with the correct specification for your vehicle. This guide covers what a mechanical gauge actually measures, what influences its reading, and how to act on the result.
Is a manual gauge good enough for routine checks?
For most owners, yes. A well-made mechanical tire pressure gauge is adequate for regular inflation checks on passenger cars, SUVs and light trucks, provided it has a measurement range suited to your tires, a scale you can read clearly, and a reading you have reason to trust. Because it has no battery, it works in cold weather and after months in a glove box, which makes it a dependable backup even if you also own a digital gauge or rely on the vehicle's tire pressure monitoring system.
The qualification is that a gauge only reports pressure. It does not tell you what the pressure should be, why a tire is losing air, or whether the tire itself is in good condition. The correct target comes from the vehicle manufacturer's specification, and the reading is only meaningful when checked against that number with the tires cold. A cheap or damaged gauge can also be off without any visible sign, so its accuracy is something you confirm rather than assume.
How a mechanical gauge measures pressure
The two common designs are the stick gauge and the dial gauge. A stick, or pencil, gauge has a small piston inside a tube. When you press the chuck onto the valve stem, air pushes the piston against a spring, and the piston drives out a marked bar. The bar stays extended after you remove the gauge, so you read the value at the point where the bar meets the end of the tube. It is compact and inexpensive, but the fine markings can be harder to read precisely.
A dial gauge usually uses a Bourdon tube, a curved, flattened metal tube that tends to straighten as pressure inside it rises. That small movement is transferred through a linkage to a needle on a printed face. Many dial gauges add a hold feature that keeps the needle at the reading until you press a release button, and some include a bleed valve so you can lower pressure in small steps while watching the needle. Some dials are liquid-filled to steady the needle against vibration.
Either design reads gauge pressure, meaning pressure above the surrounding atmosphere, which is the same basis used in vehicle specifications. In the United States the usual unit is psi, while some placards, owner's manuals and gauges also show kPa or bar. Many gauges have dual scales; make sure you read the same units your specification uses rather than mentally converting on the fly.
What changes the reading and the correct target
Tire temperature has the biggest everyday effect. Driving warms the tire and the air inside it, which raises pressure, and the manufacturer's figure is a cold inflation pressure. A reading taken right after a drive will look higher than the cold value, so letting air out of a warm tire to match the cold specification leaves it underinflated once it cools. Outdoor temperature changes between seasons shift cold pressure as well, which is why checks should be repeated rather than set once and forgotten.
The connection and the gauge itself also matter. If the chuck is not seated squarely on the valve, air escapes during the reading and the result can come out low. A gauge whose range is far larger than your tire pressures packs the useful part of the scale into a small area, reducing readability, while one with too small a range may not cover a high-pressure spare or a truck tire. Drops, dirt in the chuck and wear can shift calibration on any mechanical gauge.
Finally, the correct target is not always a single number. Front and rear tires may have different specifications, compact temporary spares often require a different pressure from the road tires, and some vehicles list separate values for heavier loads. If your vehicle now runs a tire size or load type that differs from the original equipment, the placard figure may no longer apply directly.
What the owner can do
Start by locating the vehicle specification. It is normally on a placard on the driver's door jamb and repeated in the owner's manual. Do not use the maximum pressure molded into the tire sidewall; that is a limit for the tire, not the recommended pressure for your vehicle. Check the tires cold, ideally before driving or after the vehicle has been parked long enough to cool.
Remove the valve cap, press the chuck straight and firmly onto the stem until any hissing stops, and read the gauge. Take a second reading on the same tire; if the two disagree noticeably, reseat the chuck and try again. Compare the result to the specification for that axle, add air in short bursts and recheck, or release a little air if the tire is above the cold target. Repeat for every tire, include the spare if your vehicle carries one, and replace the valve caps.
When choosing a gauge, look for a range that comfortably covers both your road tires and your spare, clear markings in the units your placard uses, and a chuck style that reaches your valve stems easily. Angled or dual-head chucks help on inner dual wheels or tight wheel designs. Store the gauge where it will not be knocked around, and occasionally compare it against a second gauge or a shop's reference gauge. If it consistently disagrees with a trusted reference, or the reading changes from one press to the next, replace it.
Limitations and when to get help
Without a comparison against a known reference, you cannot be sure how accurate any individual mechanical gauge is, and small errors carry straight into your inflation. A gauge also cannot diagnose a problem. A tire that keeps losing pressure may have a puncture, a leaking valve or a bead or wheel issue, and should be inspected by a tire professional rather than simply topped up repeatedly.
If the tire pressure warning light stays on after all tires are set correctly when cold, the monitoring system may need to be reset or checked with appropriate equipment. If you have changed tire size, switched to a different load type, carry heavy or unusual loads, or tow regularly, confirm the right pressures with the vehicle manufacturer's documentation or a qualified tire shop before relying on the door placard alone.