MagnaFlow Catalytic Converters: Choosing a Compatible Replacement
Before you start
A MagnaFlow catalytic converter is an emissions-control replacement part, so compatibility depends on the vehicle rather than on camera, microphone or video-call equipment. Confirm the exact year, make, model, engine size and submodel from the vehicle identification label or owner records. Also note whether the vehicle has a California or federal emissions package, because that changes which converter is considered a legal replacement. If the old converter is still installed, inspect whether it is a direct-fit assembly with flanges and hangers or a universal converter that requires cutting and welding.
This selection process runs locally: you compare the converter specifications against the vehicle details. No online service or account is required unless your parts supplier requires one for ordering or checking live inventory. Do not assume that a visually similar converter will fit; the inlet diameter, outlet diameter, overall length, body shape, oxygen sensor location and mounting style must all be checked against the existing part.
Step-by-step instructions
1) Record the vehicle details from underhood emissions labels or owner documents: year, make, model, submodel, engine displacement, transmission type, drive type and emissions standard.
2) Identify the converter position being replaced: front or rear, driver or passenger side, in some cases a left and right pair. Do not rely on one generic photo; compare the shape and mounting points with the part still on the vehicle.
3) Choose between a direct-fit MagnaFlow converter and a universal MagnaFlow converter. A direct-fit part is built for a specific vehicle and usually replicates the original pipe routing, flanges and brackets. A universal converter is smaller and may fit multiple vehicles but commonly needs cutting, fitting and welding.
4) Check the listed dimensions against the measurements you can verify safely: inlet and outlet diameter, overall length, body width and body length. If the converter includes an oxygen sensor port, check its thread size and location.
5) Confirm the emissions certification for your location. A federal converter is not automatically valid in every state or region that follows California Air Resources Board requirements. If a converter listing distinguishes CARB-compliant from non-CARB, use the one that matches the vehicle certification.
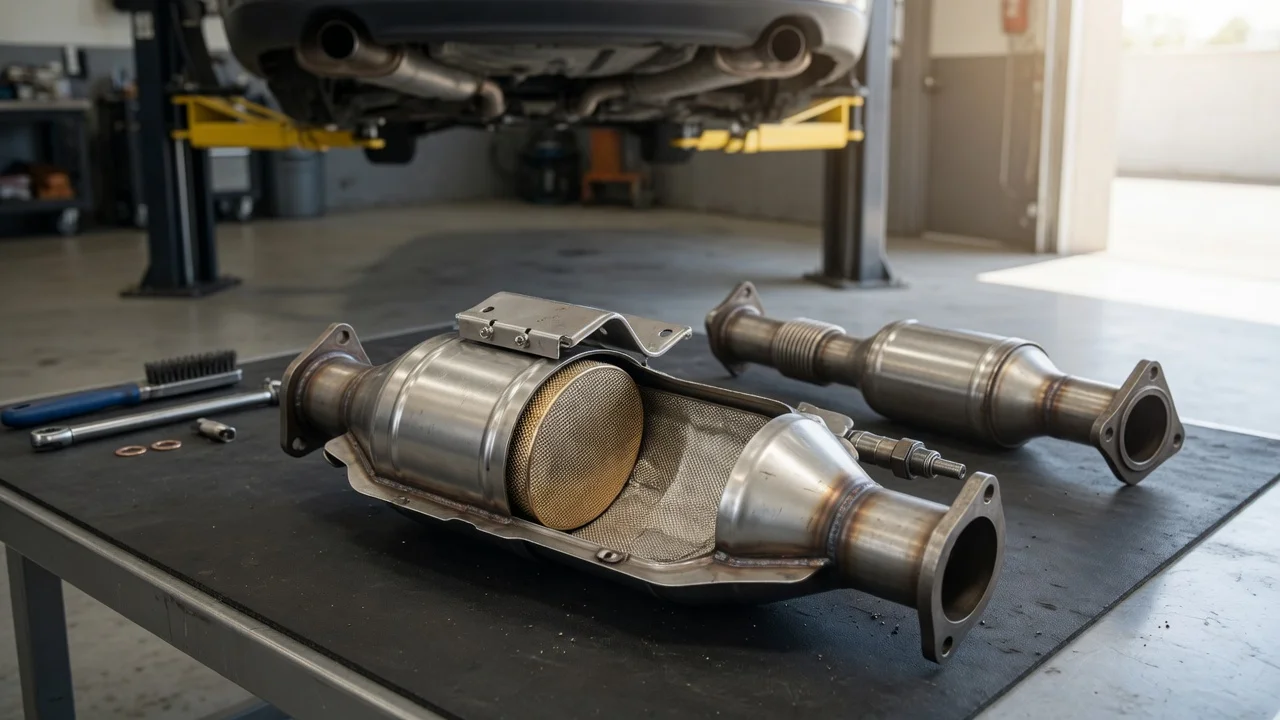
6) For a direct-fit replacement, compare the new part visually with the removed converter before installation. Check that the flange orientation, bracket position, pipe bends and sensor bung face the same way. This helps you catch a cataloging error before the part is installed.
7) For a universal replacement, mark the old pipe position before cutting and keep the cut within the straight section of exhaust pipe. Leave enough material for a proper weld joint and make sure the flow direction arrow, if present, points away from the engine and toward the tailpipe.
Check the output
After installation, start the vehicle and listen for exhaust leaks at the flanges, slip joints, clamps or welds. A leak can sound like a soft ticking or puffing near the converter and may change as the exhaust warms up. Check the work area only when the vehicle is secured and the exhaust is cool enough for a gloved touch.
If the converter is correctly matched, the check engine light should not remain on solely from an ill-fitting part. That does not mean a warning light is impossible; the vehicle may need a drive cycle or a scan-tool reset if a code was cleared during repair. If the vehicle is scanned, check that the monitor related to the catalyst can run without the same trouble code returning immediately.
Confirm clearance around the converter body, brake lines, wiring harnesses, heat shields and floor panels. A parts listing can be dimensionally correct but still need adjustment to the hanger or pipe angle. Also verify that the routing does not press against a fuel line or wiring near the exhaust path.
Check the output
Verify the result with the vehicle idling and during a short warm-up. Listen for rattling from an internal substrate, especially after the first heat cycle. Look for soot streaks at each joint after a brief run, because a black mark can identify a small leak that was not audible at idle.
For a direct-fit MagnaFlow catalytic converter, the strongest compatibility sign is that the original flanges and hangers line up without forcing the pipe. The converter should not need to be pulled into place against the exhaust hangers. If it does, stop and recheck the part number or the orientation.
For a universal converter, check the weld bead around the full circumference and confirm the inlet and outlet are concentric with the adjoining pipe. There is no single universal dimension that guarantees correct back pressure, but a properly sized body and pipe diameter should not create an obvious neck-down in the exhaust path.
Check the output
Quality and format limitations are part of the normal evaluation. A universal converter is not the same as a direct-fit replacement even when the pipe diameter matches. A direct-fit listing may also include variations for manual or automatic transmission, rear-wheel drive or all-wheel drive, and California or federal emissions. If the supplier confirms fitment but the part does not align, trust the physical comparison with the removed component.
Check the output
Do not use a test drive as the first confirmation if the exhaust joints are visibly misaligned or leaking. Once the idle and visual checks pass, a short drive can reveal a heat-related rattle, a vibration under load or a new smell from the converter burn-in. New exhaust parts can briefly produce a warm metallic odor, but prolonged sharp exhaust smells should be investigated rather than ignored.
Common problems and next steps
A common issue is a direct-fit converter that matches the vehicle in the catalog but does not meet the fastener holes. First loosen the exhaust hangers and align the flanges without forcing them. If the part still does not line up, compare the pipe bend, flange clocking and overall length with the removed assembly. The most likely cause is the wrong submodel, engine option or side of the vehicle.
Another frequent problem is an oxygen sensor bung in the wrong position or with the wrong thread. If the sensor will not thread in by hand, stop before damaging the threads. Check the thread size and pitch rather than using a thread chaser; the correct repair may be a different converter or a properly matched bung installed by an exhaust shop.
A catalyst efficiency fault code after replacement is not automatic proof that the new MagnaFlow converter is defective. Investigate exhaust leaks first, then confirm the correct converter position and oxygen sensor operation. If the code appeared before replacement and returns unchanged, the supporting engine condition may need to be diagnosed before blaming the converter.
Universal converter fitment issues usually come from cutting the pipe too short or welding at an angle. If the converter is too close to a heat-sensitive component, reposition or replace the section rather than stacking extra heat shielding. A converter should not be installed so that its weight is supported mainly by the weld or by a stressed bracket.
If the vehicle has a California-certified emissions package, do not substitute a general federal converter based only on lower price or physical fit. Use the emissions label under the hood as the deciding source when the supplier listings conflict. Where state or local enforcement applies, the label and the approved converter certification must agree.
After correcting the fit, recheck the actual condition that failed. If a flange leaked, retest that flange. If an oxygen sensor would not seat, reinstall it by hand and confirm the threaded connection. Do not assume the rest of the exhaust system is fine simply because one repair was completed.