Lower Ball Joint Leaking Grease: How to Inspect the Boot and Locate the Leak
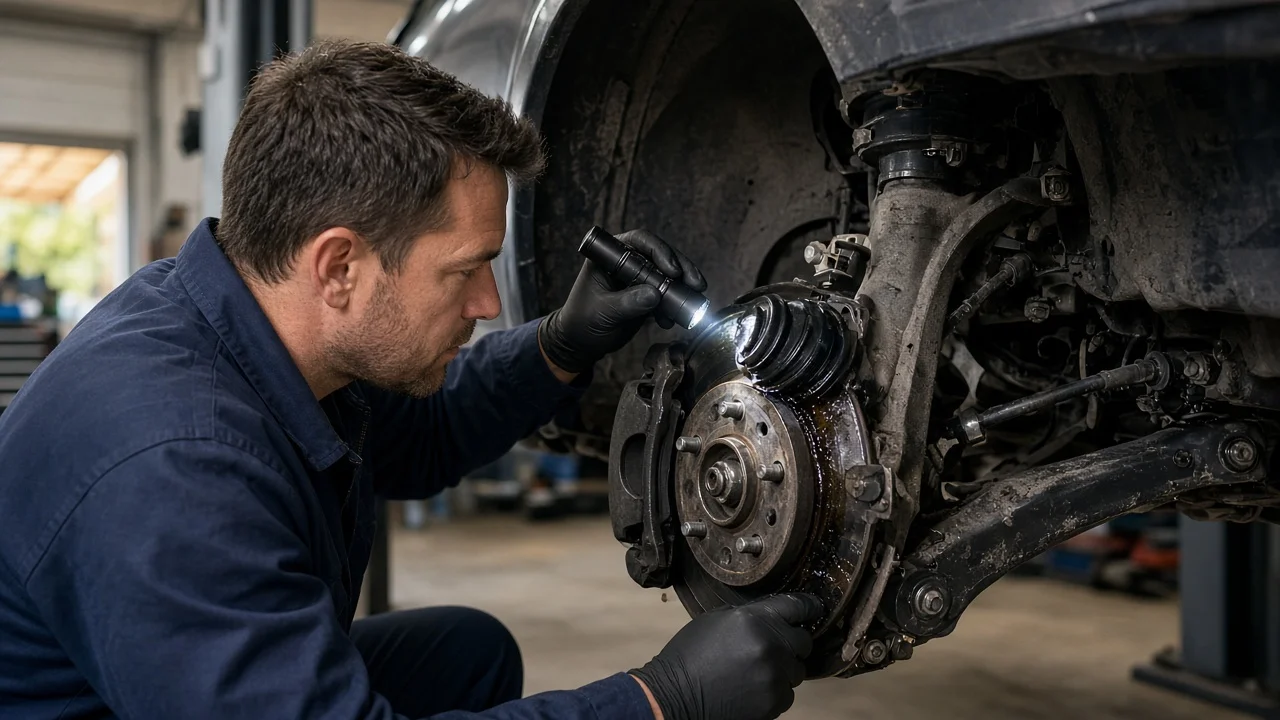
Grease on or around a lower ball joint can come from a split dust boot, from an overfilled joint purging through its seal, or from a neighboring part that leaked onto it. The difference matters. A failed boot lets water and grit reach the joint, while some residue is harmless. This guide covers how to record the symptoms, separate the likely sources, inspect the boot safely and decide when the joint needs a professional assessment.
Establish the symptoms
Start by writing down when and where you first saw the grease. Note whether it appeared soon after a lube service, tire rotation, alignment, CV axle replacement or other suspension work, or after a rough road, a pothole strike or off-pavement driving. Describe the residue itself: thick and tacky or thin and wet, clean or packed with dirt, and its color. Record exactly where it sits. It might be on the outside of the boot, on the lower control arm, on the steering knuckle, on the inner wheel and tire sidewall, or on the ground under the car. Note which side of the vehicle is affected and whether the other side looks the same.
Then list any related signs, even if they seem minor. These include a clunk over bumps or when braking, a creak or pop while turning at low speed, steering that wanders or needs constant correction, and uneven wear on the inner or outer edge of the front tires. If you have no noises or handling changes, record that too. A visible leak with no other symptoms points to a different stage of the problem than a leak combined with knocking or looseness.
Distinguish plausible causes
A torn or cracked boot is the cause most people suspect first. Evidence that supports it includes a visible split, often in the folds or where the rubber meets the stud or housing, hardened or brittle rubber, a missing or loose retaining clip, and grease mixed with road grit on the outside of the boot. The theory weakens if the boot is soft, fully seated and free of cracks when you flex it gently.
Purging after lubrication applies only to joints with a grease fitting. Many greaseable boots are designed to let excess grease escape past a lip or vent. Clean, fresh grease around an intact boot shortly after a service usually means the joint took more than it needed. However, too much pressure from a grease gun can balloon or split a boot, so check for that as well. Sealed joints have no fitting, so this explanation does not apply to them.
Nearby components often leave residue that ends up on the ball joint. On front-wheel and all-wheel drive vehicles, a torn CV joint boot throws grease outward in a spray pattern across the control arm, knuckle, brake parts and inner wheel. A tie rod end or sway bar link boot can leak in the same area. A strut or shock absorber leak looks like a thin oily film running down its body. Engine, transmission or power steering fluid can also drip from above. To find the real source, trace the residue upward and inward to the highest point where it is still fresh.
Checks in a useful order
Begin with checks that need no lifting. Park on level ground, set the parking brake and switch the engine off. Turn the steering to full lock to expose the lower joint, then use a flashlight to look at the boot, retaining clip and grease fitting, if one is fitted. Press the boot lightly to judge its flexibility and look for splits. Wipe the boot, control arm and nearby parts clean, take a short drive, and inspect again. Where fresh grease reappears first is often the clearest clue to the source. Do not reach or crawl under a vehicle held up only by a jack.
The next checks require proper vehicle support and model-specific information. Raise the vehicle only at the lift points the manufacturer specifies and hold it on rated jack stands. Measuring joint play depends on the suspension design. Some lower ball joints carry the vehicle's weight, so the control arm must be supported in a particular way to unload the joint before it is checked. Some joints have built-in wear indicators, and many have a published play limit that is measured with a dial indicator. Have a helper rock the wheel while you watch the joint itself, so that wheel bearing movement is not mistaken for ball joint looseness.
While the vehicle is safely supported, rotate the wheel to inspect the full circumference of the CV boot and check the tie rod end, sway bar link and strut for wet areas. If you do not have the service procedure, the right stands or a dial indicator, have a qualified technician do the play measurement. A rough guess cannot be compared with the specification.
Interpret the findings
An intact boot with clean grease after a recent service most likely means normal purging. Wipe it off and recheck later, because this alone does not justify replacement. A split boot with no measurable joint play means the joint's protection has failed, even if the joint is still within limits. Water and grit may already have entered, and that cannot be confirmed by looking. Whether replacing only the boot is reasonable depends on part availability and the joint's condition, and many technicians replace the joint instead. A damaged boot combined with play beyond specification, or with clunking, means the joint needs replacement.
If the residue traces back to a CV boot, strut or another component, the ball joint may be fine. Repair that source, clean the area and still check the joint, since it has been sitting in contamination. Before buying parts, confirm three things: the measured play against the published limit, the identified leak source, and the condition of the mounting points. Bolt-in, press-in, riveted and control-arm-integrated joints call for different repairs, and worn control arm bushings or damaged attachment hardware change the scope of the job.
Urgency and next action
Stop driving and arrange a tow if you notice loud clunking from the front corner, new wandering or pulling, a wheel that looks tilted or wobbles, play you can feel easily by hand, grinding from the joint area, or any visible separation. A lower ball joint that separates can let the wheel fold under the vehicle. A grease leak alone does not reveal how much life the joint has left, so no safe distance can be estimated without inspection.
For the repair, gather the vehicle's year, make, model and drivetrain, the affected side, photos of the boot and residue, when the leak appeared, recent service history, any noises, and whether the joint has a grease fitting. Mention any lift, lowering or other change to ride height, because it affects joint angles and part selection. Installation must follow the manufacturer's fastener specification for torque and any tightening sequence. Ask the shop whether your suspension design requires a wheel alignment check after replacement. The vehicle's service information determines this, not a general rule.