Kia Soul and Telluride PCV Valve: Location, Symptoms and Replacement Tips
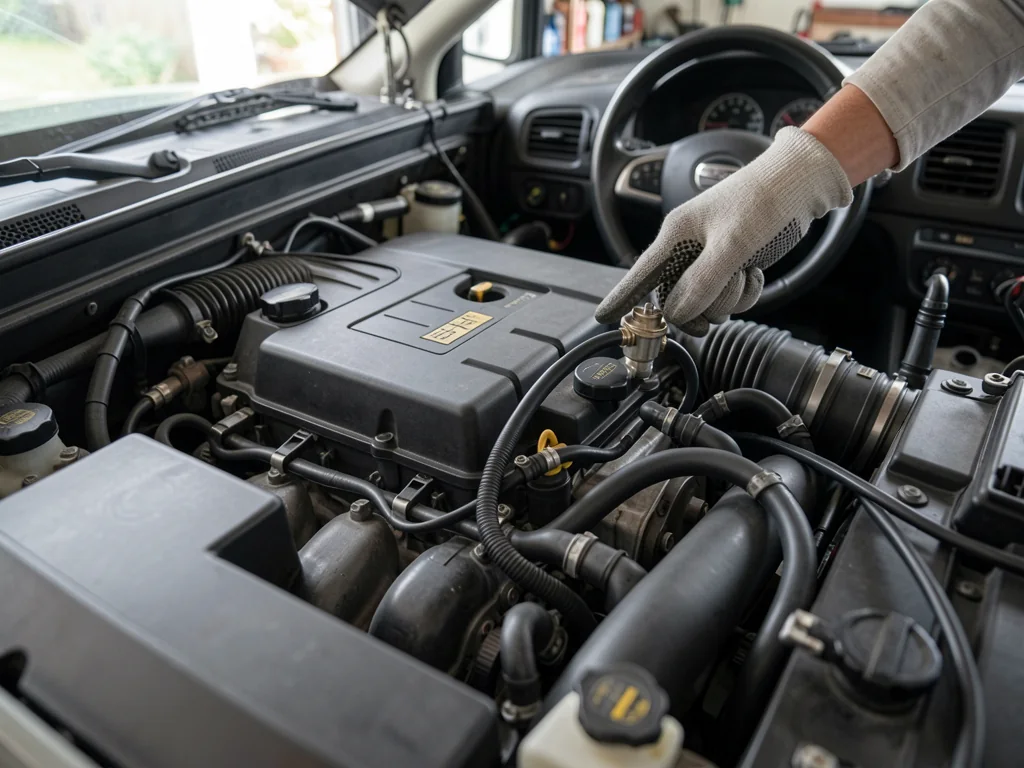
A faulty positive crankcase ventilation system can cause rough idle, oil consumption, and vacuum leaks in many vehicles, including the 2016 Kia Soul and 2020 Kia Telluride. Locating the PCV valve and understanding replacement basics helps owners diagnose problems accurately. This guide covers general PCV function, location clues, Telluride-specific access challenges, safe inspection methods, part selection, and when professional diagnosis is warranted.
What the PCV Valve Does in a 2016 Kia Soul
The positive crankcase ventilation system routes blow-by gases that escape past the piston rings back into the intake manifold. These gases contain unburned fuel and moisture, so burning them in the cylinders prevents crankcase pressure buildup and reduces emissions. On a 2016 Kia Soul, a small PCV valve controls this flow using intake manifold vacuum, opening more at idle and less under heavy load.
Because the Soul was offered with more than one engine, owners must confirm their exact engine from the VIN, the underhood emissions label, or the owner's manual before looking up PCV parts. A stuck or clogged PCV valve can cause rough idle, increased oil use, oil around valve cover seals, whistling noises, and lean-condition trouble codes. However, these symptoms also occur with vacuum leaks, intake gasket problems, and sensor faults, so a symptom alone does not confirm the PCV valve is the cause.
Where to Find the PCV Valve on a 2016 Kia Soul
To find the PCV valve on a 2016 Kia Soul, follow the small hose that runs from the valve cover or cylinder head area to the intake manifold or intake tract. The valve is usually inserted into a rubber grommet in the valve cover, with the hose attached to its outer end. On some engines, an engine cover or intake ducting may need to be removed for access, so a service manual or parts diagram for the specific engine is helpful.
The PCV valve can be distinguished from nearby hoses, sensors, and the breather connection by its location in the ventilation path and its metal or plastic body with a hose nipple on one end. The breather connection typically runs from the air intake duct to the opposite side of the valve cover. Before disconnecting anything, take photos of hose and clip routing to ensure everything goes back the same way.
2020 Kia Telluride PCV Valve: What Owners Should Know
The 2020 Kia Telluride uses a V6 engine, and its PCV valve is often more difficult to reach than on a small four-cylinder. The valve may be tucked under the intake manifold or hidden by an engine cover, requiring the removal of surrounding components for access. Owners should confirm the correct PCV part and location for their exact vehicle through a dealer parts department, factory service manual, or a VIN-based parts lookup.
Telluride owners might notice idle changes, oil residue near the intake, unusual crankcase noises, or emissions-related warning lights if the PCV system is not functioning correctly. These symptoms are not necessarily common on this model, but they can indicate a ventilation problem. Since newer vehicles may still be under warranty, owners should check their coverage before performing any work themselves.
Checking a PCV Valve Safely Before Replacing It
Before checking a PCV valve, ensure the engine is cool and switched off, set the parking brake, and stay clear of belts, fans, and hot exhaust parts. Visually inspect the PCV hose for cracks, collapse, or oil soaking, and check the grommet for damage or heavy sludge around the valve connection. A damaged hose can cause the same symptoms as a faulty valve.
The common rattle test—shaking a removable PCV valve to hear the internal plunger—has limits because a valve can still rattle yet fail to seal properly under vacuum. A scan tool can provide more definitive information by showing fuel trim readings or stored diagnostic trouble codes related to vacuum or ventilation problems. Any code should be researched for the specific vehicle before drawing conclusions.
Replacement Basics: Parts, Hoses and Grommets
When replacing a PCV valve, the correct part must be matched by VIN or engine code because valves that look similar may have different flow rates and spring tensions. The grommet, seal, and connecting hoses should also be inspected and replaced if brittle or cracked, as old rubber is a frequent source of vacuum leaks.
The general replacement process involves gaining access to the valve, carefully disconnecting the hose, removing the old valve using the method described in the service manual, and installing the new valve in the correct direction. After the repair, check that all connections are secure, the engine idles smoothly, and there is no hissing sound. Any related diagnostic trouble codes should be cleared or rechecked with a scan tool.
When to Have a Technician Diagnose the PCV System
Professional help is advisable if the PCV valve is built into another component, requires major disassembly to reach, or if the DIYer is unsure which part they are looking at. Heavy oil consumption, blue smoke from the exhaust, oil leaking at multiple seals, or high crankcase pressure may indicate engine problems beyond the PCV valve, such as worn piston rings.
A technician can run smoke tests to find vacuum leaks, measure crankcase pressure, and interpret live engine data, which provides a more complete diagnosis than a visual check. Persistent check engine lights or drivability issues should be diagnosed promptly rather than ignored after replacing parts, because delayed repairs can lead to more extensive engine damage.