Choosing a Steering Linkage Upgrade for a Jeep Wrangler JK
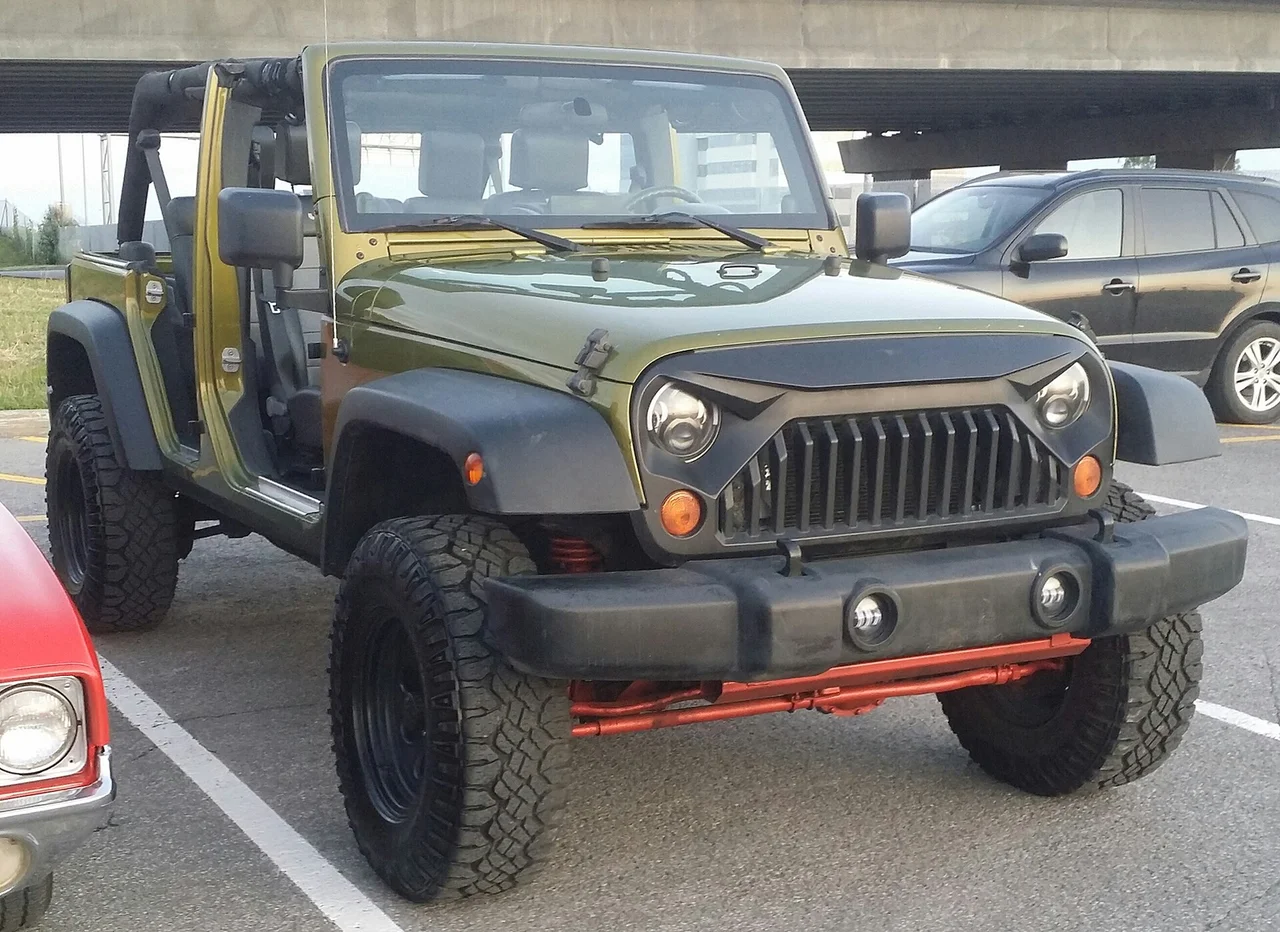
A bent tie rod after a trail weekend, or steering that never feels settled on bigger tires, is usually what sends Wrangler JK owners shopping for stronger steering parts. A JK steering linkage upgrade normally means replacing the factory tie rod, the drag link, or both with heavier components and better joints. This guide covers how to match an upgrade to your Jeep, tires and driving, and what new linkage can and cannot fix.
Define the job the product must do
Start with how the Jeep is actually used. A daily-driven JK on mild all-terrain tires has different needs than a trail rig crawling rocks on 35- or 37-inch tires. Larger, heavier tires add leverage against the steering, and low-hanging linkage on a solid front axle is exposed to rocks, ledges and stumps. If your factory tie rod has already bent, or you plan to run substantially bigger tires, strength and ground clearance become the priority. If the goal is simply to replace worn parts on a mostly stock vehicle, a quality factory-style replacement may be all you need.
Write down your practical constraints before comparing kits: model year, two-door or Unlimited, front axle (a Dana 30 on most Sport and Sahara models, a Dana 44 on Rubicons), lift height, tire size, and any aftermarket knuckles, track bar or steering box already installed. Also decide whether you will do the installation yourself and whether you are willing to permanently modify the knuckles. That list narrows the field quickly and keeps you from paying for capability you will not use.
Check compatibility before you buy
JK steering parts are not interchangeable with the later JL Wrangler or the Gladiator, so confirm the listing covers the 2007–2018 JK specifically. Kits are often listed by front axle as well, and some are designed around factory knuckles while others assume aftermarket knuckles or high-steer arms. The tapered tie rod ends must match the knuckle and pitman arm, and if a kit uses a different taper size, its instructions should state whether reaming is required.
Placement matters as much as fitment. Many over-the-knuckle, or flip, kits raise the tie rod for clearance but require reaming the knuckle taper from the opposite side, which is a permanent change. Check clearance against the differential cover, track bar, coil springs and wheels through full steering lock and suspension travel. At your ride height, the drag link and track bar should sit at similar angles; a large mismatch tends to cause bump steer, and an adjustable track bar or relocation bracket may be needed to bring them back into line. Finally, a thicker tie rod may not fit the factory steering stabilizer clamp, so confirm whether the kit includes a matching clamp or relocation bracket.
Features that affect the choice
Tube construction is the core of any strength claim. Look for a published outside diameter and wall thickness, or solid-bar construction, along with the material, such as DOM steel, chromoly or aluminum. Aluminum saves weight and resists corrosion but generally needs a larger cross-section than steel to achieve comparable stiffness. Whatever the material, a bent steering tube should be replaced rather than straightened. Labels like heavy duty, extreme or one-ton carry no information on their own; dimensions and materials do.
Joint choice shapes how the steering feels and how much upkeep it needs. Automotive-style tapered tie rod ends are quiet, sealed against dirt and familiar to alignment shops, and greaseable versions suit a trail vehicle well. Heim joints, also called rod ends, handle high loads and adjust easily, but they generally wear faster in street use, can transmit more noise and need frequent inspection. Also look for double adjusters or sleeves that make toe changes straightforward, jam nuts that lock securely, and replacement ends sold separately so one worn joint does not mean buying a whole new assembly.
Limitations and ownership costs
Budget for more than the kit. A new tie rod changes toe, so a professional wheel alignment is needed after installation, and the drag link must be set so the steering wheel is centered with the wheels pointing straight. Installation calls for safe vehicle support on jack stands rated for the Jeep, wheel chocks, a joint separator and a torque wrench. Use the fastener specification from the kit instructions or factory service information, follow the cotter pin and jam nut requirements, and recheck tightness after the first drive. If the kit requires reaming, add the cost of the correct taper reamer or shop time.
Stronger linkage does not repair worn ball joints, wheel bearings, track bar bushings or a loose steering box, and it will not cure a shimmy whose cause lies elsewhere. Before installing, check every front-end component for joint play; new linkage on a worn front end can still wander. A stiffer tie rod also passes more force to the steering box and its frame mounting points, which is why some owners of hard-used rigs add a steering box brace. Plan on greasing serviceable joints, inspecting boots and rod ends after trail runs, and making sure a steering stabilizer is not masking a developing problem.
Build a practical shortlist
Narrow the options to two or three kits that state JK fitment for your axle, then compare them on the same points. Confirm that tube material and dimensions are published rather than just described. Note the joint type, whether the ends are greaseable and whether replacement parts are sold individually. Check whether the knuckles must be reamed and whether that fits your plans. Verify clearance with your lift, tires, track bar and stabilizer, and whether a stabilizer clamp or relocation bracket is included.
Then review the included hardware and instructions: complete fasteners, cotter pins, clear setup steps and a stated fastener specification are signs of a well-supported product. Read the warranty terms for what voids coverage, especially off-road use. Add the alignment, any track bar correction and needed tools to the purchase price to see the true cost. The kit that meets your fitment and use case with the fewest compromises is usually the right choice, regardless of which brand gets the most attention.