Jeep Renegade Service Electronic Parking Brake Message: Diagnosis
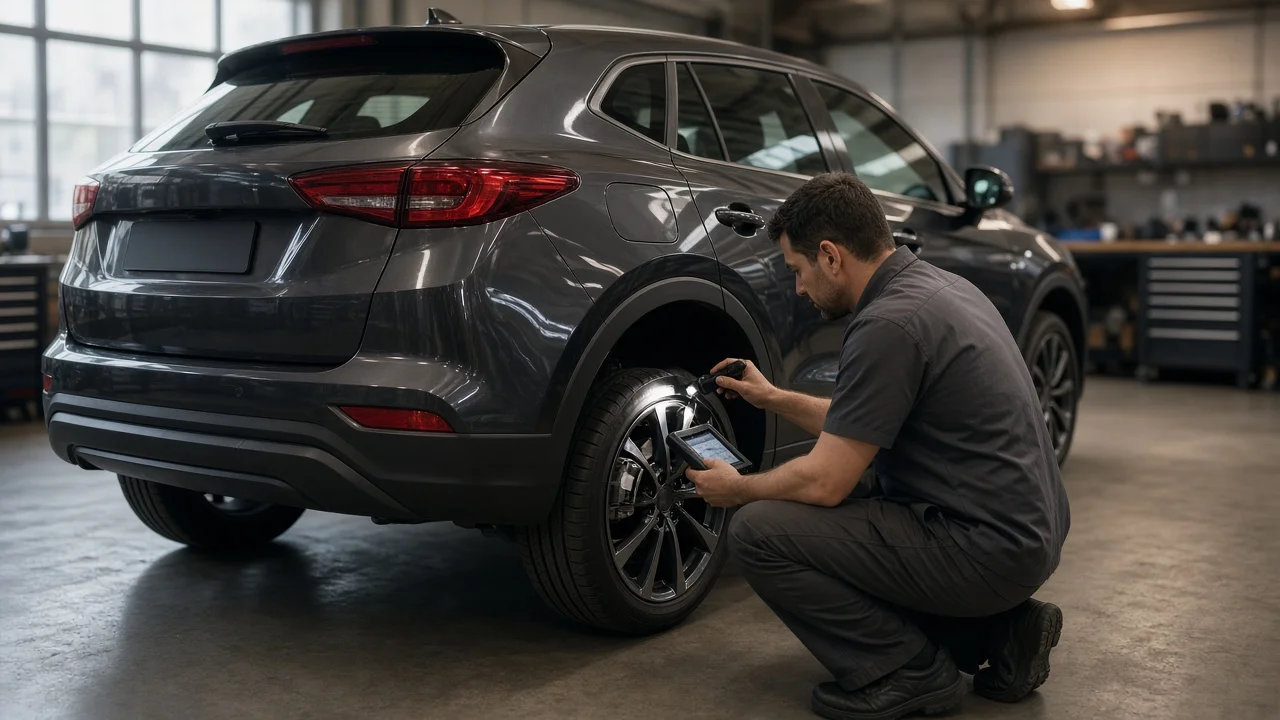
When a Jeep Renegade shows a service electronic parking brake warning, the system has found a fault in the circuit that applies and releases the rear brakes electrically. Some causes are minor, such as low battery voltage. Others involve a failing caliper actuator or a brake that may not hold or release properly. This guide covers how to describe the symptoms, separate likely causes, run checks in a sensible order and decide how urgently the vehicle needs professional attention.
Establish the symptoms
Start by recording exactly when the message appears. Note whether it comes on at startup, only when you press or pull the parking brake switch, while driving, or after the vehicle has been parked for a while. Write down any other lamps lit at the same time, such as the amber parking brake fault light, the red brake warning, or the ABS or stability control indicators. Also note whether the warning clears after a restart or stays on permanently.
Then note how the brake actually behaves. Does it apply and release normally, apply on only one side, refuse to release, or release slowly? With the vehicle secured, listen for the brief whirring sound each rear caliper actuator makes when the brake is applied and released. A missing or unusual sound from one side is useful information. Finally, list recent changes: rear brake pad or rotor replacement, a new or discharged battery, a jump start, wheel or tire work, driving through deep water, and any aftermarket electrical accessories installed.
Distinguish plausible causes
The Renegade's electronic parking brake uses an electric motor mounted on each rear caliper. A control module drives these motors and monitors motor current and switch inputs. Low or unstable supply voltage is a common trigger, because the module may flag a fault if a motor cannot draw the current it expects. A voltage cause is more likely when the message follows a weak start, a battery replacement, a jump start or a long period of parking, and when other electrical warnings appear at the same time. It is less likely when the battery tests healthy and the fault keeps returning on the same wheel.
A failing actuator motor or gearbox, or damaged wiring and corroded connectors at a rear caliper, tends to affect one side. A silent or labored actuator on that side, visible harness damage, or recent water exposure all point this way. Mechanical problems in the caliper itself can also push the actuator outside its expected working range. Examples include a seized piston, sticking slide pins, or brake pads worn toward their wear limits. If the fault appeared right after a rear pad job, suspect the procedure. If the caliper was not put into service mode with a scan tool or the correct procedure, the pistons may have been forced back or the system left uncalibrated. A faulty console switch or a software problem in the control module is less common. These become more likely when both actuators test normal and the problem appears whenever the switch is used.
Checks in a useful order
Begin with observations any owner can make safely. Park on level ground, put the transmission in Park and chock the wheels before testing the switch. Check that the battery terminals are clean and tight. Have the battery tested if it is aging or the vehicle has been starting slowly. Look at the brake fluid level in the reservoir and check for wetness around the rear wheels. If the wheel design allows, inspect the rear friction material and rotor surface for obvious uneven wear. Look along the harness running to each rear caliper for chafing, broken clips or a loose connector. Do not try to free a stuck brake by disconnecting the actuator or forcing the caliper.
The next stage needs tools and vehicle-specific information. You need a scan tool that can communicate with the brake system module to read stored fault codes, view actuator status and current data, and run service mode or calibration functions. Generic code readers that cover only engine codes often cannot reach these modules. Several other checks require the service information for your model year: measuring pad and rotor thickness against the published wear limits, checking caliper slide movement, and testing wiring against the correct diagram. Any replacement parts also need confirmed vehicle fitment. If you do not have these tools, this is the point to involve a qualified technician.
Interpret the findings
Each finding narrows the field, but it rarely proves that a single part has failed. Suppose the warning clears after the battery is charged or replaced and does not return over several apply and release cycles. That supports a voltage cause, but stored codes should still be read and cleared properly so they do not hide another fault. Now suppose a code points to one rear actuator circuit and the motor on that side is silent. That indicates a problem in that circuit, but the code alone does not show whether the motor, connector or wiring is at fault. Resistance and continuity tests from the service procedure are needed before buying an actuator.
Correct worn pads, a seized caliper or a scored rotor first, because a new actuator will not cure a mechanical fault and may be overloaded again. After any brake or actuator repair, the system normally has to be taken out of service mode, calibrated with a scan tool and retested. If the codes point only to the switch or control module, confirm power, ground and switch signals before considering a module replacement or software update. On many vehicles that work is done at dealer level.
Urgency and next action
Stop driving and arrange service if the parking brake will not release fully, a rear wheel feels unusually hot, or you smell burning brakes. The same applies if the red brake warning stays on, the pedal feels different, or you see brake fluid leaking. If the brake will not apply, the car may still be drivable to a shop, but do not rely on it to hold the vehicle. Use Park, turn the wheels toward the curb, chock a wheel and avoid steep slopes. No warning of this kind comes with a guaranteed safe driving distance, so treat any change in braking as a reason to stop and have it checked.
To speed up the repair, give the shop your model year, engine and VIN, the exact wording of the message and when it appears. Add any other lamps, what the brake does on each side, and the recent work or battery events you recorded. Ask whether any recalls or service bulletins apply to your vehicle, and ask to see the stored fault codes and test results before you approve parts. That record lets a technician confirm the cause instead of replacing components by guesswork.