Jeep JK Control Arm Length for a 4-Inch Lift
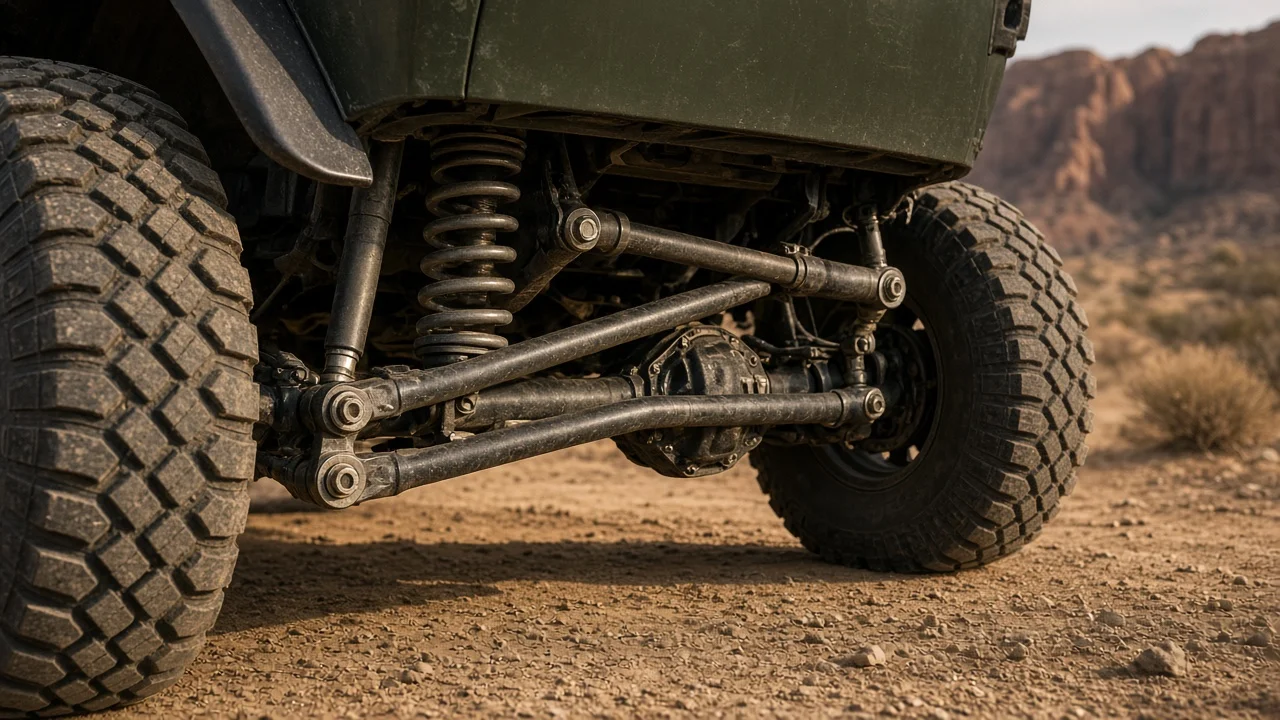
A 4-inch lift changes the geometry of a Jeep Wrangler JK's five-link suspension. Stock-length control arms now pull the axles toward their frame mounts and rotate them, which shifts caster, pinion angle and where the tires sit in the wheel openings. Adjustable arms let you correct that, but there is no single universal length. This guide explains what each arm controls, how to find the right setting for your Jeep, and where kit instructions or an alignment shop must take over.
The short answer on arm length
The correct length for adjustable control arms on a JK with a 4-inch lift is whatever length restores the geometry the lift disturbed, not a fixed number that fits every Jeep. Start with the baseline published by your arm or lift kit manufacturer for your exact model and lift height, measured the way they specify, usually center to center of the mounting bolt holes. Then fine-tune each arm for its job: the front lowers mainly set front axle position fore and aft, the front uppers mainly set caster and front pinion angle, the rear lowers center the rear axle in the wheel opening, and the rear uppers set rear pinion angle.
As a general direction, the lowers usually need to be longer than stock after a lift of this size so the axles return toward their original wheelbase, and the uppers are then set relative to the lowers to rotate each axle where it needs to be. How much longer depends on the kit, its brackets and your vehicle, so treat a length you see on another build only as a rough reference.
How control arm length moves the axle
On a JK, four control arms on each axle locate it fore and aft and control its rotation, while the track bar locates it side to side. Each arm swings in an arc around its frame mount. When ride height increases, the arms tilt down at a steeper angle, so their horizontal reach shrinks even though their length has not changed. The front axle is pulled rearward and the rear axle is pulled forward, shortening the wheelbase and leaving the tires off-center in the wheel openings. Lengthening the lower arms pushes the axles back out.
The upper and lower arms are different lengths and mount at different heights, so they swing through different arcs and the axle also rotates as it rises. At the front, that rotation reduces caster, which can cause wandering, light steering and poor return to center, and it changes the angle of the pinion relative to the driveshaft. Shortening the front uppers relative to the lowers rotates the top of the axle rearward, adding caster but tipping the front pinion down, away from the transfer case. That trade-off between caster and driveline angle is the main reason front arm length takes careful balancing. At the rear there is no steering geometry to protect, so the upper-to-lower relationship is set almost entirely for pinion angle.
What changes the right setting
Two-door and Unlimited JK models have different wheelbases and different factory arm lengths, so a baseline for one does not carry over to the other. The design of the lift matters just as much. A kit that includes relocation brackets, which lower the frame mounting points or raise the axle mounts, reduces the arm angle and the amount of correction needed. A short-arm kit keeps factory mounting locations, while a long-arm kit uses new mounts and arms whose lengths cannot be compared with stock at all. Real ride height also differs from advertised lift: springs settle, and added weight from steel bumpers, a winch or a loaded cargo area lowers the Jeep and changes the geometry you are setting.
Driveshaft design changes the target pinion angle. With a double-cardan joint at the transfer case end, the pinion is generally aimed close to the transfer case output. With single universal joints at both ends, the working angles at each end are usually kept roughly equal and opposite. Check which type your Jeep and any aftermarket driveshafts use before setting the uppers. Finally, adjustable control arms do not center the axle side to side; that job belongs to the track bar, and an adjustable or relocated track bar may be needed to finish the job after a lift.
Setting the arms safely at home
Work on level ground with the wheels chocked. For vehicle support, lift with a suitable jack and rest the frame on rated jack stands; never work under a Jeep held only by a jack. Before removing anything, record a ride height reference at each corner, such as hub center to fender lip, and measure each stock arm center to center as a baseline. Set the adjustable arms to the kit baseline before installation, matching left and right unless the instructions say otherwise. Replace one arm at a time so the axle stays located, using a floor jack under the axle to line up the bolt holes.
To adjust an arm, loosen the jam nut, turn the adjuster or rod end, and keep at least the minimum thread engagement the arm maker specifies, then retighten the jam nut. Final-tighten the bushing bolts only with the Jeep on its wheels at normal ride height, so rubber bushings are not twisted into a preloaded position. Use the fastener specification from the kit instructions or the factory service information; do not guess torque. Then check the result: tire position in each wheel opening front and rear, equal wheelbase on both sides, pinion angle measured with an angle finder against the driveshaft and pinion, and road behavior such as vibration, wander or slow steering return.
Any change to front arm length moves caster and can change toe, so book a wheel alignment after the front is set. Ask the shop to measure caster as well as toe and to compare readings with the specification for your configuration. Recheck fasteners after the initial miles the kit recommends, and periodically inspect adjustable joints for joint play, jam nuts for looseness and mounting points for cracks, bent tabs or elongated holes.
Limitations and next step
No general article can supply an exact control arm length for your JK, because the correct setting depends on the specific kit, bracket design, driveshafts, tire size and actual ride height. Lengths shared from other builds were set for different combinations. If wandering, driveline vibration or violent front-end shake persists after adjustment, do not keep lengthening arms in search of a fix; have the track bar, ball joints, tie rod ends and steering components inspected, since arm length cannot cure worn parts.
Get professional help for caster and toe measurement, for vibration that remains after pinion angle is set, or for any damaged mount that would need cutting or welding. A practical sequence is to gather the kit instructions for your model, record baseline measurements, install and set the arms at ride height, verify axle position and pinion angle, then finish with a professional alignment. Keep a written record of the final lengths so future service or a second adjustment starts from known values.