Jeep Grand Cherokee Adjustable Control Arms: Selecting by Generation
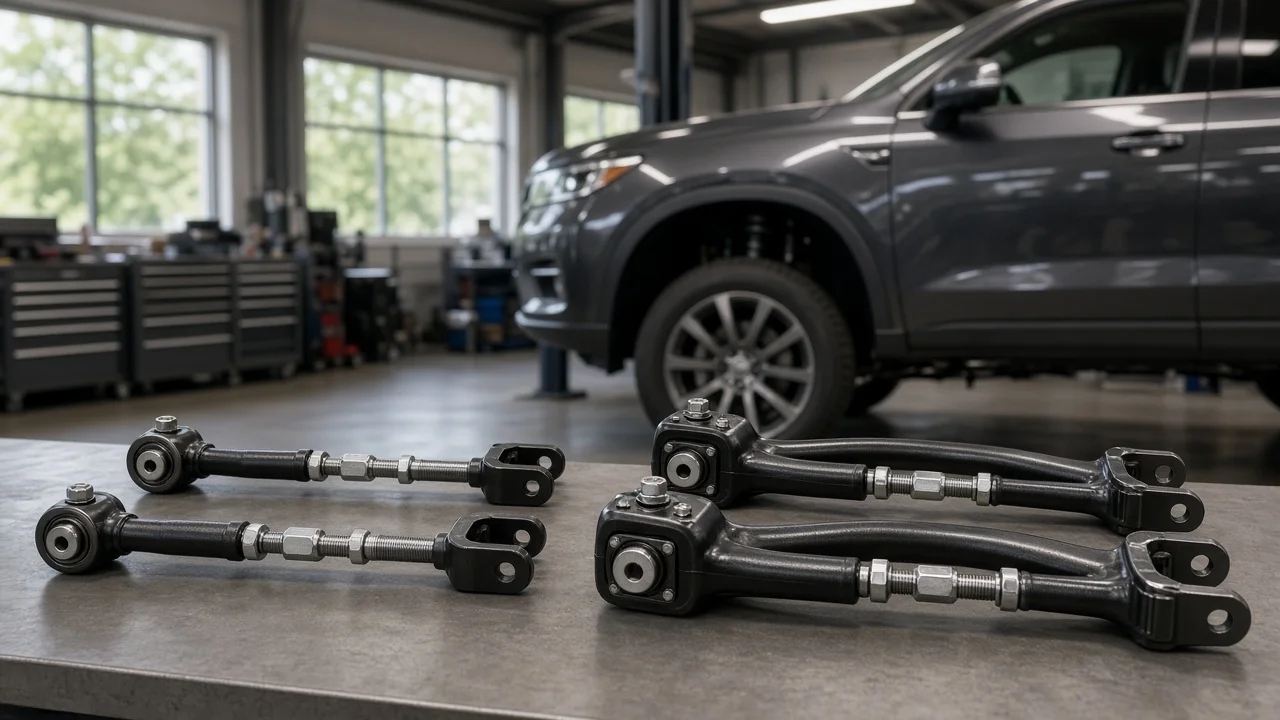
Adjustable control arms let you change the length of a suspension link so the axle or wheel knuckle sits where it should after a lift, a leveling kit or the replacement of worn factory parts. On a Jeep Grand Cherokee, the right choice depends heavily on generation, because the platform moved from solid axles at both ends to fully independent suspension. This guide explains how to match adjustable arms to your vehicle, which features actually matter and what these parts cannot fix.
Define the job the product must do
Start with the problem you are solving. On solid-axle Grand Cherokees, raising the ride height changes the angle of every control arm. Fixed-length arms then pull the axle slightly forward or back and rotate the housing, which changes caster at the front and pinion angle at both ends. Adjustable lower arms let you set axle position and wheelbase, while adjustable upper arms let you rotate the axle to correct pinion angle or fine-tune caster. On independent-suspension models, adjustable upper arms and camber or toe links mainly provide extra wheel alignment range when the factory adjustment points run out after a ride height change.
Then be honest about your constraints. A daily driver that sees highway miles benefits from quiet, low-maintenance joints, while a trail vehicle may justify more articulation and more upkeep. Consider how much lift you run, whether you will adjust the arms yourself or rely on an alignment shop, and how much noise and vibration you will tolerate. If the vehicle is at stock height and the factory arms are simply worn, a quality fixed-length replacement may be the better purchase. Adjustable arms correct geometry; they are not a cure for worn steering components or a substitute for proper diagnosis.
Check compatibility
Fitment begins with generation. The ZJ (1993-1998 model years) uses solid axles front and rear on coil springs, each located by upper and lower control arms plus a track bar. The WJ (1999-2004) keeps a similar front layout, but the rear uses two lower arms and a single upper A-arm that attaches to the top of the differential through a ball joint, so its rear upper part is a different design from ZJ arms. The WK (2005-2010) switched to independent front suspension with upper and lower control arms on each side while retaining a solid rear axle located by links. The WK2 (2011-2021) and the current WL generation use independent suspension at both ends, so adjustable parts there are typically upper control arms and rear camber or toe links rather than axle-locating arms.
Within a generation, confirm the exact position (front upper, front lower, rear upper, rear lower), model year, drivetrain and suspension type, since some later models were offered with air suspension that may change parts compatibility. Compare the arm's mounting points with your vehicle: bolt diameter, bracket width, bushing sleeve size and joint orientation. Check that the published adjustment range covers the length you actually need at your ride height, not just the stock length. Finally, look for clearance to the exhaust, fuel tank, transfer case, brake lines and frame at full droop and compression, because a thicker tube or larger joint can contact parts the factory arm cleared.
Features that affect the choice
Joint type has the biggest effect on how the vehicle feels. Rubber bushings isolate noise and vibration and need little maintenance, but they limit articulation and can bind when twisted far from their installed position. Polyurethane bushings are firmer and resist deflection, yet they may squeak and often need periodic lubrication. Articulating or spherical-style joints allow more movement and smoother suspension travel, but they transmit more noise into the cabin and wear faster when exposed to dirt and water. Many street-focused setups use a bushing at one end and an articulating joint at the other as a compromise.
Adjustment style matters for convenience. Single-adjustable arms usually require disconnecting one end to change length, while double-adjustable designs with opposite threads can be adjusted while installed, which makes fine tuning pinion angle or caster far easier. Construction details worth checking include tube wall thickness or solid bar stock, the diameter of the threaded adjuster, the quality of the jam nut, grease fittings and the corrosion coating. Treat labels such as heavy duty or claims that an arm eliminates steering shake with skepticism. Useful evidence includes stated materials and dimensions, a clear length range, availability of replacement joints and bushings, detailed instructions and plain warranty terms.
Limitations and ownership costs
Installation requires proper vehicle support: chock the wheels, place jack stands on solid frame points and support the axle with a jack on solid-axle models. Replace arms one at a time so the axle cannot shift unexpectedly. Measure the original arm center to center and set the new arm to match as a starting point. Arms with rubber bushings should have their pivot bolts final-tightened with the vehicle at normal ride height and resting on its wheels, otherwise the bushings are preloaded and wear early. Use the fastener specification from the service information or the arm manufacturer, recheck tightness after the first drives and schedule a professional wheel alignment once the work is complete.
Ongoing costs include repeat alignments whenever you change arm length, grease for serviceable joints, periodic jam nut checks and eventual joint or bushing rebuild kits. Inspect for joint play during routine maintenance, because worn adjustable joints can cause clunks and wandering. Understand the limits as well. Adjustable arms do not add lift, do not repair worn ball joints, tie rods, track bar bushings or steering gear, and do not fix tire balance problems. They also cannot fully compensate for a lift that exceeds the design range of the remaining geometry, which may require other components such as a correct track bar, longer brake lines or revised sway bar links.
Build a practical shortlist
Before comparing prices, confirm your generation, the exact positions you need and the length you are targeting at your ride height. Then check each candidate against the same points: an adjustment range that covers your target with some margin, a joint type that matches your mix of street and trail driving, whether it adjusts while installed, the availability of replacement joints and bushings, included hardware, instructions that state the fastener specification, and clearance with your exhaust, brake lines and other nearby parts.
Budget for the complete job rather than the arms alone: alignment, any supporting parts your lift requires and the time or labor for installation and later adjustment. Buy left and right arms as matched pairs for each position so both sides adjust and wear consistently. Write down the original arm lengths before removal, keep notes on any changes you make and share them with your alignment technician. A shortlist built this way narrows the choice to parts that fit your Grand Cherokee and your use, instead of relying on marketing labels or unsupported rankings.