Jeep Brake Booster Check Valve: Identifying the Correct Part by Model
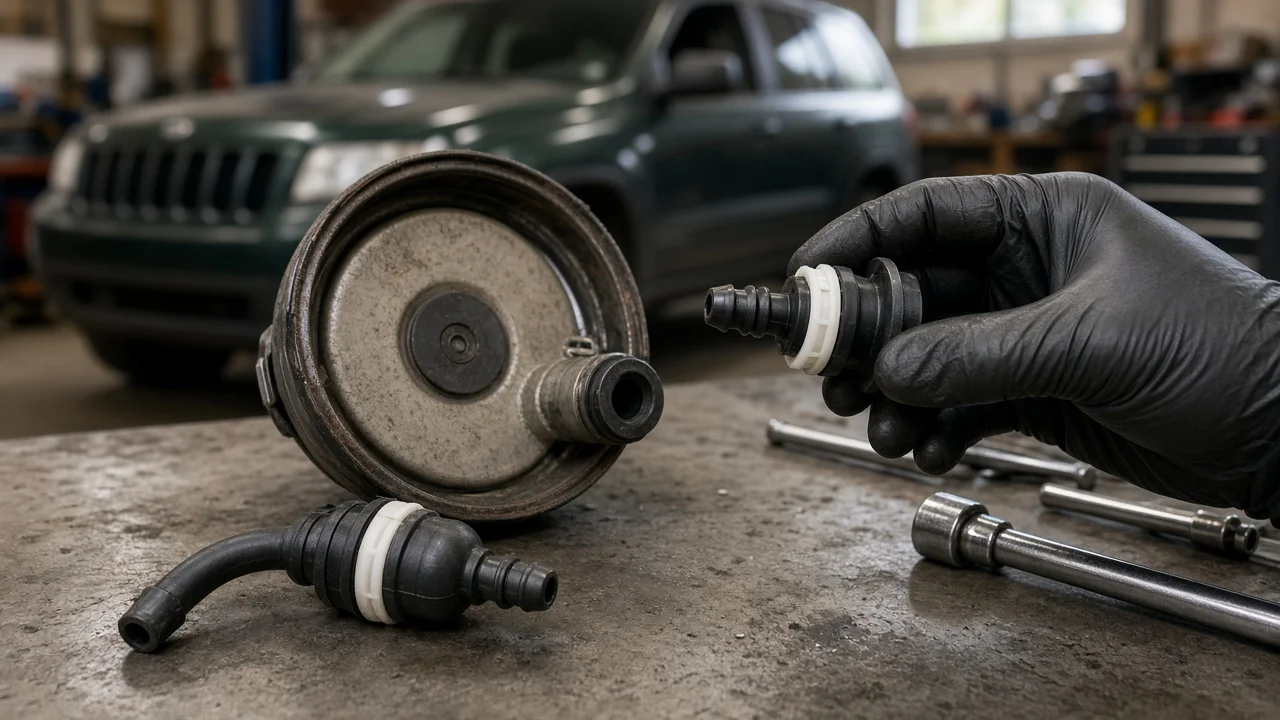
A brake booster check valve is a small one-way valve that lets the vacuum booster hold its reserve when engine vacuum drops. On a Jeep, the right replacement depends on more than the model name. Year, engine, build date and how the valve mounts all matter. This guide explains how to confirm the valve is really the problem, which other faults produce a similar pedal feel, and what information you need to order a part with correct vehicle fitment.
Establish the symptoms
Start by writing down exactly when the pedal feels wrong. A failing check valve typically causes a hard pedal on the first stop after the Jeep has been parked for a while, because the booster lost its stored vacuum. It can also appear when engine vacuum is low, such as when climbing a grade, towing at wide throttle or idling cold. The pedal may get harder with each application during these moments. Also note whether you hear a hiss near the booster or under the hood when braking or after shutdown.
Record associated signs and recent changes too. Several things can point the diagnosis in a different direction: a rough or changing idle when the pedal is pressed, a check engine light with lean codes, oil residue in the vacuum hose, or recent air intake, engine or brake work. Also note what is normal. If pedal height, travel and stopping distance are fine and only the effort is high, the problem is likely on the assist side rather than the hydraulic side. A pedal that sinks slowly while held, or a soft, spongy feel, is a different complaint.
Distinguish plausible causes
The check valve can fail in two basic ways. If it leaks back toward the engine, the booster cannot hold reserve vacuum. Assist is then missing after the vehicle sits or when manifold vacuum drops, while symptoms at steady cruise may be mild. If it sticks closed or partially closed, the booster may be slow to recover vacuum, giving a hard pedal after repeated stops. A cracked rubber grommet where the valve enters the booster produces a similar leak and is easy to mistake for a bad valve.
Competing causes deserve equal attention. A torn booster diaphragm usually causes a hiss when the pedal is applied and may disturb idle, because air is drawn into the intake through the booster. Reserve that still leaks down with a known-good valve also supports this cause. A split, softened or collapsed vacuum hose behaves like a leaky valve, but the damage is often visible. Some engines rely on a mechanical or electric vacuum pump, which is common on diesel and some turbocharged gasoline engines. On these, weak pump output gives a hard pedal that a new valve will not fix. Low engine vacuum from intake leaks or engine faults also reduces the booster supply.
Some complaints point away from the booster entirely. Increasing pedal travel or a pedal that sinks suggests air in the brake fluid, a master cylinder bypassing internally, or a leak at a caliper or line. Long stopping distances with normal pedal effort point toward worn or glazed brake pads, contaminated friction material, or brake rotors past their wear limits. A pull to one side suggests a sticking caliper or uneven pad condition, not a check valve.
Identify the correct valve for your Jeep
Jeep has used several check valve designs. The same nameplate can change between generations and engines, and sometimes at a mid-year build date. Common arrangements include a right-angle valve pushed into a rubber grommet on the booster shell and an inline valve in the vacuum hose, sometimes built into a hose assembly. A vehicle with a vacuum pump may use a different hose and valve layout than a similar model with a naturally aspirated engine. Hose inner diameter, port angle and the presence of a built-in filter or second port all affect fitment.
The most reliable identification uses the 17-character VIN in a dealer or reputable parts catalog. The catalog then filters by engine and build data rather than model name alone. Confirm the model year, engine displacement and type, drivetrain, and the production date on the door jamb label. Before ordering, compare the new part with the old one: check the mounting style, port sizes, flow direction marking and any part number molded into the body. If the valve is part of a hose assembly, the catalog may list only the complete assembly. Splicing a universal inline valve into that hose instead can create leaks or put the valve in backwards.
Checks in a useful order
Begin with checks that need no tools. With the engine off, press the pedal several times until it becomes firm to use up stored vacuum. Then hold light pressure and start the engine. The pedal should move down slightly as assist arrives; if it does not, the booster is either not getting vacuum or not using it. Next, run the engine briefly, shut it off, wait the interval given in the service information and press the pedal. A healthy system typically still provides assist for one or more applications. Look along the hose and grommet for cracks, swelling, oil soaking or loose fittings, and listen for hissing.
A hand vacuum pump lets you test a removed valve's direction. Vacuum applied at the booster side should hold, because the valve blocks flow from the engine side toward the booster. Vacuum applied at the engine side should draw air freely through the valve. Do not use your mouth, since the valve may contain fuel vapor and oil. A vacuum gauge teed in near the booster shows the supply level and how quickly vacuum decays after shutdown, which separates a supply problem from a holding problem. Compare readings only against the specification for your engine, because values vary.
Testing booster diaphragm leakage, vacuum pump output, master cylinder function or hydraulic pressure requires service information, specific tools and experience. If any check suggests a hydraulic fault, such as a falling pedal or a fluid leak, stop there and leave further work to a qualified technician.
Interpret the findings
A pedal that gains assist on startup but loses reserve quickly after shutdown, with a sound hose and grommet, supports a leaking check valve. The case is stronger if the removed valve fails the direction test. Replacing the valve and repeating the reserve test confirms the diagnosis. If reserve is still lost with a valve that holds vacuum, the booster diaphragm or its internal seals become the stronger suspect.
Low vacuum at the gauge points upstream, to hose restriction, a weak vacuum pump or an engine vacuum problem; a new valve would only treat the symptom. Oil inside the valve or hose suggests a crankcase ventilation or vacuum pump issue, which should be fixed so the replacement does not foul. Normal assist results combined with long stopping distances shift attention to the brake pads, brake rotors, brake fluid condition and calipers, inspected against the vehicle's specified wear limits. No single observation proves the cause, so confirm it with a repeat test after each change.
Urgency and next action
Stop driving and arrange professional service if any of these occur: the pedal sinks toward the floor, braking requires extreme effort, the brake warning light is on, fluid is leaking, the vehicle pulls hard, or stopping distance has clearly increased. Loss of booster assist does not remove hydraulic braking. However, the much higher pedal effort can lengthen an emergency stop, so do not assume any amount of further driving is safe until the fault is confirmed.
For a fast, accurate repair, bring the VIN, model year, engine and the build date from the door label. Add a note of when the hard pedal appears, any noises or idle changes, recent work, and the results of any reserve or vacuum tests. If you remove the old valve, keep it. Its markings and mounting style help match the replacement and support the technician's diagnosis.