International DT466 EGR Valve Location and Service Notes
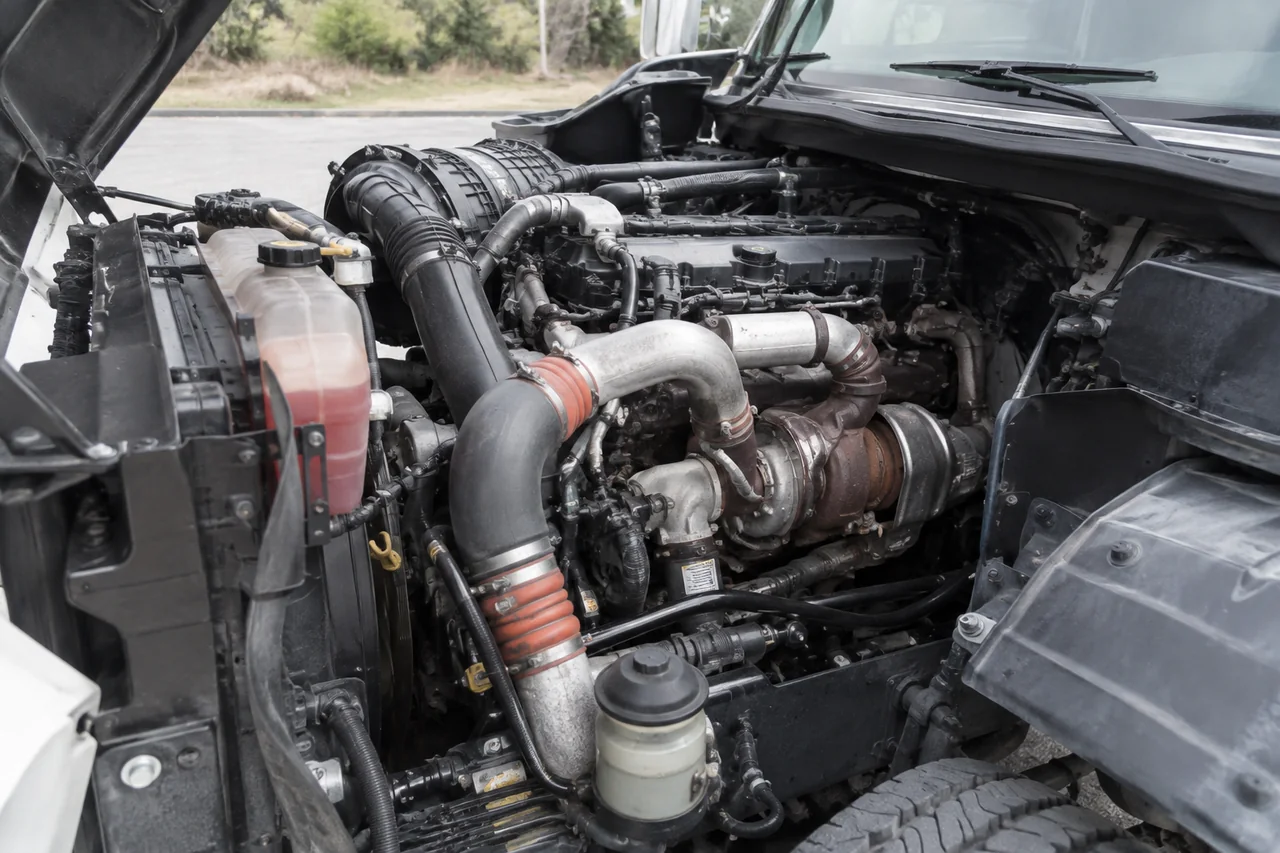
Finding the DT466 EGR valve location starts with engine-specific identification, not a generic layout. International built several configurations under the DT466 name, and the emissions label plus engine serial number are the reliable way to confirm what is installed. Without that step, even the correct exhaust gas recirculation component can be confused with nearby plumbing. This guide explains how to use the engine service diagram, make safe visual observations, interpret symptoms without jumping to conclusions, and plan service only after confirmed test results.
Identify the DT466 Configuration Before Locating the EGR Valve
The DT466 name covers multiple engine families, and not every version includes an EGR system. Even among those that do, the valve can sit in different positions depending on model year, emissions package, and chassis builder. An engine serial number ties the unit to a specific parts catalog and service diagram. The emissions label, typically on the valve cover or timing cover, also lists the engine family and compliance standard, helping determine whether an EGR assembly and EGR cooler were originally fitted.
Installation context matters too. School buses, medium-duty trucks, and vocational chassis often route the intake plumbing and EGR passage differently around the frame and body. A valve that is easy to see with the cab tilted may be hidden behind a charge-air cooler or engine mount on another vehicle. For this reason, the correct engine service diagram is not a convenience but a requirement. Chassis access panels and nearby equipment can block the view, so use the documented layout for the confirmed configuration before reaching for any component.
Locate the EGR Valve Using the Correct Engine Diagram
On configurations with a straightforward layout, the EGR valve is typically seen from the intake side of the engine, often near the front or mid-section where the EGR passage joins the intake manifold. The engine service diagram will show the valve body, mounting bolt pattern, and the electrical connector orientation so you can compare it to the actual engine. Some diagrams also label the EGR cooler and the pipe that carries exhaust gas from the exhaust manifold to the valve area, which helps separate the valve from fixed plumbing.
To confirm the valve itself, look for the actuator housing and the wiring harness connector that supplies control signals from the engine control module. On many DT466 installations, the valve is a cylindrical or block-shaped housing with an integrated actuator, but diameter and bolt spacing can vary. If the EGR cooler or pipe obstructs the view, use the diagram to establish which side of the assembly faces the intake plumbing. Then verify the connector position and housing shape before calling the part identified. A visual match with the documented orientation reduces the chance of pointing at a coolant line or sensor instead.
Make Safe Visual Observations Around the Valve
Before any visual inspection, park the vehicle on firm, level ground, set the parking brake, and shut the engine off. Allow the exhaust system, EGR cooler, and nearby lines to cool completely. Even a short inspection can put your hands near hoses or brackets that remain hot after shutdown. Keep the key out of the ignition and use wheel chocks if the surface is uneven. No observation is worth starting the engine or touching a hot casting.
Once the area is safe to approach, inspect without disconnecting the electrical connector or loosening any hardware. Look for chafed or cracked wiring near the actuator, a loose or corroded plug, or soot staining around the valve flange and nearby intake joints. Soot traces can indicate a leaking gasket or a sticking valve, but they are not proof of the failed part. Residue may come from a cracked EGR cooler or a leaking pipe. If accessing the valve requires cab tilting, component removal, or working under an unsecured body, stop and have the inspection performed with proper lifting equipment and support stands.
Understand Symptoms Without Assuming the Valve Has Failed
Drivers may report an illuminated check engine light, rough idle, reduced power, or increased exhaust smoke and suspect the EGR valve. Those symptoms do point toward emissions or air-management issues, but they also appear with turbocharger faults, charge-air leaks, or injector problems. A single operating symptom cannot isolate a valve fault because the engine control module adjusts fueling and boost in response to many inputs. Treat the complaint as a reason to investigate, not as a diagnosis.
When a diagnostic tool reports a code that mentions EGR, the description is a starting point. Codes can refer to insufficient flow, excessive flow, circuit faults, or rationality checks between sensors. The same valve can appear faulty when the real problem is wiring resistance, a failed pressure sensor, or a restricted cooler. Note when the symptom occurs, how long it lasts, and whether it appears only at a certain engine speed or temperature. Record the exact code number and freeze-frame data, and confirm its meaning for that specific model year and calibration before interpreting the results.
Plan EGR Service Around Confirmed Test Results
Professional service checks become necessary when visual inspection and recorded symptoms do not provide a clear cause. A technician can command the valve open and closed with a diagnostic tool, monitor position feedback, and measure intake manifold pressure changes during an EGR flow test. Those results distinguish a mechanical bind from an electrical control issue. Some actuators can be removed for cleaning, but whether that is permitted and what solvent to use depends on the manufacturer's instructions for that specific engine serial number range.
A replacement decision should follow confirmed diagnosis, not a parts catalog guess. Even when the EGR valve is at fault, the replacement part must match the engine configuration, connector type, and calibration level. After service, a proper verification includes checking for exhaust leaks at the new gaskets, clearing fault memory, and rerunning the EGR function test while watching for the original code to return. No service interval should be imposed without an official recommendation from the engine manufacturer for that engine family and application.