Install Honda Pioneer 1000 glass windshield
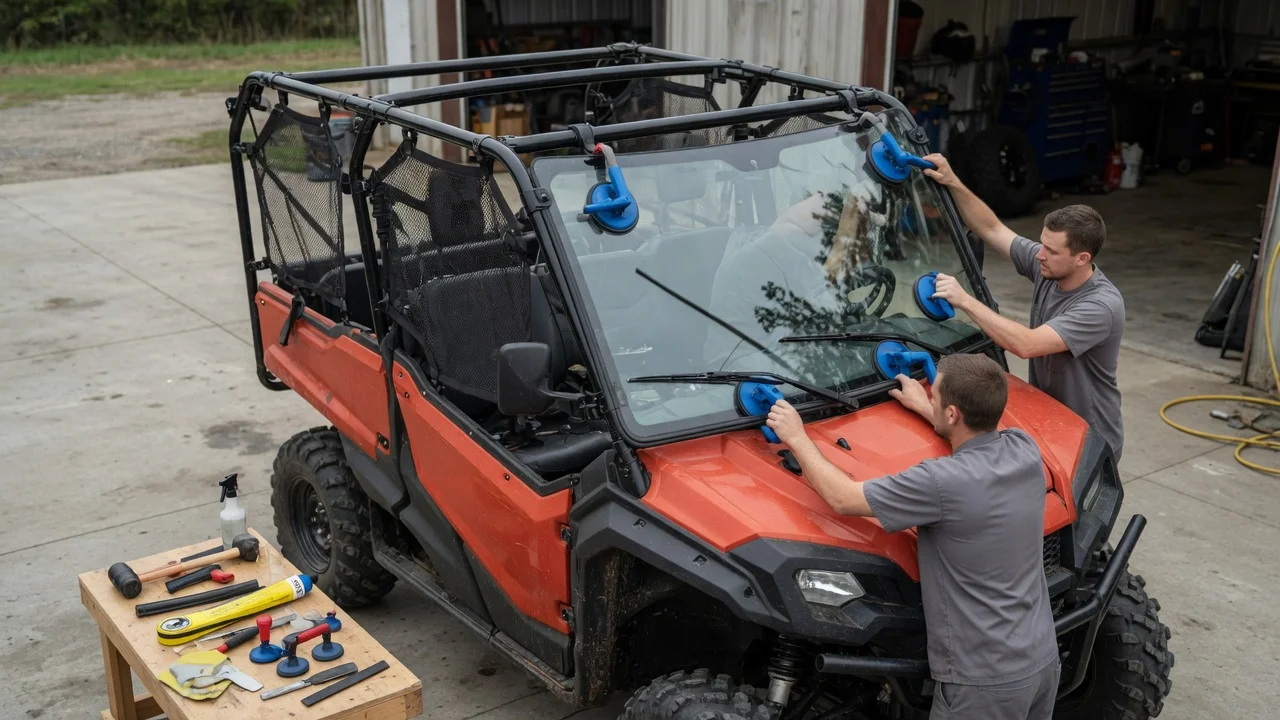
The short answer
A glass windshield on a Honda Pioneer 1000-5 normally mounts to the front tubes of the roll-over protection structure (ROPS), the steel cage that surrounds the cab. It is held with clamps or brackets, and many kits include a perimeter seal and an optional electric wiper. Most owners can do the job with ordinary hand tools and a second person to help lift the panel. The detail that changes the answer most is fitment. Windshields are designed for specific model years and cab configurations, so the right kit and its exact steps depend on your Pioneer 1000's year and on the windshield maker's own instructions.
This guide covers the general process and the checks that matter. It does not reproduce any manufacturer's instructions. No part numbers, torque values or kit-specific measurements were available for this article, so treat those as information to get from the kit documentation or a Honda dealer.
Confirm fitment before you buy
The Pioneer 1000 has been sold in three-seat (1000-3) and five-seat (1000-5) versions, and Honda has revised the line over its production run. The windshield attaches to the front of the cab, so a kit listed for the 1000-3 may also fit the 1000-5. Do not assume this. Confirm that the listing names your exact model and year range before ordering.
Model year range stated by the windshield maker; Whether the kit is listed for the 1000-5, the 1000-3, or both; Compatibility with accessories you already have, such as a roof, rear panel, doors, light bar or mirrors; Whether the wiper (if included or optional) needs a separate wiring harness or switch; Whether the glass is laminated, meaning two glass layers bonded to a plastic interlayer, or tempered; the maker's specification should say which
Tools and preparation
Kits differ, but installations of this kind usually call for the following. Check your kit's instructions for the actual fastener sizes and any special tools.
Metric socket and wrench set; Hex (Allen) keys if the clamps use cap screws; Torque wrench, to tighten clamps to the kit's stated values; Cleaner and a lint-free cloth for the ROPS tubes; Painter's tape or a soft marker to mark clamp positions; Basic electrical tools if you are fitting a wiper: crimpers, wire strippers, a test light or multimeter; A second person to lift and position the glass
Park the vehicle on level ground, turn it off and remove the key. If you will be wiring a wiper, disconnect the battery's negative terminal first. Unpack the kit and check every part against the parts list before you start. Clean the front ROPS tubes where the clamps and seal will sit.
General installation sequence
The steps below describe how clamp-on side-by-side windshields are typically fitted. If your kit's instructions give a different order, follow the kit.
1) Fit any edge seal or weatherstrip to the windshield frame, or to the ROPS, wherever the instructions specify. 2) Loosely attach the mounting clamps or brackets to the ROPS tubes at the marked or recommended positions. 3) With a helper, lift the windshield into place and keep it supported. Do not let it rest on its lower edge or hang from a single clamp. 4) Start all fasteners by hand so the frame can still be adjusted. 5) Center the windshield side to side and set it evenly against the seal. Check that the gap is consistent along the top and sides. 6) Tighten the fasteners gradually in a crossing pattern, and finish at the torque the kit specifies. Uneven or excessive clamping can stress glass. 7) Fit and adjust the wiper arm and blade if the kit includes one. 8) Check clearance against the hood, dash, mirrors and any roof or light-bar hardware.
Wiring a windshield wiper
Many glass windshields for side-by-sides are sold with an electric wiper, because glass cannot be cleared by hand while driving the way you might wipe a short polycarbonate shield. Wiper kits usually include a motor mounted on the windshield frame, a dash-mounted switch and a harness. Some Pioneer 1000 models have accessory power connections. Whether yours does, and how much current it can supply, is not confirmed here. Check the owner's manual or ask a dealer before you connect the wiper. If you wire it directly to the battery, use the fuse supplied with the kit, route the harness away from heat and moving parts, and secure it with ties. Reconnect the battery and test the wiper on wet glass before driving.
Checks after installation
Retighten the clamps after the first few rides, since seals and clamp pads can settle; Look for water leaks along the seal after washing the vehicle or driving in rain; Look for vibration or rattles over rough ground, which may point to an uneven clamp or a missing pad; Confirm that nothing blocks the driver's view, including wiper parking position and mounting hardware
Practical considerations
The following points are general judgments, not test findings. A glass windshield is heavier than a polycarbonate one and needs careful handling during installation. Glass generally resists scratching better than plastic, which is part of why it pairs well with a wiper. A fully enclosed front can also reduce airflow through the cab. Owners who add a roof and rear panel sometimes pick a vented windshield or a different combination of panels for that reason. Off-road use exposes the glass to impacts from rocks and branches, so check what the windshield maker's warranty covers before you buy.
What this guide cannot confirm
No manufacturer installation sheet, part number, weight, torque specification or electrical rating was supplied for this article. Exact clamp positions, fastener values and wiper wiring vary by kit and possibly by Pioneer 1000 model year. Before you start, get the instructions for the specific windshield you are buying, and confirm fitment for your 1000-5 with the seller or a Honda dealer.