Finding an Inner Tie Rod Tool at O'Reilly Auto Parts
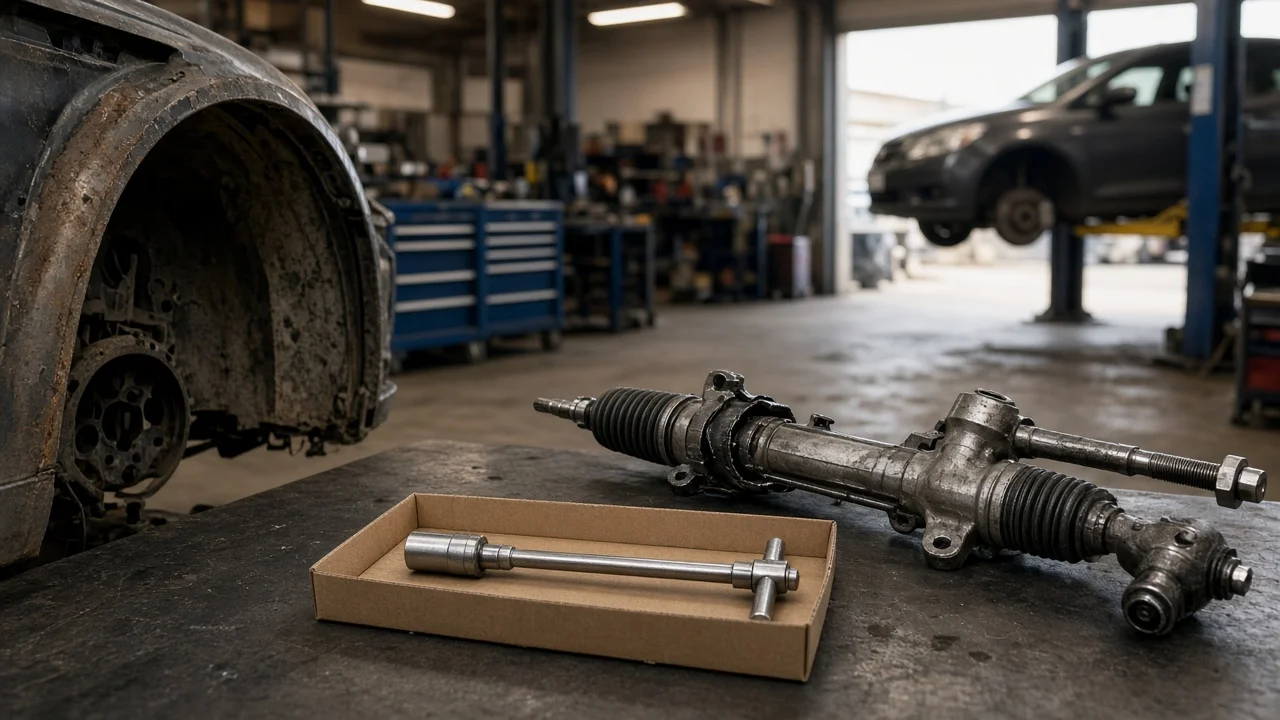
If you are replacing a worn inner tie rod at home, the right tool can turn a frustrating struggle with a stubborn joint into a straightforward swap. Many owners look for an inner tie rod tool at O'Reilly Auto Parts, either to buy one or to borrow one through the store's loaner tool program. This guide explains how to match the tool to your vehicle, which features actually matter, what the tool cannot do, and how to narrow your options before you go to the counter.
Define the job the product must do
The inner tie rod threads into the end of the steering rack, usually hidden under a rubber rack boot. An inner tie rod tool grips the inner joint housing so you can unthread it from the rack and later thread in the new part, often in a cramped space between the subframe and the wheel well. Before choosing a tool, confirm that the inner joint is really the worn part. With the vehicle raised and resting on jack stands at the manufacturer's recommended mounting points, check for joint play and rule out the outer tie rod end, wheel bearing and rack mounting bushings. Never work under a vehicle held only by a jack.
Next, consider your practical constraints. For a one-time repair, borrowing an inner tie rod tool from O'Reilly is usually more sensible than buying one. If you maintain several vehicles or expect to repeat the job, owning a kit may pay off. Also confirm what kind of steering rack you have. On center-take-off racks, the tie rods bolt to the middle of the rack rather than threading into its ends, so this type of tool does not apply. Your vehicle's service information will show which design you have.
Check compatibility
Fitment depends mainly on the inner joint housing. Some housings have wrench flats, while others are round. A typical kit includes adapters in several sizes, and the right adapter must slide over the tie rod shaft and seat firmly on the housing without rocking. Because you cannot measure the old joint until the boot is off, compare the tool against the new replacement part, which has the same housing. Then confirm the drive size. Many kits are driven with a half-inch ratchet or breaker bar, so make sure you own one, or borrow one, with enough leverage for a joint that may be seized.
Look past the housing as well. Some inner joints are secured with a staked lock washer, locking tab or pin that must be released before the joint will turn, and some procedures require holding the rack while loosening to avoid stressing the steering gear. You will also need tools for the outer tie rod jam nut and for the boot clamps, which may require pincer or crimping pliers. Follow the procedure for your specific model rather than assuming every rack is built the same way.
Features that affect the choice
Adapter design is the biggest trade-off. Closed sleeve adapters grip the housing on all sides and resist slipping, but they need a clear path down the tie rod shaft. Open, crowfoot-style adapters can fit in tighter spaces but may spread or slip on a tight joint. Self-adjusting gripping designs can handle round housings across a range of sizes, but they may lose grip on corroded or unusually hard surfaces. Labels such as universal or fits most vehicles promise less than they suggest. The useful evidence is the stated adapter size range and the drive size, checked against your part.
Tool length and tool rating also matter. The tool body must reach the joint while your ratchet still clears the tire, fender liner and suspension components. Some kits are meant only for hand tools, so do not use an impact wrench unless the tool is clearly rated for it, because a cracked adapter can damage the housing or injure your hands. If you buy rather than borrow, a labeled case that keeps the adapters organized makes the kit far more useful the next time you need it.
Limitations and ownership costs
The tool removes and installs the joint, but it does not tell you how tight it should be. Look up the fastener specification in the service information for your vehicle and use a torque wrench. If an adapter offsets the drive from the joint's centerline, the reading on the wrench will not match the actual torque, so follow the tool or service instructions for compensating. The tool also cannot set the steering geometry. Measuring or counting threads on the old tie rod helps you position the new one closely enough to drive carefully to a shop, but a professional wheel alignment is still required, ideally with the vehicle at its normal ride height.
Plan for the full cost of the job. A loaner usually requires a deposit that stays on your card until you return the complete, clean kit, and missing adapters can affect your refund, so check the terms at your store. Budget for consumables as well: a new rack boot and clamps, any locking hardware the procedure calls for, penetrating oil and possibly new outer tie rod ends. The alignment is a separate expense. If you buy the tool instead, its value depends on how often you will actually use it.
Build a practical shortlist
Before you visit the store, gather your year, make, model and engine, and confirm that your vehicle has an end-take-off rack. Write down the housing style and size from the replacement part listing. Then compare the options with a few questions. Does the kit include an adapter that fits your housing? Does its drive size match your ratchet or breaker bar? Will it clear the surrounding parts on your vehicle? Is it rated for the tools you plan to use? Is borrowing enough for this job, or will you use the tool again?
At the counter, ask staff to look up the inner tie rod tool for your vehicle and, if possible, test-fit the adapter on the new joint before you leave. With a loaner, open the case and confirm that every adapter is present so you are not blamed for missing pieces when you return it. Pick up the boot clamp pliers, a torque wrench if you do not own one, and sturdy jack stands at the same time. Then schedule the wheel alignment so the vehicle is not driven longer than necessary on a temporary toe setting.