Inner Tie Rod Repair: Assessing the Fault and Repair Options
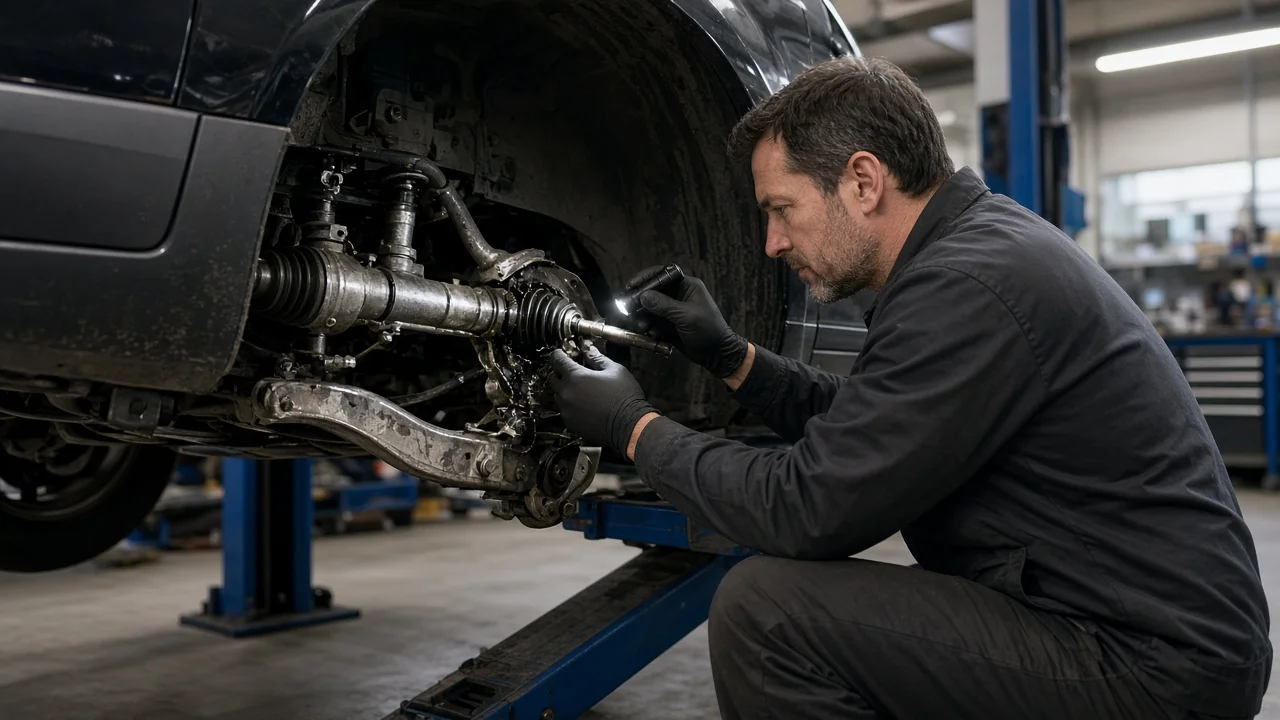
The inner tie rod links the steering rack to the outer tie rod end through a ball joint hidden inside the rack boot. A worn inner joint can make steering feel loose or vague, but several other parts cause the same complaints. This guide explains how to confirm the fault, define what actually needs repair, compare the available options and check the result before the vehicle goes back into regular service.
Confirm the fault before repair
Typical complaints include a clunk or knock over bumps, a vague on-center feel, wandering at highway speed, an off-center steering wheel and uneven wear on the inner or outer tire edges. None of these points to the inner tie rod alone. Worn outer tie rod ends, ball joints, control arm bushings, wheel bearings, steering rack mounting bushings and internal rack wear can all produce the same sensations, and tire or alignment problems can mimic steering looseness.
Confirmation comes from a physical inspection. With the vehicle supported at the manufacturer's lift points, or on a drive-on lift if the service information calls for the suspension to be loaded, have a helper rock the steering wheel back and forth in small movements while you hold the tie rod near the boot. Movement felt at the inner joint, with the rack housing staying still, indicates inner joint play. Movement at the outer end, a rack housing that shifts in its mounts, or wheel rock that also appears with the steering held steady points elsewhere. Compare both sides, and use the manufacturer's inspection method and allowable joint play limit where one is published.
Inspect the boot as well. A torn boot lets in water and grit that accelerate joint wear, while fluid trapped inside the boot on a hydraulic rack usually means a leaking rack seal, which changes the repair entirely.
Define the repair scope
Steering racks are not all built the same way. Most end-take-off racks have inner tie rods threaded onto the ends of the rack bar, retained by staking, a lock plate, a lock washer or thread locker depending on the design. Center-take-off racks found on some older cars and vans bolt the tie rods to the middle of the rack instead. Hydraulic and electric power steering racks also differ in how they are serviced, and on some vehicles the inner joint is not listed separately in the parts catalog, so confirm part availability for the exact model and rack version before planning the job.
Establish the extent of damage. Plain wear in the ball joint is a contained repair. A bent tie rod after a curb strike or pothole impact means the steering arm, knuckle, control arm and rack mounting points also need inspection, because the force had to go somewhere. Play inside the rack itself, a leaking seal or a cracked housing means the tie rod is not the only problem. Check the outer tie rod end on the same side and the opposite inner joint at the same time, since they have seen similar mileage and conditions.
Compare repair options
There is no adjustment that removes wear from an inner tie rod joint. Changing toe alters wheel alignment, not looseness, and a rack support yoke adjustment, where the design and service information permit one, addresses rack bar play rather than the tie rod joint. Inner tie rod joints are generally replaced rather than rebuilt.
Replacing the inner tie rod is the usual remedy when wear is confined to the joint and the rack is sound. The job normally includes a new boot and clamps, and it often makes sense to replace a worn or seized outer end at the same time, either separately or as an inner and outer assembly. This repair does not fix internal rack wear, leaking seals or tired mounting bushings. Replacing the steering rack is appropriate when the rack leaks, has internal play, has a damaged housing or uses inner tie rods that are not serviced separately; it typically comes with new inner tie rods but still requires an alignment and, on many vehicles, steering angle sensor calibration.
Specialist service is the sensible route for center-take-off racks, electric power steering systems that need calibration with scan equipment, collision damage affecting mounting points or subframe position, vehicles with driver assistance systems that depend on steering angle data, and joints seized into an aluminum rack where force could damage the housing.
Requirements and limits
Safe vehicle support comes first: a level surface, wheel chocks, correctly rated jack stands or a lift at the manufacturer's lift points, and never working under a vehicle held only by a jack. Model-specific service information is equally important. It defines the removal procedure, the retention method for the inner joint, whether the rack must be held to keep twisting load off the pinion and internal gears, the fastener specification for the inner joint, jam nut and outer end nut, and whether any nuts or locking parts are single use. Use the values for the exact vehicle rather than a generic figure.
Tools usually include an inner tie rod socket or adapter suited to the joint design, a torque wrench covering the specified range, the correct boot clamp tool and a way to measure overall tie rod length or count turns so the new part can be set close to the original length. That approximation only helps the vehicle reach an alignment shop; it is not a finished toe setting. Avoid applying heat near the rack, boots or seals, and position the boot breather and clamps as the service information shows. If the retention method, required calibration or condition of the rack is unclear, hand the work to a qualified shop. A severely worn joint can separate and cause loss of steering control, so a vehicle with obvious inner joint play should not be driven until it is inspected and repaired.
Verify the outcome
Before lowering the vehicle, confirm every fastener has been tightened to the fastener specification, locking devices and cotter pins are fitted where required, and the boot is seated, clamped and not twisted. Turn the steering lock to lock and watch for binding, boot contact or interference with nearby components, then repeat the steering rock test to confirm the play is gone.
A professional wheel alignment is required after any tie rod or rack replacement. Toe should be measured and set on alignment equipment at the specified ride height and load condition, with the steering wheel centered, and the steering angle sensor reset or calibrated where the vehicle requires it. Follow with a road test checking straight-line tracking, return to center, braking stability and any remaining noise. Keep a record of the parts fitted, which side was repaired, the odometer reading and the before and after alignment results, and recheck the boot and fasteners if the service information calls for a follow-up inspection.
If symptoms persist, return to diagnosis rather than replacing more parts at random. A remaining clunk suggests rack mounts, outer ends, ball joints or bushings. A pull with correct toe points toward camber, caster, tires or brakes, and continued wandering may indicate internal rack wear. Have these checked before the next repair is chosen.