Choosing an Inner Tie Rod Removal Tool
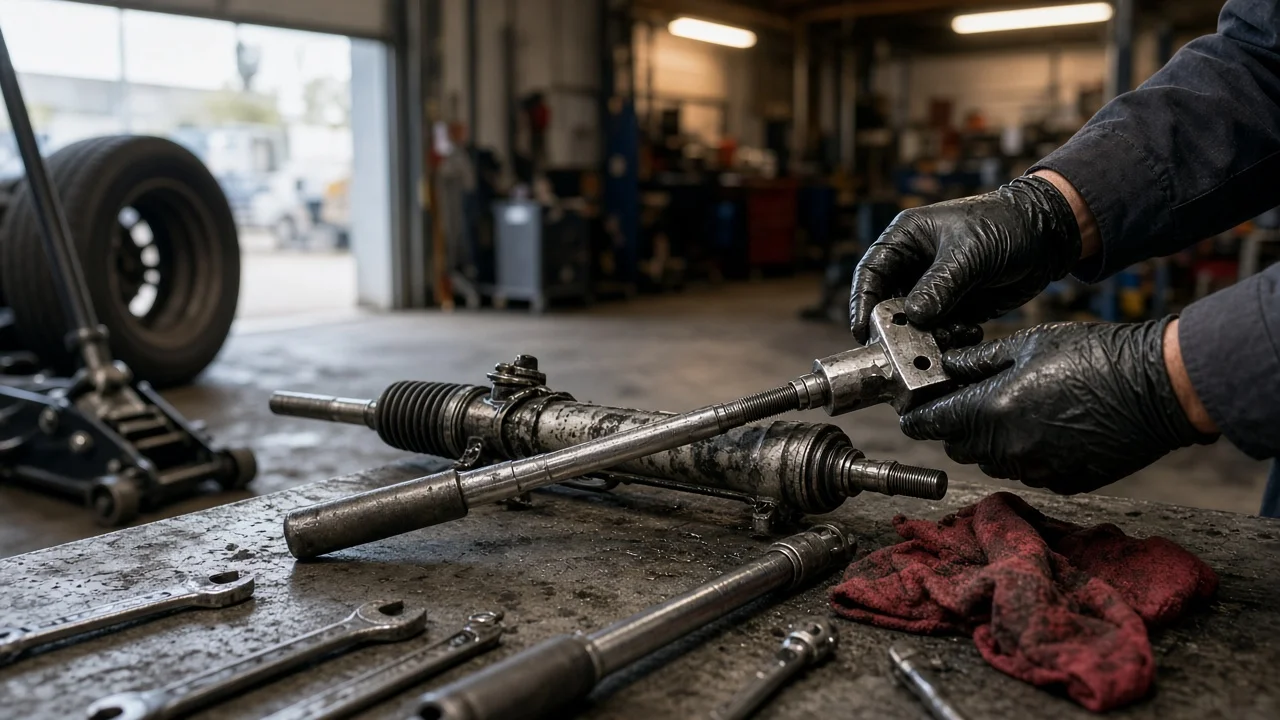
An inner tie rod is threaded onto the end of the steering rack and sits deep inside the rack boot, where an ordinary wrench rarely fits. A dedicated inner tie rod tool slips over the tie rod shaft and grips the joint housing, so you can break the joint loose and tighten the replacement properly. This guide covers how to choose the right tool for removing an inner tie rod on your vehicle, which features matter, and what the tool will not do for you.
Define the job the tool must do
Start with the vehicle and the reason for the repair. Inner tie rods are usually replaced because of joint play. A worn ball socket lets the wheel move slightly before the steering responds, which can show up as wander, a clunk over bumps or uneven tire wear. Confirm the diagnosis before buying anything, because looseness can also come from outer tie rod ends, rack mounting points or wheel bearings. If the inner joint is the problem, you need a way to reach it once the outer tie rod end, jam nut and boot are off.
Consider how often you will use the tool. A one-time repair on a single car may only need a correctly sized adapter or a loaner kit, which some parts stores offer. If you maintain several vehicles or work on different makes, an inner tie rod tool kit with multiple adapters will pay off. Also think about your workspace. On jack stands with the wheel removed, rather than on a lift, a breaker bar has less room to swing, which makes a compact, low-profile design more attractive.
Check compatibility with your steering rack
Compatibility depends on the shape of the inner joint housing where the tool grips it. Many housings have two or more machined flats; others are round or have a narrow shoulder. Flat-sided housings work best with a tubular adapter whose opening matches the flat size. Round housings generally need a universal inner tie rod tool with a gripping jaw or cam. Measure the width across the flats and the housing diameter, or look up the dimension in the service information. Then compare it with the size list for each adapter in the kit rather than relying on a fits-most-vehicles label.
Check the reach and the drive as well. The tube or adapter has to pass over the tie rod shaft, including the threads for the outer end, and still let the ratchet clear the frame, subframe and inner fender. Note the drive size, commonly 1/2-inch or 3/8-inch, and whether the tube end also has a hex for a wrench. Finally, confirm that the rack actually uses threaded inner tie rods. Some racks, such as center-take-off designs, bolt the tie rods to the middle of the rack, and an inner tie rod wrench does not apply to them.
Features that affect the choice
The main design choice is between dedicated adapters and a universal gripping tool. Fixed adapters that match the housing flats spread force evenly and are less likely to slip or round the joint, but each one covers a narrow size range. Universal and claw-type removers adjust to many diameters, which helps on unfamiliar or round housings. However, their teeth can mark the housing and may slip on a tight joint. The old tie rod is usually discarded, so marking it matters less than whether the tool can tighten the new part without damaging it.
Consider a low profile inner tie rod tool when the rack sits close to the oil pan, crossmember or exhaust. Shorter crowfoot-style heads and slim tubes trade some strength for access. Whatever the style, check the wall thickness, how the adapter locks into the tube, and whether the maker states the steel and heat treatment. Labels like heavy-duty or professional grade are not evidence; dimensions, a clear size chart and solid construction are more useful. A fitted case keeps a full inner tie rod tool set together, which matters more than it seems once one adapter goes missing.
Limitations and ownership costs
The tool only turns the joint. It will not unstake a lock washer, remove a roll pin or loosen thread locker, so check whether your rack uses any of these and how the service information says to handle them. It is also not an inner tie rod puller in the sense of pressing parts apart; the joint simply unthreads from the rack. Hold the rack or follow the specified method to keep it from turning while you work, because twisting force can stress the rack internals, especially on electric steering units. Removing the outer end is a separate task that may need a tie rod end separator.
Plan for parts and procedures beyond the tool itself. New boots and clamps are often needed, and some lock washers or retaining parts are single-use. Tighten the new joint with a torque wrench to the fastener specification in the manufacturer's procedure. If your adapter offsets the drive from the joint centerline, check the torque wrench instructions for any correction. Support the vehicle on stands at its designated lift points, never on the jack alone. After the replacement, the car needs a wheel alignment at the specified ride height. Counting threads or measuring the old part only gives a starting point; it does not replace a proper alignment.
Build a practical shortlist
Before buying, write down your vehicle, the housing shape and its size across the flats or diameter, the clearance around the rack and the drive size you will use. Then check each candidate inner tie rod removal tool against that list. Does an adapter match your exact size? Does the tube clear the shaft and threads? Will the head fit between the rack and nearby components? Can you drive it with a tool you already own?
Next, weigh how often you will reuse it. A single matched adapter or a loaner suits a one-off replacement, while a universal set or broad kit makes sense for several vehicles. Look for a published size chart, stated material, a way to secure the adapter in the tube and a case that keeps parts together. Skip any listing whose only fitment claim is that it fits all cars. Finally, budget for boots, clamps, any single-use retainers, a torque wrench if you do not own one and a professional alignment. Those costs come with the replacement whichever tool you choose.