Infiniti QX80 Air Suspension Compressor Replacement
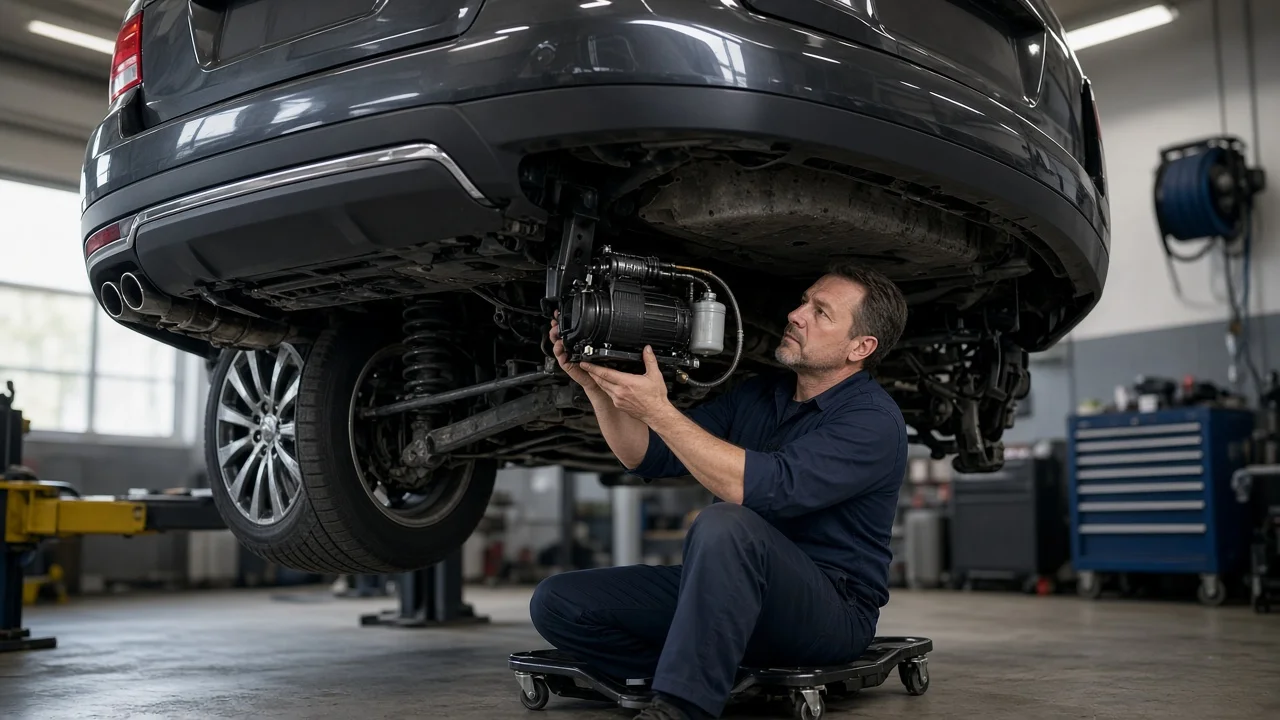
A tired or failed air suspension compressor on an Infiniti QX80 usually shows up as a rear end that sits low, a leveling warning, or a compressor that runs much longer than it should. Replacing the unit is manageable for an experienced home mechanic, but only after you confirm the compressor is actually at fault. This guide covers diagnosis, preparation, removal, installation and the checks that show the system is working again.
Confirm the part and repair scope
Suspension and leveling hardware differs across QX80 model years and trim packages, so identify parts by VIN rather than by model name. A VIN-based parts lookup or a dealer parts counter can confirm that your vehicle uses an air-type leveling system with a compressor and give you the correct part number. This is especially important if you are shopping for a 2015 QX80 compressor, because a listing that simply says it fits the QX80 may not match the connector, bracket or line fittings on your build. Also check what the replacement includes. Some units come with the bracket, isolators, relay or dryer, while others require you to transfer those parts from the old compressor.
A compressor often fails because something else forced it to overwork. A leaking air spring, cracked line or faulty valve makes the compressor run repeatedly until the motor overheats or its internal seals wear. If you install a new unit without finding that leak, the new one can fail the same way. Before buying parts, check the relevant fuse and relay, confirm power and ground at the compressor connector when the system calls for air, and read stored codes with a scan tool that can communicate with the suspension or leveling module. A compressor that runs but builds little or no pressure points to internal wear. One that never runs may have an electrical fault upstream.
Look for leaks at the same time. Inspect the air springs for cracking at the folds and spray soapy water on fittings and line connections while the system is pressurized. If the rear settles overnight but the compressor restores height quickly at startup, the compressor is probably doing its job and the leak is the real repair.
Prepare tools and safe access
Get the model-specific service information before you start. You need the compressor location and access path, the procedure for releasing system pressure, connector handling notes, the fastener specification for the mounting hardware, and any leveling initialization the vehicle requires afterward. Do not guess torque values or calibration steps. Typical tools include metric sockets and wrenches, a torque wrench, trim and connector release tools, line disconnect tools if the fittings are push-in, caps or plugs for open lines, soapy water, and a scan tool that can clear suspension codes and run any required procedures.
Proper vehicle support matters more than usual on an air-sprung vehicle. Never rely on the suspension, a floor jack or the current ride height to hold the vehicle while you work underneath. Some air systems try to level the body when the vehicle is lifted, a door is opened or the ignition is switched on. If the service information describes a way to disable automatic leveling, follow it. Lift only at the manufacturer's designated lift points, place rated jack stands on solid, level ground, and chock the wheels that remain on the ground. Disconnect the battery as the service information directs, and note whether any systems need to relearn after reconnection.
This job is not a good fit for an inexperienced owner who cannot support the vehicle safely, does not have a capable scan tool, or cannot confirm that the system has been depressurized. A pressurized line can eject a fitting with real force. In those cases, a suspension shop is the safer choice.
Remove without avoidable damage
With the battery disconnected and the vehicle securely supported, reach the compressor by the route the service information describes. That may mean removing a splash shield, panel or trim piece. Before you disconnect anything, photograph the routing of the air lines and the wiring harness. Release residual pressure using the specified procedure, and never loosen a fitting that may still hold pressure. Release the electrical connector lock gently, because aged plastic locks become brittle and a broken connector turns a simple swap into a wiring repair.
Label each air line by the port it came from. Plastic lines crack when bent sharply or when pried with the wrong tool, so use the correct release method for the fitting type. Cap open lines and ports right away, because dirt and moisture can damage valves and the dryer. Remove the mounting fasteners and lower the compressor with its bracket. Then inspect the rubber isolators and mounting points for cracked bushings, corrosion and damaged threads, and fix any problems before installing the new unit.
Install and restore the system
Set the old and new compressors side by side and compare the connector, port layout, bracket holes and intake or filter position. Transfer the bracket and isolators if the new unit does not include them, and replace isolators that are hardened or split, since they control noise and vibration. Mount the compressor in its original orientation. The intake and any drain or exhaust port must face the way the design intends, otherwise the unit can draw in water or debris.
Connect each air line to its labeled port and use new seals or O-rings if they are supplied. Make sure push-in fittings are fully seated, then give each line a firm tug to confirm it is locked. Tighten the mounting fasteners to the fastener specification in the service information. Route the harness clear of exhaust heat and moving parts, refit every retaining clip, reinstall any panels you removed, and reconnect the battery.
Clear stored codes, then perform any leveling initialization or ride height calibration the service information calls for, using a scan tool if one is required. Let the system fill under the conditions the procedure specifies, which may include running the engine, and watch whether the compressor stops once the target height is reached.
Check the completed work
Confirm that the compressor starts and stops on its own, that the suspension warning light goes out, and that no codes return after a test drive. Measure ride height at the points defined in the service information and compare the readings to the published specification instead of judging by eye. Recheck every fitting you disturbed with soapy water. Then do an overnight test: measure ride height before parking and again the next morning to confirm the system holds pressure.
Some signs mean further diagnosis is needed. These include a compressor that runs continuously or cycles frequently, a unit that gets very hot or blows its fuse, a vehicle that never reaches specified height, one corner sitting lower than the others, and codes that come back after clearing. While the vehicle is supported, it is also worth checking joint play in the rear suspension links and bushings, since worn parts can mimic or worsen leveling complaints. Replacing the compressor does not change wheel alignment on its own. However, if the vehicle was aligned while it was sagging, or if other suspension parts were replaced, have the wheel alignment checked once the vehicle sits at correct ride height.