How to Use a Tread Depth Gauge
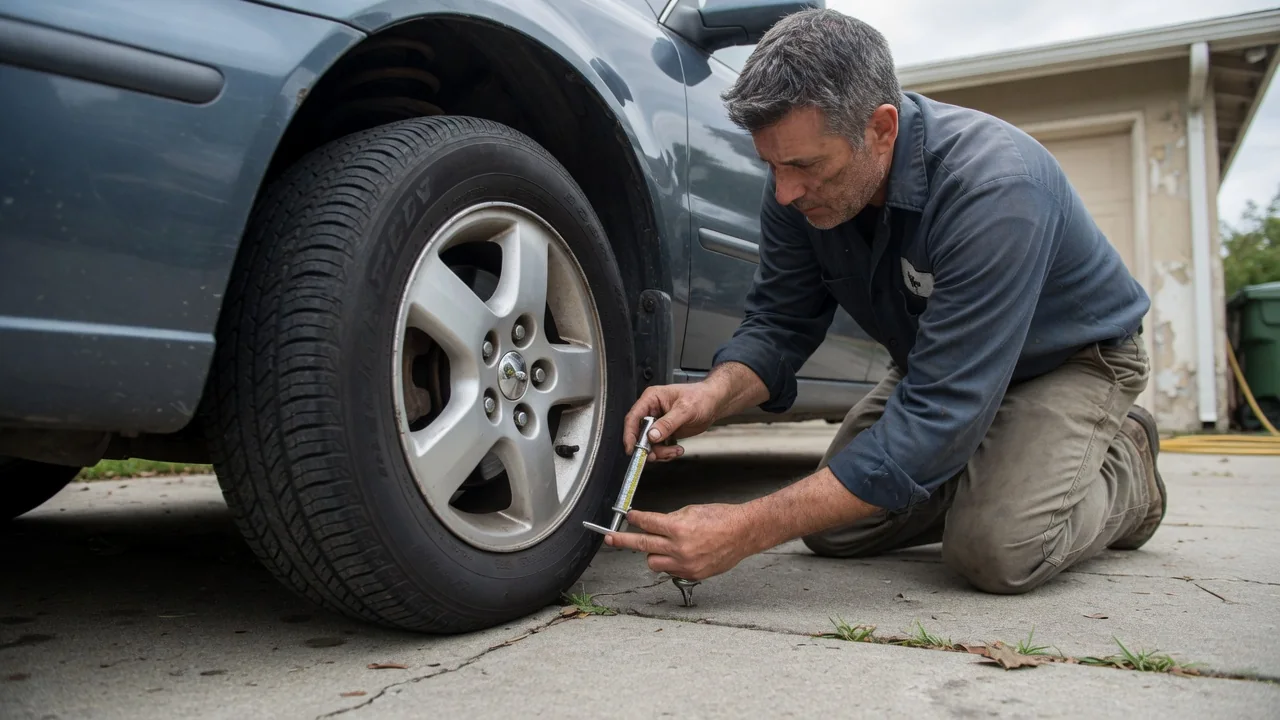
Learning how to use a tread depth gauge takes only a few minutes, and it replaces guesswork with a number you can track. The tool is a small probe that slides into a tire groove and reports how much rubber remains, usually in 32nds of an inch or millimeters. A simple routine of measuring, writing down, and comparing readings tells you far more than a glance.
Measure several grooves
Start with the vehicle parked on level ground, and turn the front wheels to one side so the tread face is easier to reach. Push the probe fully out, set its tip in the bottom of a main circumferential groove, then press the flat shoulder of the gauge down until it sits squarely on the tread blocks on both sides. Lift the tool out without bumping the probe and read the scale. Digital gauges show the number on a screen, while stick-style gauges are read where the barrel meets the sliding scale.
One reading says little, because a tire rarely wears evenly across its width or around its circumference. Measure the outer groove, a center groove, and the inner groove, then repeat at two or three spots spaced around the tire. Avoid placing the probe on the raised wear indicator bars molded into the groove floor, since they will produce a falsely shallow reading, and avoid small stones lodged in the tread. Groove count and layout differ between tire designs, so a wide performance tire may offer more measuring points than a narrow one.
Record readings
Write each number down as you go rather than trusting memory, because four tires with three grooves each produce a dozen figures quickly. A simple note labeled by wheel position, such as left front or right rear, with outer, center, and inner readings in order, is enough. Add the date and the odometer reading. Stay with one unit throughout; mixing 32nds of an inch with millimeters makes later comparisons confusing, and many gauges carry both scales on opposite sides of the stem.
The value of a log shows up over time. Comparing today's figures with those from a few months earlier reveals how quickly each tire is wearing and whether one position is losing rubber faster than the others. On many front-wheel-drive cars the front tires wear sooner because they steer, drive, and carry most of the braking load, though the pattern varies with drivetrain layout, alignment settings, and driving habits. If tires are rotated, note the move in the record so that a reading still traces back to the same tire.
Look for uneven wear
Once the numbers are on paper, compare the three grooves on each tire. A center that reads shallower than both edges often points to pressure that has been running higher than the tire needs, while both shoulders reading shallower than the center commonly suggests underinflation. One edge noticeably lower than the other is frequently associated with alignment angles such as camber or toe, although worn suspension parts can produce a similar picture. These patterns are clues that deserve a closer look, not a diagnosis in themselves.
Readings that vary around the circumference of the same groove tell a different story. Alternating high and low spots, sometimes called cupping or scalloping, may be linked to worn dampers or a balance problem, and they can often be felt by running a palm lightly over the tread. A feathered texture, where block edges feel sharp in one direction and smooth in the other, is another observation worth noting beside the measurements. Compare left and right tires on the same axle as well, since a clear mismatch there can affect braking and handling.
Everyday Use and Observations
A tread depth gauge is small enough to live in the glovebox, which makes it easy to fold into habits you already have. Checking when you set tire pressures, before a long highway trip, or at the change of seasons keeps the record current without adding much effort. New tires give a useful baseline too; measuring them soon after installation shows the starting depth for that particular model, which differs between all-season, winter, and light-truck designs.
Numbers also make sense of things you notice from the driver's seat. A car that feels less settled on wet highways, takes longer to stop in rain, or struggles for grip in slush may simply have less groove depth available to move water and snow out from under the contact patch. Many US states treat 2/32 of an inch as the legal minimum, the same height as the wear bars, yet wet and winter traction typically fades well before that point, so drivers in rainy or snowy regions often choose to replace sooner.
Limits and Next Steps
Depth is only one measure of a tire's condition. A gauge cannot detect age-related cracking in the sidewall, bulges from impact damage, punctures, embedded objects, or internal separation, and a tire with plenty of tread can still be unfit for service. Cheap gauges can also differ slightly from one another, so use the same tool each time and treat small differences between readings as noise. The vehicle's tire placard and owner's manual, not the gauge, are the reference for correct pressures and sizes.
When the readings approach the legal minimum, sit level with the wear bars, or show a large spread across one tire, the next step is a professional inspection rather than more measuring. A tire shop can confirm the figures, examine the casing, and check alignment, balance, and suspension components if the wear pattern suggests an underlying cause. Some all-wheel-drive systems are sensitive to depth differences between tires, so the vehicle maker's guidance should be confirmed before replacing fewer than four. Bringing your log along gives the technician a useful history.