How to Test Coolant Condition With Test Strips and Testers
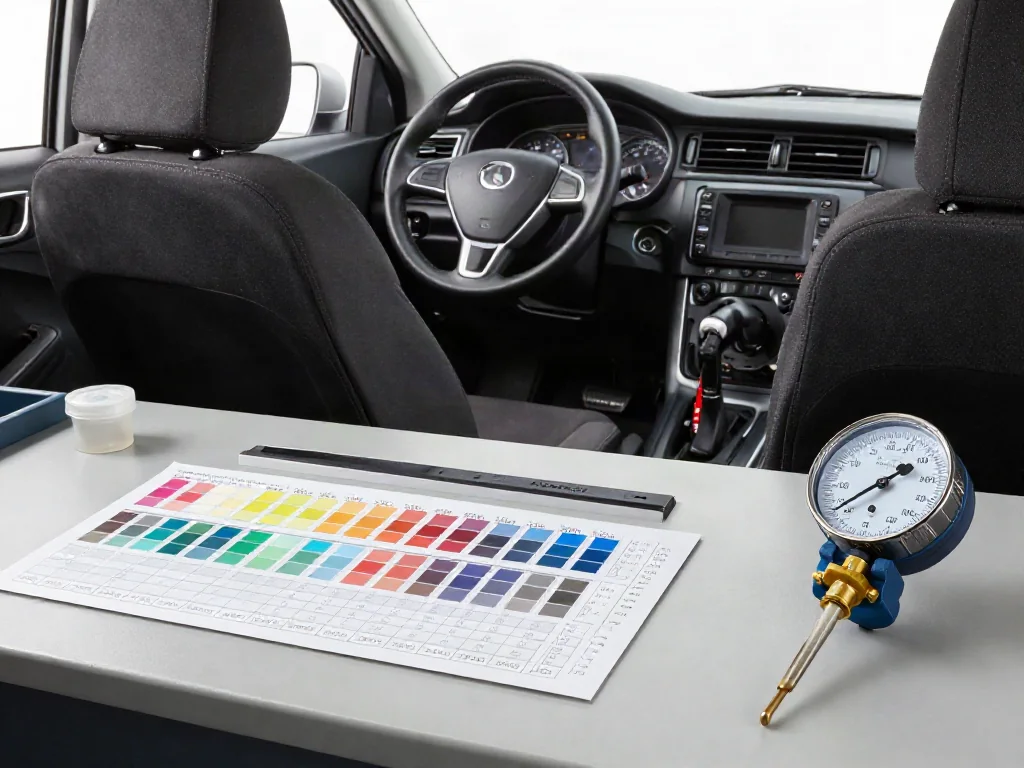
A coolant test can show whether the fluid in your cooling system still provides enough freeze protection and is in acceptable chemical condition. Refractometers, hydrometers and test strips each measure different things, and each reading has limits. To get a useful result, you need to know what your tool actually checks, take a clean sample safely, and compare the results with your vehicle's specifications.
What a Coolant Condition Test Can Tell You
Coolant condition is made up of several separate properties. Freeze protection reflects the ratio of glycol to water, which also affects the boiling point. pH shows whether the fluid has become more acidic as it ages, and additive checks look for specific corrosion inhibitors. None of these measurements can stand in for another. A sample can have strong freeze protection while its inhibitors are depleted, or have an acceptable pH while the mixture is too diluted for winter. No single number tells you whether the coolant is healthy.
Before you start, read the product packaging to see exactly what it measures. A refractometer or hydrometer estimates glycol concentration and freeze point, but it tells you nothing about pH or inhibitors. Test strips vary: some check freeze point, pH and one additive, while others check fewer properties. Anything the product does not list needs a different supported test or a laboratory analysis. Color and clarity are also unreliable guides. Dyes differ between formulations and do not fade as concentration drops or inhibitors are used up, so coolant can look bright and still be worn out.
Identify the Coolant and Prepare a Safe Sample
First, confirm what coolant the system is supposed to contain. The owner's manual, a label near the reservoir, or service records may identify the specified chemistry and whether it is based on ethylene glycol or propylene glycol. This matters because testers are scaled for particular glycol types, and strip limits are set for particular formulations. If the records show that a different fluid was added, or if nothing is documented, make a note of that uncertainty now. It limits how much you can trust any reading you take later.
Take a sample only when the engine is fully cool, and follow both the vehicle's and the tester's instructions. A hot cooling system is under pressure, and opening it can release scalding coolant. Use a clean, dry container or pipette so leftover water or residue does not skew the results, and wear gloves and eye protection. Coolant can taste sweet but is toxic, so keep samples and spills away from children and pets. In some designs, fluid in the overflow bottle may not match the coolant circulating through the engine. If you are unsure where to sample, ask a professional.
Measure Freeze Protection With a Compatible Coolant Tester
Make sure the tester supports your coolant's glycol type. Ethylene glycol and propylene glycol give different readings, so many refractometers have a separate scale for each, and using the wrong scale gives a misleading freeze point. With a refractometer, calibrate first as its instructions direct, often using distilled water. Place a few drops on the prism and close the cover so the sample spreads evenly. Then look through the eyepiece toward a light source and read the point where the boundary line crosses the correct scale.
A hydrometer estimates concentration from specific gravity, usually shown by floating balls or a pointer. Check that it is designed for your coolant type, because a model built for ethylene glycol can misread propylene glycol. Sample temperature affects the reading, so follow any correction guidance, and tap the hydrometer gently to free bubbles stuck to the float. Compare the freeze protection it shows with your vehicle's guidance and the coldest temperatures you expect. Adding more concentrate does not always improve protection. Past a certain ratio, freeze protection can actually drop and the coolant carries heat less effectively.
Use Coolant Test Strips for Supported Chemical Checks
Before dipping a strip, confirm that the package lists your coolant type or formulation. Also check the expiration date and make sure the container has been kept sealed, dry and within its stated storage conditions, because moisture and age can change how the pads react. Note which properties the strip reports, since this varies by brand. Follow the product's timing exactly: dip for the stated time, drain or shake off excess fluid as directed, and wait the specified interval. Then compare each pad with the chart in good natural or white light.
pH and additive results only mean something when compared with limits suited to your coolant's formulation. Different chemistries are designed to work in different ranges, so there is no single acceptable pH for all coolants. Use the product chart or your coolant's specification to judge the result. Additive pads are also narrow in scope. A pad detects only the particular substance named on the package and cannot confirm the condition of every inhibitor in the coolant. A good pad result is useful evidence, but it does not fully prove that the system is protected against corrosion.
Interpret Results and Resolve Uncertain Readings
Judge each result on its own. Adequate freeze protection shows that the glycol ratio is in a useful range, but it says nothing about pH or inhibitors. Likewise, a normal pH reading does not mean the mixture can handle cold weather. Be suspicious of any reading from expired or poorly stored strips, a contaminated container, the wrong glycol scale, an uncalibrated refractometer, or a pad read too early or too late. Any of these can shift a result far enough to change your decision.
If a result looks odd or conflicts with another reading, repeat the test before acting on it. Use fresh strips from a properly stored container, recalibrate the instrument, and take a new sample from the correct location with a clean container. Consistent results count for much more than one surprising number. If the system contains unknown or mixed coolant, interpretation is limited, because scales and pad limits assume a known formulation. In that case, a professional assessment is safer than adding concentrate or water based on a reading you cannot trust.
Decide When Coolant Needs Professional Assessment
Some signs call for further assessment no matter what the tests show. These include an oily film, sediment, sludge, discoloration that does not go away, a reservoir level that keeps dropping, and a temperature warning. All of them point to something beyond normal aging. Appearance alone cannot identify the cause, though. Oil-like residue can come from several sources, and coolant loss can involve external leaks or internal problems. Routine condition tests also cannot rule out leaks, circulation problems or combustion gases entering the coolant. Those need separate testing, usually by a qualified technician.
Good readings do not replace the manufacturer's maintenance schedule. The replacement guidance accounts for factors a quick test cannot measure, so follow it even when a sample tests well. Do not add supplemental inhibitors unless a specification for your coolant calls for them, because the wrong additives can upset the coolant's chemistry. Keep a simple record of the test date, the coolant type if known, the instrument or strip used, and each result, which makes changes over time easier to spot. Take used samples and leftover coolant to a local facility that accepts it for disposal or recycling.