How to Replace Rear Control Arm Bushings
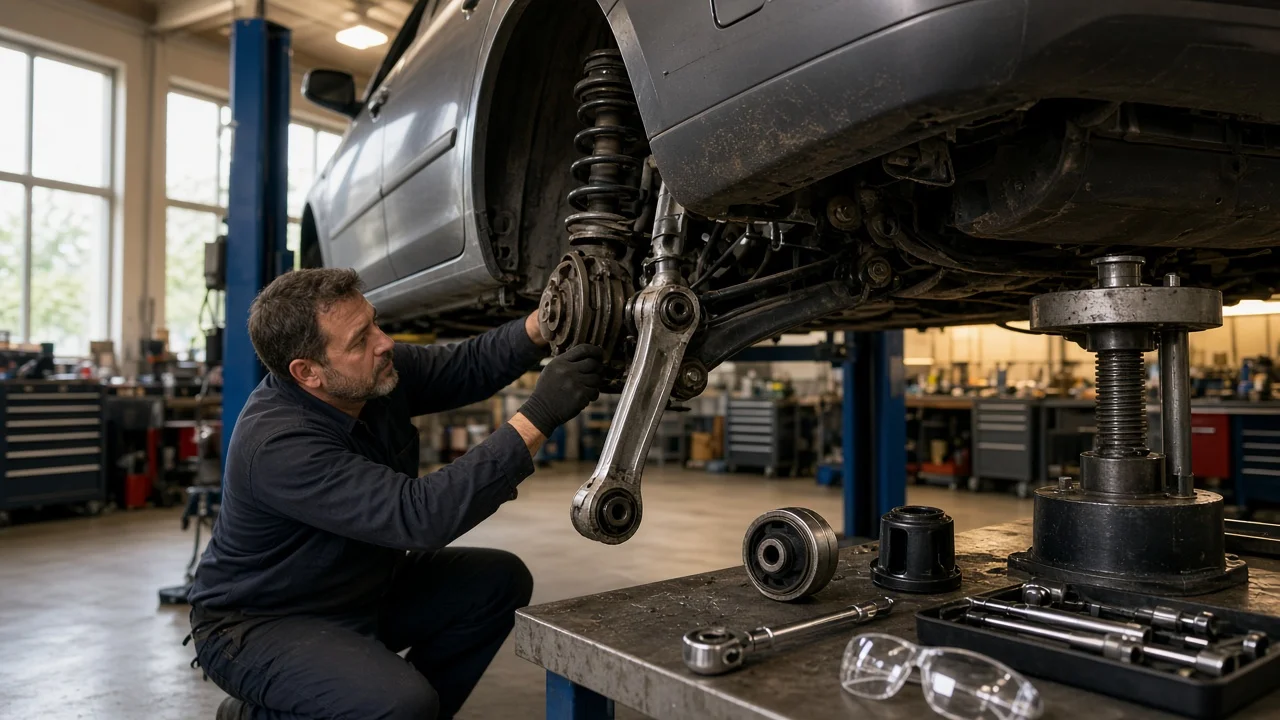
Worn rear control arm bushings let the rear suspension geometry shift under braking, acceleration and cornering. You may hear clunks, feel vague handling or see uneven tire wear. An experienced home mechanic can usually do this job. It does involve loaded suspension parts, seized hardware and tightening procedures specific to each model. This guide covers confirming the diagnosis, preparing safe access, removing the arm or bushing, installing the new parts correctly and checking the finished work.
Confirm the part and repair scope
Start by proving the bushings are actually the problem. Common signs include a clunk or knock from the rear over bumps, a rear end that seems to steer itself during lane changes, and inner or outer tire wear that comes back after an alignment. With the vehicle safely supported, inspect each bushing for cracked or separated rubber, a center sleeve sitting off-center in its housing, or fluid seeping from a hydraulic bushing. Check for joint play by gently levering with a pry bar between the arm and its mounting points. Some movement in rubber is normal, but metal-to-metal contact or obvious shifting is not. Sway bar end links, shock mounts, subframe mounts and wheel bearings can make similar noises, so rule them out before ordering parts.
Next, identify exactly which arm is involved. Many rear suspensions have several links, such as upper and lower control arms, toe links and trailing arms, and each uses different bushings. Match parts by VIN or production details rather than by model name alone. Bushing sizes can change within a model year or between suspension packages. Then decide between pressing new bushings into the existing arm and installing a complete arm with bushings already fitted. A complete arm is often simpler and avoids press work, and some manufacturers supply the arm only as an assembly. Replacing the same bushing on both sides keeps handling balanced. Polyurethane bushings sharpen response but usually transmit more noise and vibration than rubber bushings like the originals.
Prepare tools and safe access
Get the factory service information for your exact vehicle before you start. It lists the lift points, the removal sequence, which fasteners are single-use and the fastener specification for every bolt. It also tells you whether final tightening must be done at ride height. Typical tools include a floor jack, rated jack stands, wheel chocks, a breaker bar, a calibrated torque wrench, penetrating oil and a paint marker. You will also need a bushing press kit or access to a shop press. Buy any replacement bolts, nuts or cam hardware the manual calls for ahead of time so you are not tempted to reuse stretched fasteners.
Proper vehicle support is mandatory. Park on firm, level ground, chock the front wheels, lift only at the specified points and set the body on jack stands. Never work under a car held up by a jack alone. Keep a second jack available to support the control arm itself. On many rear designs the coil spring sits on a lower arm and stays compressed while the arm is bolted in, so removing the wrong bolt can let it release violently. Vehicles with air suspension or automatic leveling may need the system disabled before lifting, as the manual describes. Some cars require spring compression, press work beyond your equipment or electronic suspension procedures you cannot perform. In those cases, have a professional shop do the job.
Remove without avoidable damage
Soak the bushing bolts and nuts with penetrating oil, ideally hours ahead. Before loosening anything, mark the position of any eccentric cam bolts or adjusters against their brackets. These marks keep the alignment close enough to drive to an alignment shop afterward, but they do not replace an alignment. Disconnect or unclip anything attached to the arm. That may include an ABS sensor wire, a brake hose bracket, the parking brake cable, a sway bar end link, or a height sensor link used by headlight leveling or air suspension. Support the arm with a jack so spring and knuckle loads stay controlled. Then remove the fasteners in the order the service manual specifies and lower the arm slowly.
Bolts that pass through a bushing often rust to its inner metal sleeve. If one will not come out, avoid hammering on the threads, and avoid using heat near rubber parts, fuel lines, brake lines and wiring. Sometimes the only clean option is cutting the bolt between the bushing and the bracket, which means you will need new hardware. When pressing the old bushing out of the arm, use receiver cups of the correct size. Support the arm so the force goes through the bushing shell instead of bending the arm. Clean the bore and inspect it for cracks, an out-of-round shape or corrosion. If the arm is damaged, replace it rather than fitting a new bushing.
Install and restore the system
Many bushings are directional. Look for arrows, voids or alignment marks in the rubber. Match them to the orientation of the old part or to the service information. A voided bushing installed at the wrong angle changes how the arm moves and wears out quickly. Some bushings must also be pressed in from a specific side of the arm, so confirm that before you begin. Press only on the outer shell, never on the rubber or the inner sleeve, and stop at the specified depth or flange position. Use only the lubricant the bushing maker approves, if any, because petroleum products can degrade rubber.
Install the arm and only hand-tighten the bushing fasteners for now. Bonded rubber bushings twist rather than rotate. If you fully tighten them with the suspension hanging, they stay twisted at normal ride height. That can tear the rubber early and change the ride height. Raise the arm with a jack to simulate normal loaded height, or follow the manual's measurement method. Then tighten each fastener to its specification and procedure, including any angle-tightening steps. Return cam bolts to your marks and reconnect sensors, cables, links and brackets. Refit the wheel, then lower the car and torque the lug nuts to specification with its weight on the ground. Re-enable air suspension or leveling systems as the manual directs.
Check the completed work
Have a wheel alignment done after replacing a control arm or its bushings. Even with marked adjusters, new bushings and refitted hardware shift rear camber and toe. Incorrect rear toe wears tires and reduces stability. Ask for the before-and-after printout so you can confirm every value is within the manufacturer's range. Before driving, recheck the suspension fasteners and lug nuts. Make sure no hose, wire or cable is stretched or rubbing anywhere through the suspension travel.
On a road test, listen for clunks over bumps and driveway transitions, and check that the rear stays settled during braking and lane changes. Warning lights for ABS, stability control, suspension or headlight leveling point to a disturbed sensor or a calibration step that still needs a scan tool. After a short period of driving, recheck the bushings for joint play and compare ride height side to side. Some symptoms that persist after the alignment need further diagnosis: noise, pulling, an off-center steering wheel or uneven tire wear. Another worn component or an incorrectly oriented bushing may be the cause.