How to Replace an Inner Tie Rod: Removal, Installation and Checks
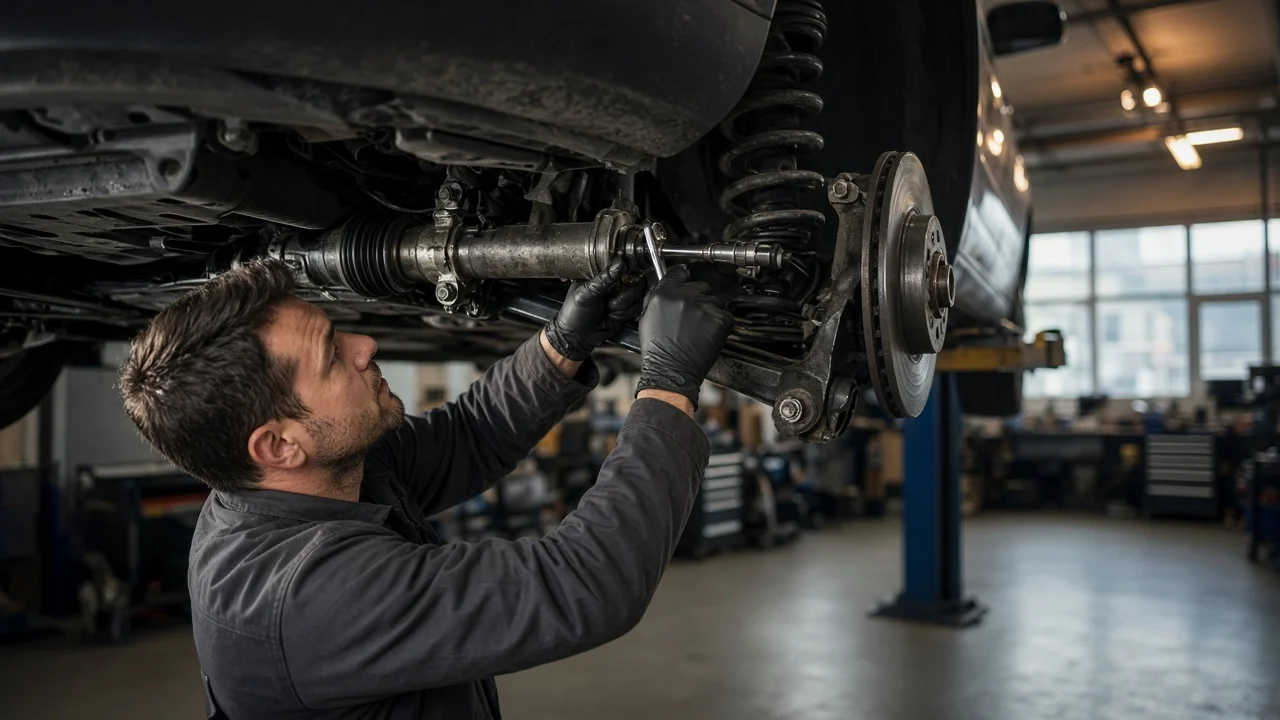
An inner tie rod links the steering rack to the outer tie rod end. When its ball joint wears, the steering can feel loose or clunk over bumps. Replacing an inner tie rod is a manageable job for an owner with the right tools and safe vehicle support, but it changes toe, so a wheel alignment is always needed afterward. This guide covers confirming the diagnosis, removing the old joint without damaging the rack, installing the new part and checking the finished repair.
Confirm the part and repair scope
Before ordering parts, confirm that the inner joint is the worn component. With the vehicle safely supported and the wheels off the ground, grip the tire at the 3 and 9 o'clock positions and rock it. Movement here can come from the outer tie rod end, the inner tie rod, worn rack mounting bushings or a loose wheel bearing. To isolate it, have a helper rock the tire while you squeeze the rack boot over the inner joint. If you feel a knock inside the boot, the inner ball socket has joint play. If the movement is at the outer ball stud, the rack mounting points or the hub, changing the inner tie rod will not cure it. Also inspect the boot. A split boot lets dirt into the joint. A boot holding power steering fluid points to a leaking rack seal, which a new tie rod will not fix.
Many catalogs list this part as an inner tie rod end. Match it by year, make, model and engine, and by steering rack type or VIN where the catalog asks for it. Inner tie rods differ in thread size, overall length, ball socket design and locking method. Some vehicles use different parts for manual and power racks, or for the left and right sides. Certain older designs bolt the inner tie rods to the center of the rack instead of threading them into the rack ends, and that layout needs a different procedure from the one described here. Many owners replace the outer end at the same time if it is worn or seized. Replacing both inner tie rods is also common when wear on each side is similar.
Prepare tools and safe access
Get the service information for your vehicle before starting. It gives the fastener specification for the inner joint, the outer ball stud nut, the jam nut and the wheel lug nuts. It also shows how the rack locks the inner joint: a staked washer, lock plate, pin or thread locker. Typical tools include a jack and jack stands rated for the vehicle, wheel chocks, a breaker bar, a torque wrench, wrenches for the jam nut, a tie rod or ball joint separator, side cutters, new boot clamps and an inner tie rod tool. That tool is either a slotted socket that slides over the rod or an adapter set sized for different joint housings. Many parts stores lend or rent one. Use a paint marker and tape measure to record the outer tie rod position.
Park on level, solid ground, set the parking brake and chock the wheels that stay on the ground. Raise the vehicle only at the lift points listed in the owner's manual or service information. Lower it onto stands at the specified support locations before removing a wheel, and never work under or beside a vehicle held only by a jack. Consider leaving the job to a shop in three cases: the car has electric power steering that requires steering angle calibration, you cannot hold the rack securely while torquing the joint, or you lack a torque wrench that covers the required range. An under-tightened inner joint can loosen and affect steering control.
Remove without avoidable damage
Remove the wheel and turn the steering toward the side you are working on for easier access. Before touching the outer tie rod, record its position. Mark the threads with paint, measure from the jam nut to a fixed point, or count the turns as you remove it. This keeps toe close enough to drive carefully to the alignment shop. Loosen the jam nut and remove any cotter pin and the ball stud nut. Then separate the outer end from the steering knuckle with a puller or separator. Avoid hammering the stud or prying against the outer joint's boot if you plan to reuse that part. Finally, unthread the outer tie rod end from the inner rod and remove the jam nut.
Cut or release the boot clamps and slide the rack boot off the inner joint. Note how the boot sits, including any breather tube connecting the left and right boots, and check for fluid inside. Wipe the area clean so dirt cannot reach the rack. Release the locking feature before loosening the joint: straighten a staked washer, remove a pin, or back off a lock nut, depending on the rack design. Fit the inner tie rod tool over the joint housing and turn it counterclockwise. If the rack has flats or the service information specifies a holding method, support the rack so loosening force is not driven through the rack teeth and pinion. Thread locker can keep the joint stiff for several turns. Steady force works better than impact, which can damage the rack. Once the joint is free, unthread the old inner tie rod by hand. Compare it with the new part for length, threads and joint design.
Install and restore the system
Clean the rack threads and confirm they are undamaged. Install the new locking washer, lock plate or thread locker exactly as the replacement instructions or service information specify. Reusing a staked washer is a common cause of later loosening. Thread the new inner tie rod into the rack by hand to avoid cross-threading. Then tighten it with the tool and a torque wrench to the specified value while holding the rack as directed. An inner tie rod adapter can change the effective length of the torque wrench, so follow the tool or service guidance on applying the reading. Complete the lock by staking the washer or fitting the pin before covering the joint.
Slide on the boot, seat both ends in their grooves and secure them with new clamps. Make sure the boot is not twisted, any breather tube is reconnected, and the boot can flex through full steering lock. Thread the jam nut and outer tie rod end onto the new inner rod to the position you recorded. Connect the ball stud to the knuckle and tighten its nut to specification. If the nut uses a cotter pin, align the hole by tightening within the range the service information allows; do not loosen the nut to align it. Snug the jam nut so the outer end cannot rotate. Refit the wheel, lower the vehicle and torque the lug nuts to specification.
Check the completed work
Before driving, start the engine and turn the steering from lock to lock. Listen for binding or clicks, and watch for the boot contacting nearby parts. Confirm every fastener has been torqued and every cotter pin is in place. Then drive slowly in a safe area to check that the steering returns normally and the earlier clunk is gone. The steering wheel will likely sit slightly off center, because even careful measurement rarely restores toe exactly.
Schedule a wheel alignment promptly after any inner tie rod replacement. Incorrect toe can cause a pull, a crooked steering wheel and rapid tire wear, and only alignment equipment can set it to the vehicle's specifications. The shop may also check ride height, since sagging springs or unusual loads can affect alignment readings. On vehicles with stability control or driver assistance features, the steering angle sensor may need recalibration after toe is adjusted. A warning light or unusual steering assist behavior means that procedure is required. Further diagnosis is needed if play returns, the steering feels notchy or tight, fluid appears at the boot, or the vehicle still wanders after alignment. The rack, its mounting points or other suspension parts may also be worn.