How to Replace Front and Rear Sway Bar Links
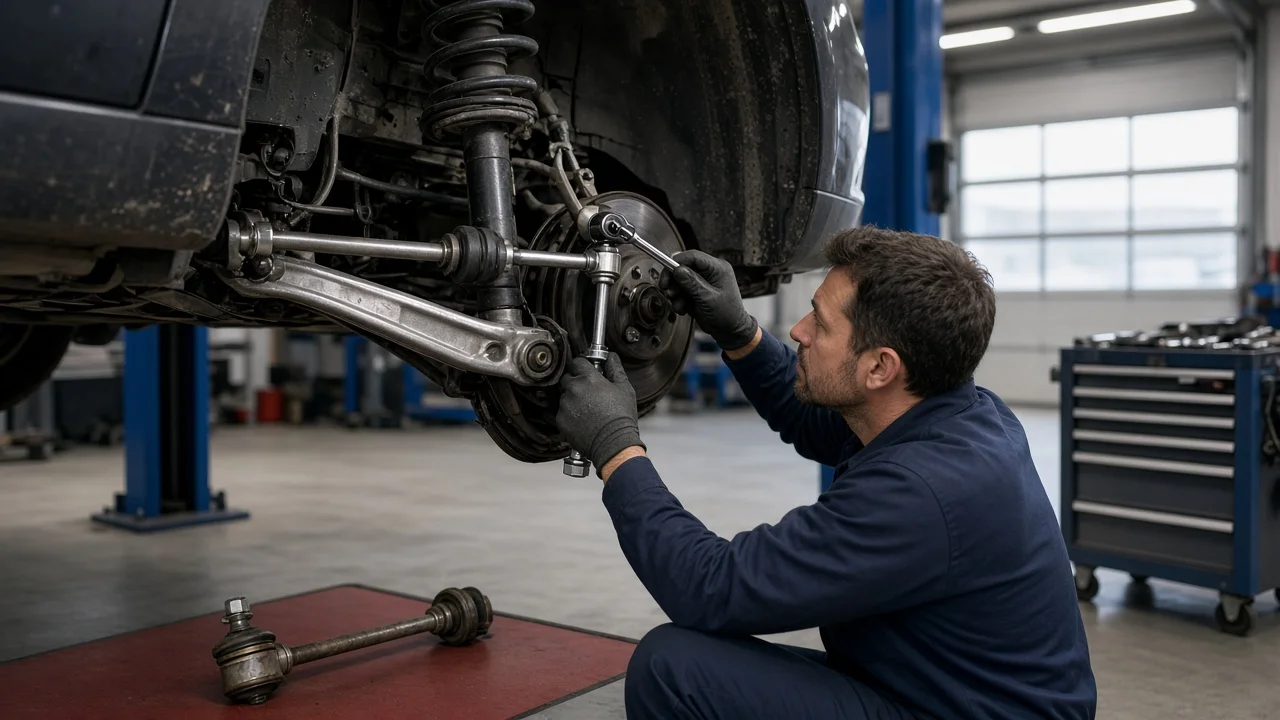
Sway bar links, also called stabilizer links or end links, connect the anti-roll bar to the suspension so the bar can resist body roll in corners. When a link's ball joint wears or its bushings split, you usually hear a clunk or rattle over bumps. Replacing sway bar links is one of the more approachable suspension jobs, but the details depend on your exact vehicle configuration. This guide covers front and rear links, from confirming the diagnosis to checking the finished work.
Confirm the part and repair scope
Before buying parts, confirm that the links are actually causing the problem. A knock over uneven pavement can also come from strut mounts, sway bar bushings, control arm bushings, ball joints, tie rod ends or loose exhaust hardware. With the vehicle safely supported, inspect each link for torn or missing dust boots, leaking grease, heavy corrosion, a bent body or cracked rubber bushings. Grip the link and try to move it. A ball-stud link that rattles or shows visible play at the joint is a likely culprit. Because the bar can be twisted when one wheel hangs, the link may feel tight even when worn, so some technicians check with the suspension loaded or disconnect one end to feel the joint on its own.
Order parts by your exact vehicle configuration, not just year and model. Front and rear links are usually different, and the same model may use different lengths or styles depending on drivetrain, trim, suspension package or ride height. Some links are ball-stud designs that bolt to a strut or control arm; others are a long bolt with stacked bushings, washers and a sleeve. Compare the new part with the old one before starting. If the vehicle has active or electronically controlled stabilizer bars, air suspension or an aftermarket lift, treat the job as specific to that system and follow its service information. Replacing both links on an axle at once is common when both show wear, but a single faulty link can be replaced alone.
Prepare tools and safe access
A typical job calls for a floor jack, jack stands rated for the vehicle, wheel chocks, a lug wrench, a torque wrench, sockets and combination wrenches in the correct sizes, and the hex or Torx bit that fits the end of the link stud. Penetrating oil, a wire brush, a breaker bar, safety glasses and gloves make the work easier and safer. A ratcheting or pass-through wrench helps when you need to hold the stud while turning the nut. Work on firm, level ground and use only the lifting and support points listed in the owner's manual or service information.
Look up the manufacturer specifications for your vehicle before you begin: tightening torque, whether nuts are single-use, and whether final tightening must be done at ride height. Check the service history as well, since previously replaced links may be aftermarket parts with different hardware. Inexperienced owners should hand the job to a shop if the fasteners are badly seized, if cutting tools would be needed near brake lines or wiring, or if the vehicle uses an active stabilizer system that may require special procedures.
Remove without avoidable damage
Loosen the lug nuts slightly, raise the vehicle, set it securely on jack stands and remove the wheel if it blocks access. Clean exposed threads with a wire brush and soak the nuts with penetrating oil. On ball-stud links, the stud usually spins with the nut, so hold it with a hex or Torx bit in its end while turning the nut with a wrench. Avoid using an impact gun against a stud you cannot hold, because it can strip the small drive recess and leave you cutting the link off. If you must use heat or a cutting tool, shield brake hoses, ABS sensor wiring, CV boots and rubber bushings first.
If the bar is under tension, the stud will bind in its hole and resist removal. Support the control arm with a jack to bring the suspension closer to its normal position, or disconnect the link on the other side so the bar can move freely. Do not pry against wires, hoses or the strut body, and do not clamp a strut tube with locking pliers. For bushing-style links, photograph the order of washers, bushings and sleeves as they come off so the new stack can be assembled correctly.
Install and restore the system
Check orientation before fitting the new link. Some links are bent or offset, some are side-specific, and the studs may need to face a particular direction to clear the wheel, brake hose or spring. Clean the mounting holes so the stud tapers seat fully. Start the nuts by hand and use the new nuts supplied with the part. Do not add lubricant or threadlocker unless the instructions call for it, since that changes how the torque value applies. For bushing-style links, assemble the washers and bushings in the order shown in the kit instructions, with cupped washers facing the bushings as directed.
Many manufacturers require final tightening with the suspension at normal ride height, either with the wheels on the ground or with the suspension supported to that position. Tightening with the wheel hanging can preload the bar or twist the bushings. Torque each fastener to the specified value while holding the stud as needed. On bushing-style links, compress the bushings only as far as the instructions specify. Refit the wheel and tighten the lug nuts to specification. Sway bar links do not set wheel alignment, so an alignment is not normally needed unless you disturbed other components. If a ride height sensor or active stabilizer component was disconnected, check whether the service information calls for calibration.
Check the completed work
Before driving, confirm that every link fastener and lug nut is tightened, the dust boots are seated and undamaged, and the link does not touch brake hoses, wiring, the tire or the spring. On the front, turn the steering from lock to lock and watch for contact. Push down firmly on each corner of the vehicle and listen for any knock that remains.
Take a slow test drive over speed bumps and uneven pavement, then through a few gentle turns. The clunk caused by the old link should be gone. If a noise persists, continue the inspection with bushings, mounts and other suspension joints rather than assuming the new part is faulty. Recheck fastener torque after the first drive if the part or service instructions call for it. Record the date, mileage and part used in the vehicle's service history, and include the links in future inspections as part of your maintenance schedule, since wear depends heavily on operating conditions such as rough roads, salt exposure and towing.