How to Replace Front and Rear Sway Bar Bushings
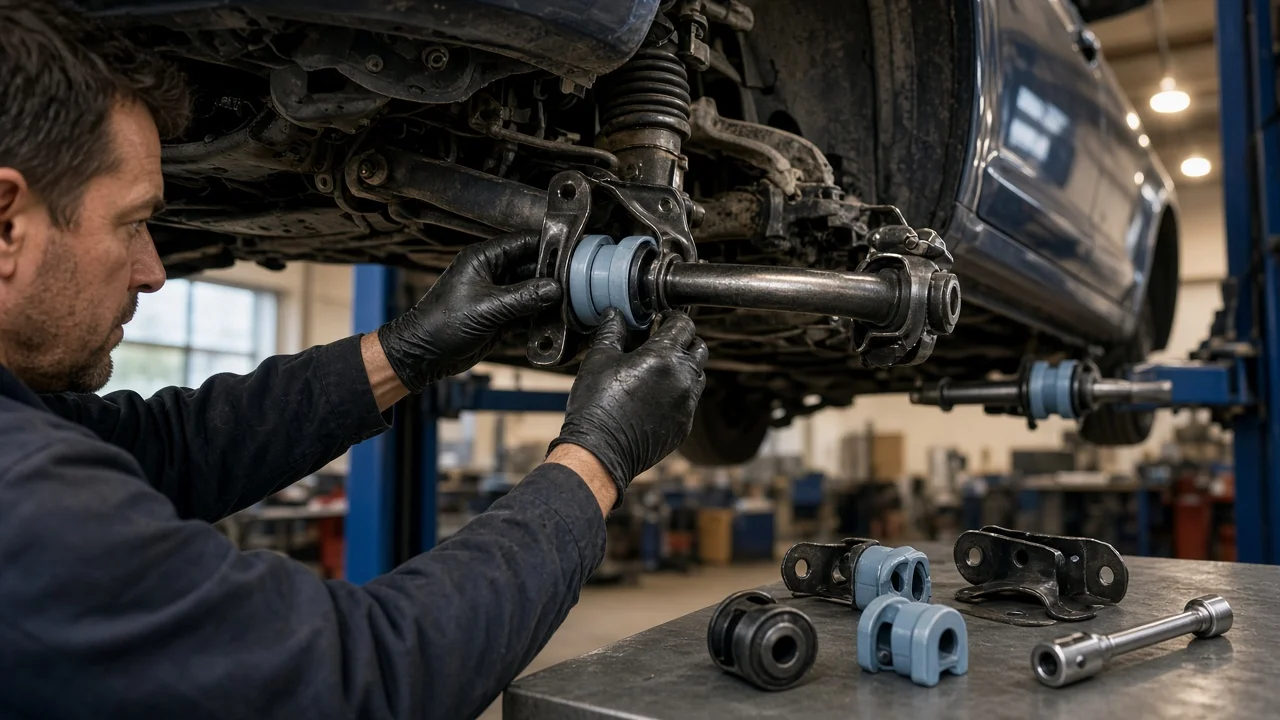
Worn sway bar bushings let the stabilizer bar shift inside its mounting brackets. The usual result is a clunk over bumps, a squeak at low speed, or a looser feel in corners. Replacing them is one of the more approachable suspension jobs, but access and fastener details vary widely between vehicles. This guide covers changing sway bar bushings at either axle, from confirming the diagnosis to the final road test.
Confirm the part and repair scope
Sway bar bushings are the rubber or polyurethane sleeves that clamp the bar to the subframe or body through bolted brackets. Front and rear bushings are different parts, and even on one model the bar diameter can change with trim, drivetrain or suspension package. Year, make and model alone may not identify the right bushing. Confirm the part against your exact vehicle configuration, ideally by VIN, or measure the bar where the bushing sits and compare the new part with the old one before starting.
Make sure the bushings are actually the problem. During inspection, look for cracks, tears, oil contamination, a bushing that has squeezed out of its bracket, or a polished band on the bar showing it has been moving. Gently prying the bar near the bracket can reveal excess play. Similar noises come from end links, strut mounts, control arm bushings, ball joints and loose heat shields, so check those too. Review the service history to see what has already been replaced. Bushings on the same axle are normally replaced as a pair, and if the end links are worn, doing them at the same time saves a second teardown.
Prepare tools and safe access
A typical job needs wheel chocks, a jack, rated jack stands or ramps, sockets and wrenches, a breaker bar, penetrating oil, a wire brush, a pry bar and a torque wrench. Many end link studs need a hex or Torx bit to stop them from spinning while the nut is turned. Get the service information for your specific vehicle before you begin. It gives the fastener torque values, the tightening sequence and whether any bolts are single-use. Do not rely on generic torque numbers or on a procedure written for a different model.
Can you change sway bar bushings without lifting the vehicle? On some trucks and SUVs with generous ground clearance, the brackets can be reached with the wheels on the ground, and keeping the suspension loaded makes final tightening simpler. Most cars, however, need to be raised for working room and to disconnect the end links. Never work under a vehicle held only by a jack. Be realistic about difficulty: on many vehicles the front bracket bolts sit above the subframe, steering rack or exhaust, and reaching them can mean lowering the subframe or removing other components. That work, along with seized nuts captive in the body, is better left to a shop if you are inexperienced. Rear bushings are often close to the fuel tank, brake lines and exhaust, so let the exhaust cool fully before reaching in.
Remove without avoidable damage
Clean the bracket and end link fasteners, apply penetrating oil and give it time to work. Disconnect the end links as your service information directs, usually on both sides, so the bar is no longer preloaded and can drop or rotate freely. Before removing the brackets, mark the bar position relative to each bracket and note any locating collars, so the bar goes back centered rather than shifted to one side. Support the bar as the last bracket comes off; it can drop or spring once released.
The biggest risk is a rusted bolt snapping, especially one threaded into a weld nut in the body or subframe, which turns a simple job into a repair. Use steady force rather than impacts on doubtful fasteners, and if you use heat, keep it well away from fuel lines, brake lines, wiring and rubber parts. Do not let the bar hang on brake lines or ABS wiring, and never pry against them. A stubborn old bushing can be cut off, taking care not to score the bar. Clean rust and debris from the bar surface and the bracket, and replace any bracket that is cracked, bent or badly corroded.
Install and restore the system
Compare each new bushing with the old one for shape, inside diameter and the orientation of any flat side. Many bushings have a split that must face a particular direction specified by the manufacturer; follow the service information or match the original installation. Seat each bushing against its locating collar if the bar has one. Lubrication depends on the material. Some rubber bushings are installed dry or with a specified product, while polyurethane bushings usually require the grease supplied with them. Avoid petroleum-based grease on rubber, which can degrade it, and follow the instructions packed with the parts.
Fit the brackets and start every bolt by hand, then snug them evenly so the bracket seats squarely. Many manufacturers call for the final tightening of bushing brackets and end links with the suspension at normal ride height, so the rubber is not clamped in a twisted position that shortens its life. Check whether your manual requires this and support the suspension accordingly. Reconnect the end links, torque all fasteners to the manufacturer specifications, refit any shields or covers, and install the wheels with lug nuts torqued to spec. Replacing the bushings alone does not normally affect wheel alignment, but if the subframe or steering components were moved, follow the service information on whether an alignment check is needed.
Check the completed work
Before driving, confirm that every bracket, end link and wheel fastener has been torqued, that nothing contacts the bar through its travel, and that brake lines and wiring are routed clear. Then road test at low speed over speed bumps, rough pavement and angled driveway entries, and make some gentle turns. With the windows down, listen for clunks, rattles or squeaks, and pay attention to how the vehicle settles in corners.
Some signs call for further diagnosis. A clunk that remains usually points to end links, strut mounts or control arm bushings rather than the new parts. A new squeak can mean incorrect lubrication or a bushing that does not match the bar diameter. A bar that shifts sideways suggests it was not centered against its collars, and pulling or an off-center steering wheel after subframe work needs an alignment check. If the service information calls for rechecking fasteners after a short distance, do it. Include the bushings in routine inspections under your maintenance schedule, since harsh operating conditions such as road salt or rough roads wear them faster. Finally, record the work in the service history.