How to Replace a Throttle Body: Parts, Removal, and Costs
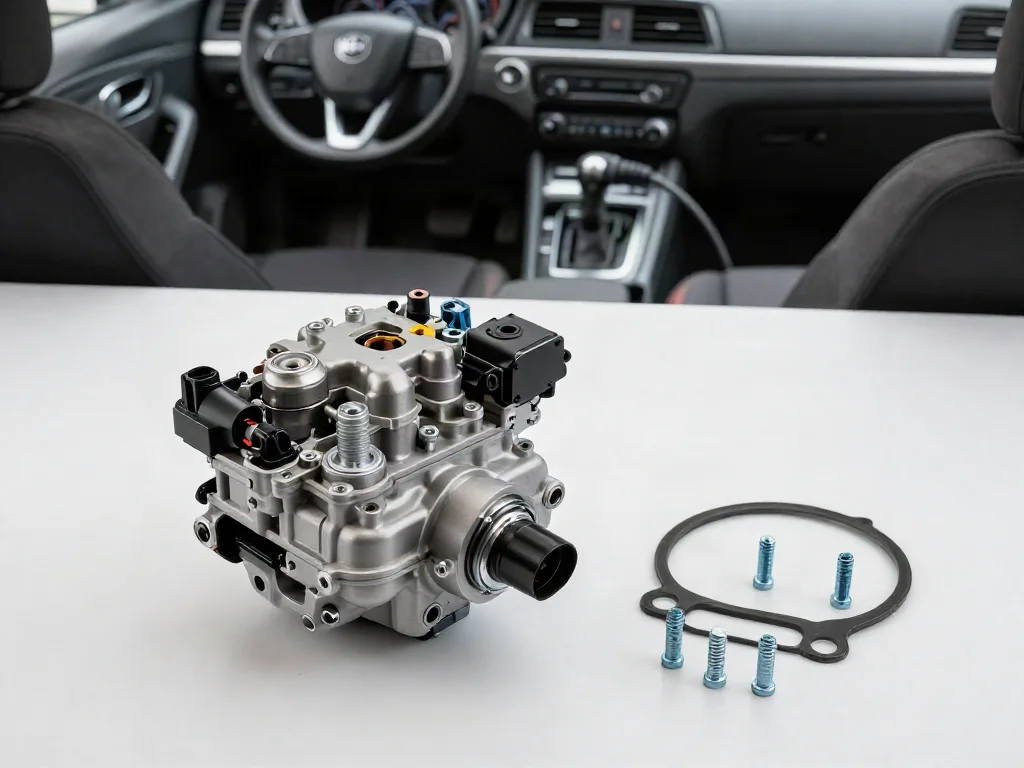
A throttle body that sticks, collects deposits, or loses electronic control can make an engine idle poorly, hesitate, or even stall. Replacing the assembly is often manageable, but only after diagnosis confirms it is the real problem and the correct part is in hand. Here you'll find how to decide between cleaning and replacement, choose parts, remove and install the unit, complete the relearn, and understand what drives the final bill.
Confirm That the Throttle Body Needs Attention
The throttle body sits between the intake duct and the intake manifold. Its throttle plate opens and closes to control how much air enters the engine. On most modern vehicles, an electronic throttle control system moves that plate with a motor, based on input from the accelerator pedal. When airflow control goes wrong, drivers usually notice an unstable or surging idle, stalling when coming to a stop, hesitation, or slow response to the pedal. A warning light or reduced-power mode sometimes comes with these symptoms.
Those symptoms do not prove the assembly has failed. An intake air leak, a corroded electrical connector, damaged wiring, or other engine management faults can cause the same complaints, and a trouble code is evidence to interpret, not a verdict. With the vehicle parked, powered down, and the key away, look for split ducting, loose clamps, or a connector that isn't fully seated, without touching the throttle plate. Beyond that, scan-tool data and electrical testing are needed. If the car stalls or the throttle responds erratically, it should not be driven.
Establish Whether Cleaning or Assembly Repair Is Appropriate
Carbon and oil vapor deposits can build up around the throttle plate and bore and restrict airflow at idle. If diagnosis points to contamination, cleaning with a manufacturer-approved method may restore smooth operation for far less than the cost of a new part. Cleaning has clear limits, though. It will not fix a failed actuator motor, a cracked or warped housing, or a wiring or internal electrical fault. A dirty throttle body that also has an electronic problem still needs replacement.
Before cleaning anything, check the service information for your vehicle. Some manufacturers restrict certain solvents, prohibit cleaning coated bores, or require the ignition to stay off the whole time. Never force an electronic throttle plate open, and never soak or spray the assembly's electronics. Whether the internal parts of an electronic unit can be repaired depends on its design and on manufacturer guidance. Many are sold only as complete assemblies, and any internal repair belongs with a specialist. This article covers the complete assembly, not replacing individual sensors.
Select the Correct Replacement Assembly and Hardware
Throttle bodies can differ between trim levels, engine sizes, and production dates of the same model, so start with the VIN and the exact engine configuration. Match the part number from the original assembly or a dealer parts catalog, then check that the supplier's fitment information agrees. Whether you buy OEM or aftermarket, look for documented fitment, a clear list of what is included, meaningful warranty terms, and any stated setup requirements, such as programming or adaptation after installation.
Confirm the supporting parts before taking anything apart. Most installations call for a new gasket or O-ring seal of the specified type, and some manufacturers treat the mounting bolts as single-use. Bolt length, thread size, reuse rules, tightening sequence, and torque should all come from vehicle-specific service information, not guesswork. A mount that is tightened unevenly or too hard can distort the housing, bind the plate, or create an intake air leak that brings back the original symptoms.
Prepare for Access and Follow the Specified Removal Sequence
Work only on a cool engine with the vehicle securely parked, the ignition off, and the key away from the car. Have the correct service procedure on hand, including the manufacturer's method for preventing unintended electrical activation. That may mean disconnecting the battery or another prescribed step. At a high level, removal means photographing the connections, removing the necessary intake ducting, releasing the specified electrical connectors, and then removing the bolts that hold the assembly in place.
Once the throttle body is off, the intake opening is exposed. Cover it from the outside with a clean, purpose-made cap. Never push rags, tools, or loose material into the opening, because they could be drawn into the engine. Protect the connector locking tabs and the sealing surface from damage. Some engines add coolant hoses, cable linkages, or very tight access. If these are beyond your tools or experience, professional service is the safer choice.
Install the Throttle Body With the Required Seals and Connections
Before fitting the new assembly, compare its part number and connector against the old unit, and inspect it for shipping damage, a bent plate, or a cracked housing. Prepare the mating surface exactly as the service procedure describes. Usually that means removing old gasket material without scratching the surface or letting debris fall into the intake. Seat the specified seal correctly, position the throttle body, and tighten the bolts in the prescribed sequence to the published torque. No universal torque value applies.
Push each electrical connector in until it locks fully, and check that any secondary locks are engaged. Reinstall the intake ducting with the hoses routed as they were and the clamps secure. A loose joint downstream of the airflow sensor can let in air the engine computer doesn't measure. Before starting the engine, account for every tool and remove any protective intake covers. If the fit feels wrong, the seal won't sit flat, or a connector won't engage cleanly, stop and fix it before starting the engine.
Complete Required Adaptation and Check the Result
Many vehicles need a throttle adaptation or idle relearn after replacement, so the engine computer can learn the new assembly's closed position and airflow characteristics. Requirements vary widely by vehicle. Some cars complete the relearn automatically, while others need a scan tool. Follow the manufacturer's procedure rather than a pedal or ignition sequence found online. Then start the engine in a safe, well-ventilated area and watch for warning messages, an unstable idle, hissing or whistling from the intake, and problems at any connection you disturbed.
If the original symptoms remain or new ones appear, don't assume the new part is defective. Recheck the seal, ducting, and connectors, confirm the adaptation completed, and go back to diagnosis. A wiring fault, an intake air leak, or an unrelated engine problem may have been the real cause all along. Wait to road-test until the engine idles steadily and responds normally. Do not drive a vehicle that stalls, responds abnormally to the throttle, or shows unresolved safety-related warnings.
Understand the Parts Price and Complete Replacement Estimate
The price of the throttle body itself is only part of the bill. The installed total usually includes diagnosis, labor, the new seal, any required hardware, adaptation or programming, and shop fees or taxes. Vehicle layout matters a great deal. A throttle body on top of an easy-to-reach intake takes less time than one buried under other components or connected to coolant lines. Where the part comes from, whether you choose OEM or aftermarket, and local labor rates also change the estimate.
Because these factors vary so much, any single replacement price would be misleading. Current quotes for your specific vehicle are the only reliable way to compare. Ask for an itemized estimate that names the exact assembly being supplied, the diagnostic findings that justify replacement, and whether adaptation and setup are included. It should also state the warranty on parts and labor and any conditional work, such as a broken bolt or damaged connector, that could add cost once the job starts.