How to Replace a Catalytic Converter: Removal, Installation and Time Required
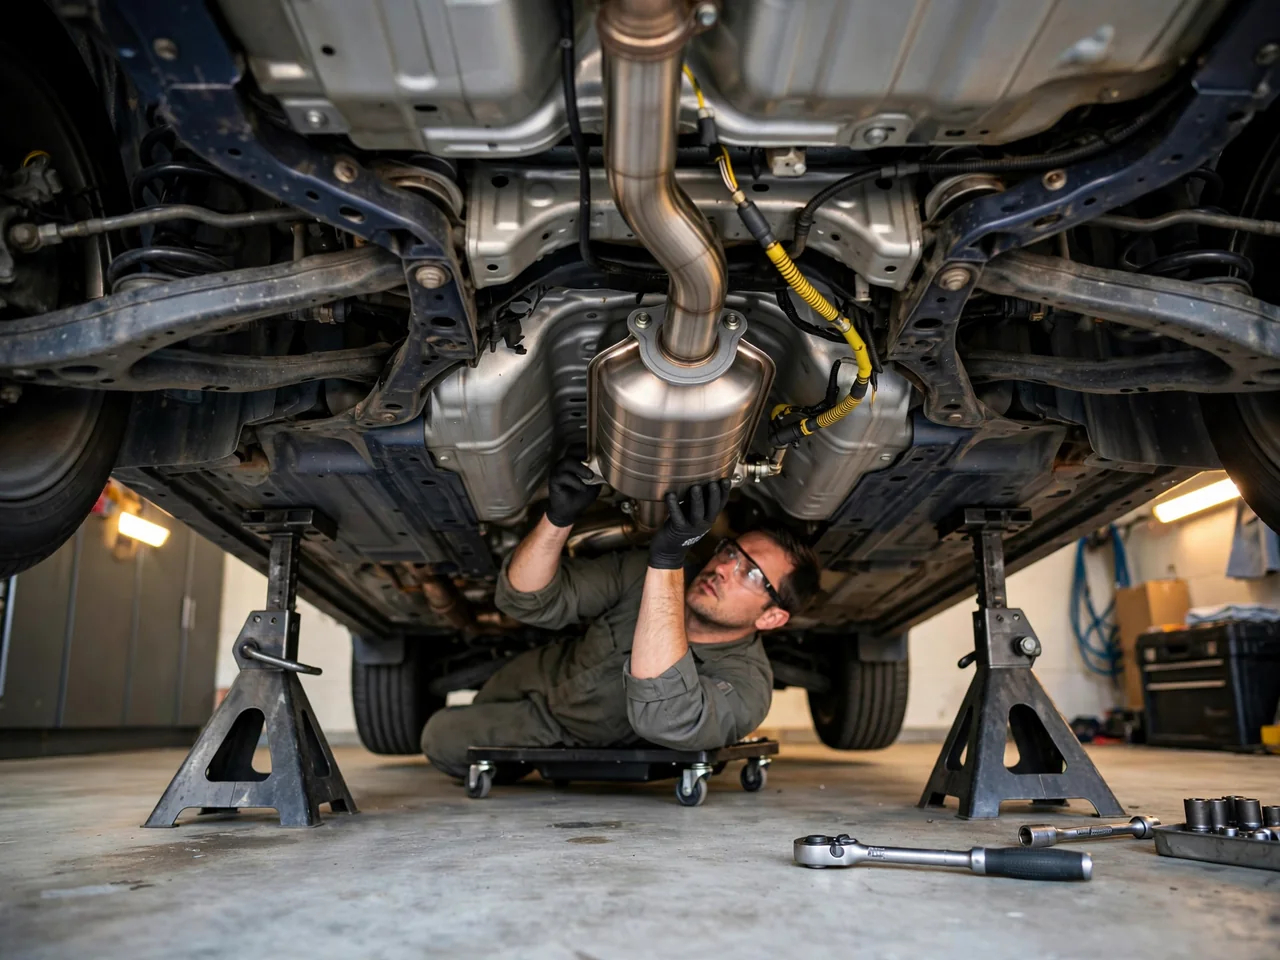
A failing catalytic converter can turn on warning lights, fail an inspection or rattle apart inside the exhaust. Replacing it only makes sense once the diagnosis is solid. This guide covers how to confirm the problem, choose a legal replacement, prepare tools and gaskets, remove and install the unit, and plan a realistic amount of time. It also points out where an exhaust shop is the smarter choice.
Confirming the Converter Needs Replacement and Sourcing a Compliant Part
Before you change a catalytic converter, treat an efficiency code as a clue, not a verdict. A P0420 or P0430 means the catalyst appears to be underperforming. The same codes can come from an exhaust leak, a slow oxygen sensor, or misfires sending unburned fuel downstream, so fix those first. Stronger evidence includes a rattle from broken substrate inside the shell, a crushed or heat-discolored body, or shop backpressure and temperature testing that shows a restricted or inactive unit.
The replacement has to match the vehicle's emissions certification and configuration. A direct-fit converter bolts in with the correct flanges, sensor bungs and hanger points. A universal catalytic converter needs its pipes adapted to fit. Count the oxygen sensor ports and note the flange style on the original before ordering. Some states accept only converters approved for that specific vehicle, so check your local requirements. Taking a converter off without installing a compliant replacement is illegal for road use and is not covered here.
Tools, Supplies and Safety Setup Before You Start
A typical bolt-on job calls for a floor jack with rated jack stands or sturdy ramps, a socket and wrench set, a breaker bar, a torque wrench, and an oxygen sensor socket with a slot for the wiring. Add a wire brush, penetrating oil, safety glasses and gloves, because rust flakes and grit fall straight toward your face. Start only when the exhaust is completely cool, since converters stay hot long after the engine shuts off.
Park on level, solid ground and chock the wheels that stay on the ground. Never crawl under a vehicle held up only by a jack. Soak flange bolts, clamp nuts and sensor threads with penetrating oil several hours or a day ahead, then apply more before you start. Buy replacement bolts, nuts or studs in advance, because exhaust fasteners often snap. Also check whether the converter is bolted at both ends or welded into the pipe. A welded unit changes the tool list and usually means shop work.
Removing the Old Catalytic Converter Without Damaging Surrounding Parts
If you will be unplugging oxygen sensors, disconnect the battery negative terminal first. Then trace each sensor lead to its connector and release it from any clips. Removing the sensors or tying the harnesses aside keeps the wiring from stretching as the pipe drops. Before loosening any flanges, support the exhaust with a jack stand or strap. Otherwise the rest of the system hangs from the rubber hangers or pries against the manifold studs, which can crack or snap under that load.
Seized fasteners are the main obstacle when removing a catalytic converter. Give the penetrating oil time to work, apply steady pressure with the breaker bar instead of jerking it, and switch to a nut splitter if a nut rounds off. Heat-free methods avoid risk near fuel lines, wiring and undercoating. For most DIYers, a broken exhaust manifold stud is the point to stop. Welded-in units need cutting and welding, which is best left to an exhaust shop. Keep the old converter for a core return or documented recycling. It contains precious metals, and some places regulate how it is disposed of.
Catalytic Converter Gaskets, Flanges and Hardware Preparation
Converter joints use a few different seal types, and knowing which one you have helps prevent leaks. Flat multilayer steel gaskets sit between two bolted flanges. Donut-style rings, made of graphite composite or metal mesh, fit into a cupped flange and compress as the bolts tighten. Spring-loaded ball joints often use a crush-style seal that deforms once to form a tight fit. Because these seals are designed to crush, a used one rarely seals again, so always install new ones.
Clean both mating faces with a wire brush or gasket scraper until no old gasket material or carbon remains. Then check them for warping, pitting or cracks, since no gasket can seal over those. Match the new gasket to the actual flange pattern and pipe diameter on your vehicle rather than assuming a generic size will fit. Replace rusted studs, nuts and spring bolts with new hardware. Use anti-seize on oxygen sensor threads only if the sensor maker calls for it. Many sensors come precoated, and extra compound can contaminate them.
Installing the New Converter and Reconnecting Oxygen Sensors
Orient the new unit using its flow arrow or its inlet and outlet markings, and make sure any heat shield faces the same way as on the original. Fit both ends loosely with new gaskets before tightening anything. Then adjust the exhaust hangers so the system hangs naturally without pulling to one side. Tighten the flange bolts gradually in a crisscross pattern so the gasket compresses evenly. Finish at the torque the vehicle or part manufacturer specifies.
Start oxygen sensors by hand to avoid cross-threading. The upstream sensor goes in the front bung and the downstream sensor goes after the catalyst. Route the harnesses away from hot pipes. Universal units need adapters plus clamps or welding, and every joint must be leak-free. Air leaking in ahead of the downstream sensor can set an efficiency code even on a brand-new converter. Some vehicles need stored codes cleared and a drive cycle completed before the readiness monitors reset. If a code persists after a correct installation, another fault is likely.
How Long Catalytic Converter Replacement Takes
For an experienced person replacing a bolt-on direct-fit converter with good access and cooperative hardware, the job typically takes one to two hours. Welded units, or converters tucked behind the engine or above the subframe, can take several hours. Rusted or broken fasteners, seized oxygen sensors and tight packaging add the most time. That is especially true when heat shields, crossmembers or splash guards have to come off just to reach the flange bolts.
First-time DIY attempts usually take much longer than shop labor estimates, because every step involves figuring out where things are and how they come apart. Waiting overnight for penetrating oil to work, or tracking down a replacement stud after one snaps, can turn the job into a two-day project. Plan for the whole job, not just the wrench time. Include cool-down time before you begin, plus a short test drive and a recheck of the joints and fasteners afterward.
Post-Installation Checks and When to Hand the Job to a Shop
Start the engine outdoors or in a well-ventilated space and listen for ticking or puffing at each joint, which means an exhaust leak. With the vehicle securely supported, check the flanges right after a cold start, before the metal heats up. Hold your hand near each joint, not on it, to feel for pulses of escaping gas. Soot streaks around a joint on a later inspection also point to a leak. After the first full heat cycle and cool-down, recheck bolt torque, because new gaskets settle.
Complete a proper drive cycle and confirm the check engine light stays off. A basic scan tool can show whether the downstream oxygen sensor has settled into a steadier signal than the upstream one. Stop and take the vehicle to a professional exhaust or diagnostic shop if you find broken manifold studs, cracked flanges, a welded system, or a code that comes back right away. Inspection programs may check for an approved converter and complete readiness monitors, so keep the receipt and the part documentation.