How to Replace a Car Thermostat
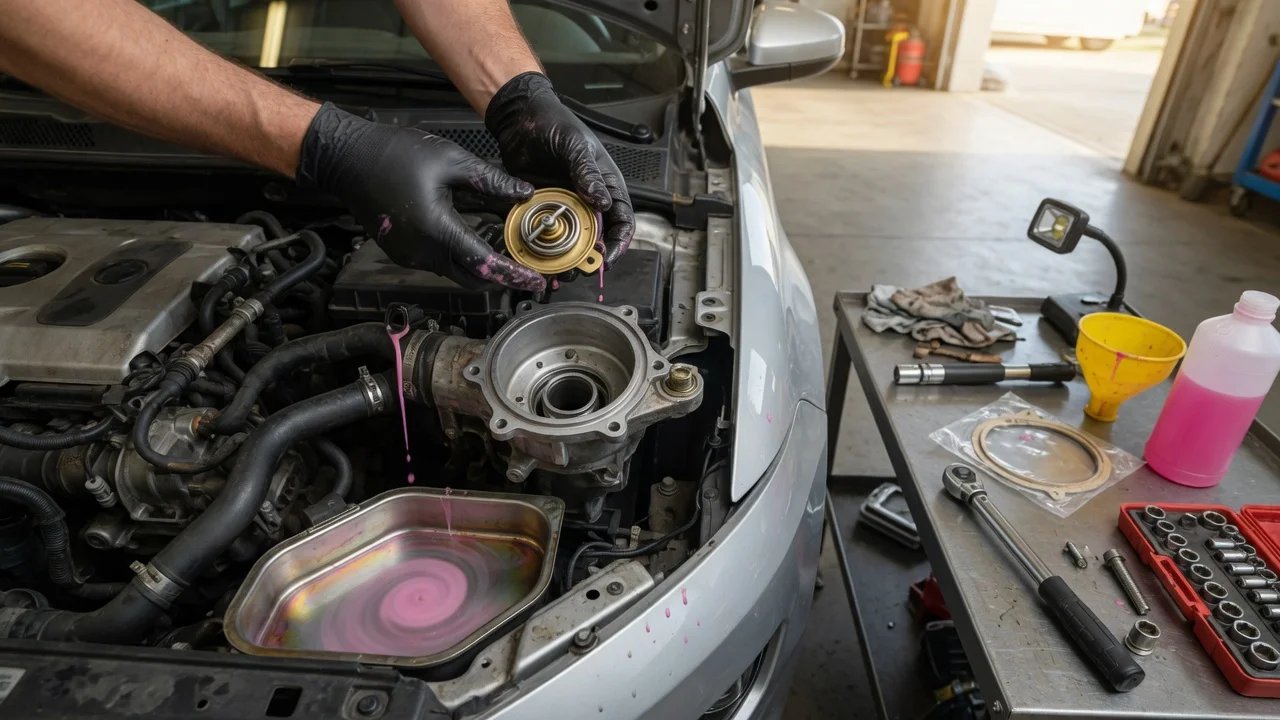
Before you start
Thermostat replacement is a cooling-system repair done on the vehicle. It usually requires draining enough coolant to get below the thermostat housing, removing the housing or cover, and swapping the thermostat before reinstalling and refilling the system. Check the service information for the engine first because access, fastener locations, seal type, and bleed procedure vary between models. The thermostat location is normally where the upper radiator hose meets the engine, but some cars place it in a lower housing or a separate coolant outlet.
Park on level ground and let the engine cool completely. A hot cooling system is pressurized and can spray coolant. Have a drain pan, replacement thermostat, thermostat housing gasket or seal, coolant approved for the vehicle, basic hand tools, a torque wrench, and clean rags. Check whether the housing uses a gasket, O-ring, or sealant. Some replacement thermostats include the seal; others do not. Place a spill tray under the work area because coolant can drain from hoses, the housing, and the radiator. Wear gloves and eye protection. Coolant is toxic and should be kept away from pets and drains.
Step-by-step instructions
Use the replacement part recommended for the engine temperature rating. Do not switch to a different temperature range unless the service information supports it. The correct opening temperature matters for emissions, warm-up, and heater operation.
Remove the radiator or coolant reservoir cap only when the engine is cold. Turn the cap slowly and release any remaining pressure. Drain coolant into a clean pan until the level is below the thermostat housing. The radiator drain is the simplest point when equipped; otherwise the lower hose can be detached. Locate the thermostat housing. Remove the wiring, brackets, engine cover, or intake parts needed for access, marking connectors if necessary. Loosen the housing fasteners evenly. Expect some coolant to spill when the housing separates. Note the orientation of the old thermostat: the spring side generally faces the engine, and the pointed or pellet end faces the housing or hose direction. Many thermostats also have a jiggle valve or vent that must be positioned correctly. Remove the old thermostat and clean the mating surfaces. Scrape off old gasket material without scratching the sealing face. Fit the new thermostat in the correct orientation. Install a new gasket, O-ring, or approved sealant as required. Reinstall the housing and tighten the fasteners in a cross pattern to the torque listed for the engine. Reconnect any removed hoses, wiring, and brackets.
Refill and bleed the cooling system
After the thermostat is installed, replace drained coolant with the correct mixture. Air trapped in the system can cause incorrect temperature readings, poor heater output, or overheating, so use the engine-specific bleed method rather than assuming the system is full.
Close the radiator drain and refill with the recommended coolant and water mix. Add slowly to reduce trapped air. Squeeze the large radiator hoses gently if accessible to help move air toward the fill point or bleeder. Open the bleeder screw or coolant vent when the service procedure calls for it, then close it when coolant flows without bubbles. Atmospheric overflow tanks may be filled to the cold mark before running the engine, then checked again after the engine cools. Closed or pressurized reservoir systems often require the cap to be installed before the final warm-up and level check. Follow the engine-specific fill level and final cap position.
Check the output
A successful replacement means the engine reaches normal operating temperature without visible leaks at the housing, and the temperature gauge stays in the normal range rather than running cold or climbing too high. The final check should cover three conditions: initial warm-up, steady operation, and a cool-down level inspection.
Start the engine with the heater set to hot. Warm airflow should appear as the engine warms up; cold air may indicate trapped air or low coolant. Run the engine at idle and observe the temperature gauge. It should rise steadily and stabilize near the normal range. A thermostat that stays open can keep the engine too cool. Raise the engine speed briefly after it reaches operating temperature, then watch for leaks at the housing, hoses, and drain point. Listen for steam, smell for coolant, and inspect the ground under the vehicle after the test. Allow the engine to cool and recheck the reservoir or radiator level. Top up only to the specified mark with the correct coolant mix.
Common problems and next steps
Most post-installation issues come from trapped air, an incorrect thermostat orientation, a damaged seal, or the wrong coolant level. If the temperature gauge rises above normal, stop the engine and let it cool before opening the system.
Overheating after replacement: check for an air pocket first and repeat the bleed procedure. Then inspect the housing seal and look for coolant loss. Engine runs too cool or takes very long to warm: verify that the thermostat is installed with the spring side toward the engine and that the temperature rating matches the specification. Coolant leak at the housing: tighten fasteners in the correct sequence to the specified torque. If it still leaks, inspect the gasket, O-ring, or sealing surfaces for damage or leftover debris. Low heater output: usually indicates trapped air or low coolant. Refill and bleed again after the engine cools. Coolant level drops after the first drive: recheck the level again when fully cold. A small drop may be settling or normal expansion-tank behavior, but a repeated loss needs a pressure check of the system.
If the system repeatedly loses coolant, the temperature gauge becomes unstable, or coolant appears in the oil, stop driving and have the cooling system inspected. A failed thermostat is only one possible cause of overheating, and a repaired housing cannot correct a blocked radiator, damaged head gasket, or faulty cooling fan.