How to Replace a Car Thermostat
Before you start
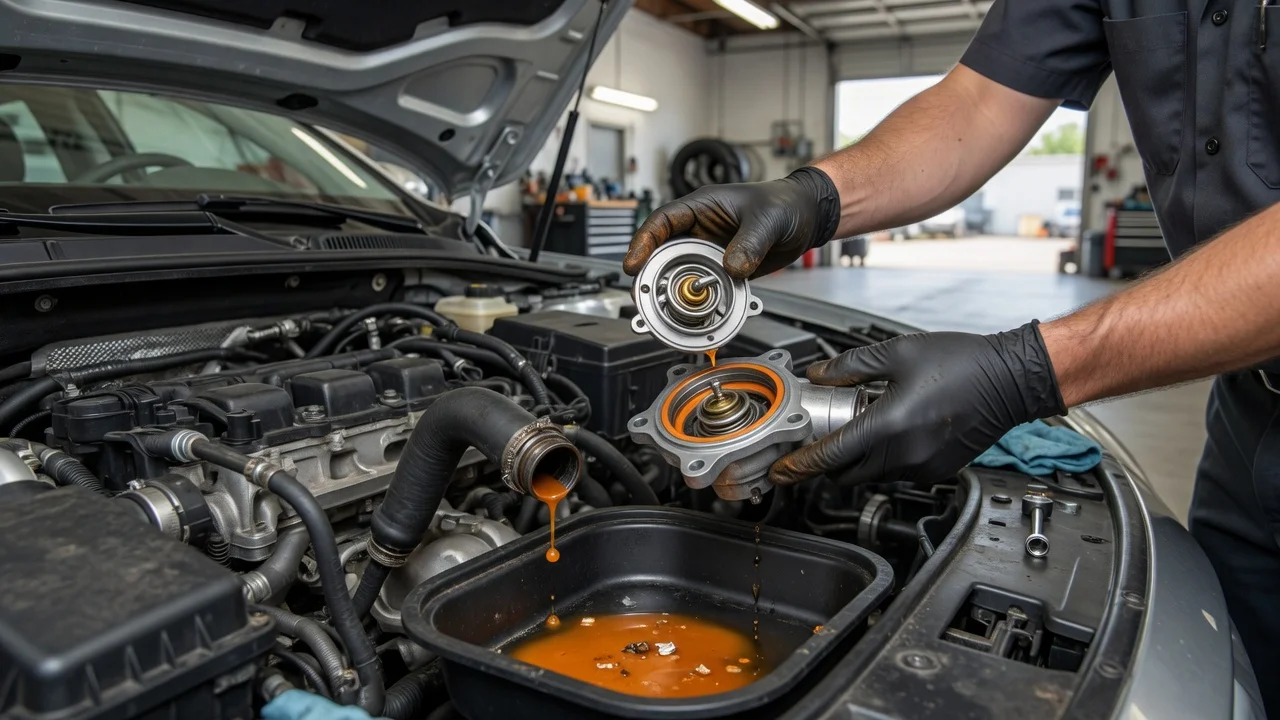
Replacing a thermostat is a cooling system job, not a digital or remote task. You will work on the engine directly, usually after the engine has cooled completely. The process runs locally on the vehicle and involves draining or partially draining coolant, removing the thermostat housing, and installing a new thermostat and gasket.
Check the service information for your specific vehicle before buying parts. A replacement thermostat should match the temperature rating specified for the engine. You will also need the correct replacement gasket or O-ring, fresh coolant that meets the vehicle specification, a drain pan, basic hand tools, and a way to dispose of used coolant safely.
Work with the engine cold and the vehicle on a level surface. Coolant is toxic to people and animals, so keep spills contained and clean them up promptly.
Step-by-step instructions
Use the vehicle service manual for exact locations and torque values. The general procedure below applies to many engines, but hose routing, housing style, and fastener positions vary.
1) Drain or lower the coolant level
Place a clean drain pan under the radiator drain or the thermostat housing area. You do not always need to drain all coolant, but the level must be below the thermostat housing to reduce spillage when the housing is opened.
If you plan to reuse the drained coolant, keep it in a clean container and inspect it for contamination. If the coolant is old or discolored, this is a practical time to replace it.
2) Remove the thermostat housing
Remove parts that block access to the housing. Note the orientation of the old thermostat before removal. Loosen the housing fasteners evenly and separate the housing carefully so the gasket surface is not damaged.
Lift out the old thermostat. Note which way the sensing element faces and whether the jiggle pin or air bleed is positioned at the top.
3) Clean the sealing surfaces
Remove all old gasket material without scratching the metal. A plastic scraper is usually safer than a metal blade. Clean the thermostat housing and the mating surface thoroughly so the new seal can sit flat.
4) Install the new thermostat
Install the new thermostat in the same orientation as the old one. Replace the gasket or O-ring, and lightly lubricate an O-ring only if the service manual calls for it.
Refit the housing and tighten the fasteners gradually in a crisscross pattern. Use the specified torque. Over-tightening can crack the housing or distort the seal.
5) Refill and bleed the cooling system
Refill the cooling system with the correct coolant mixture. Remove trapped air using the bleed process described in the vehicle service manual. In many vehicles, this means running the engine with the heater on and topping up the reservoir as the level drops.
Check the output
With the engine running, check the thermostat housing, hoses, radiator connections, and drain point for leaks. Observe the temperature gauge or digital temperature readout during warm-up and for a short test drive if that is safe to perform.
The engine should reach normal operating temperature without overheating. The upper radiator hose should normally become warm after the thermostat opens, while the lower hose stays cooler at first. Exact hose behavior can vary by cooling system design, so use the expected behavior for your vehicle.
Recheck the coolant level after the engine has cooled. It is common for the level to drop after the first full warm-up cycle.
Common problems and next steps
If the engine overheats after installation, shut it off as soon as it is safe. Possible causes include trapped air, a thermostat installed backwards, low coolant, a stuck-closed replacement thermostat, or a cooling system fault such as a failing water pump or clogged radiator.
If the engine warms up slowly or does not reach normal temperature, the new thermostat may be opening too early or staying open. A coolant temperature that stays low can increase fuel use and reduce cabin heat.
If you see coolant around the housing, check that the gasket or O-ring is seated correctly and that the fasteners are at the specified torque. A cracked housing or damaged mating surface can also cause a leak.
A thermostat that fails after a short time can point to contaminated coolant, incorrect coolant mixture, corrosion, or another cooling system problem. If the issue is not explained by installation error, have the system inspected.