How to Replace a Car Fuel Filter
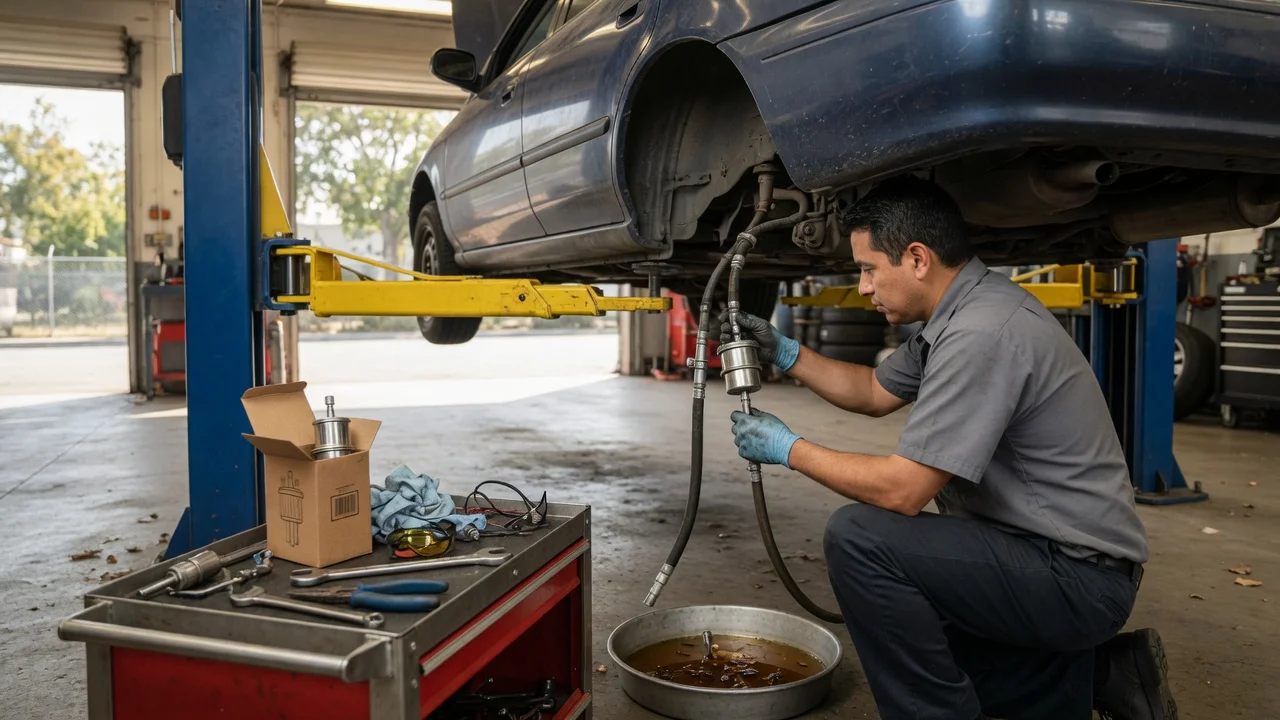
Before you start
Fuel filter location and replacement steps vary by vehicle. On many cars the filter sits along the frame rail or near the fuel tank, while other models use a filter built into the fuel pump assembly inside the tank. Check the service information for your exact make, model and engine before buying parts or starting work.
Work in a ventilated area away from open flames, sparks and pilot lights. Have the correct replacement filter, new sealing washers or clips if specified, a drain pan, safety glasses and nitrile gloves. A fuel-rated line wrench or quick-disconnect tool may be required for the fuel line fittings.
Relieve fuel system pressure before opening any line. The approved method depends on the vehicle: many systems require removing the fuel pump fuse or relay and briefly cranking or running the engine, while others use a service-port or specified bleed procedure. Do not guess this step because residual pressure can spray fuel.
Step-by-step instructions
Use the procedure that matches the vehicle. The following order applies to an external, cartridge-style fuel filter; a tank-mounted filter assembly requires a different service method.
1) Park on a level surface, set the parking brake and disconnect the negative battery cable. Raise the vehicle safely if the filter is located underneath.
2) Relieve fuel pressure using the vehicle-specific procedure. Place a drain pan and a shop cloth under the filter to catch fuel released from the lines.
3) Disconnect the inlet and outlet fittings. Press-style fittings may need a quick-disconnect tool, threaded fittings may use a line wrench, and some filters use clips or clamps. Note the flow direction arrow printed on the old filter before removal.
4) Unfasten the filter from its bracket, then remove it. Replace single-use seals, washers or clips even if they look reusable unless the service information says reuse is acceptable.
5) Install the new filter so its flow arrow points toward the engine, matching the engine-side and tank-side lines. Mount it in the bracket and reconnect the fittings.
6) Reconnect the battery and restore the fuel pump fuse or relay exactly as removed. Switch the ignition on without starting the engine to let the pump prime the system, then inspect all fittings for leaks.
7) Start the engine and check again for leaks at the connections and filter body. If the engine starts and runs normally with no fuel odor or wetness, lower the vehicle after the final inspection.
Check the output
A successful replacement should let the engine start without extended cranking, idle steadily and respond normally during a short test drive. There should be no visible fuel drip, seeping at fittings or strong fuel smell around the filter area.
Fuel system pressure is not proved by the fact that the engine runs. If the service procedure requires a pressure check, use the specified test point and compare the reading with the value listed for the vehicle. After any test, check the work area again for residual fuel and dispose of used materials in line with local rules.
Common problems and next steps
A leak after replacement is usually caused by a fitting that is not fully seated, a damaged O-ring, a reused single-use seal or a line installed in the wrong position. Release pressure again before correcting the connection, replace the affected seal and retest.
Long cranking, rough running or a no-start condition after the job may be caused by air in the system, low fuel pressure, the pump fuse or relay being left out, or an incorrect part for the vehicle. Confirm the replacement filter number, refit the electrical component and repeat the priming step before further diagnosis.
Stop work and seek professional service help if fuel continues to leak under pressure, the fittings are seized or damaged, the filter is inside the tank, or the vehicle needs special tools and high-pressure testing beyond the available equipment. Do not bypass a damaged retaining clip or rely on improvised sealing methods.