How to Remove Tree Sap From Car Paint
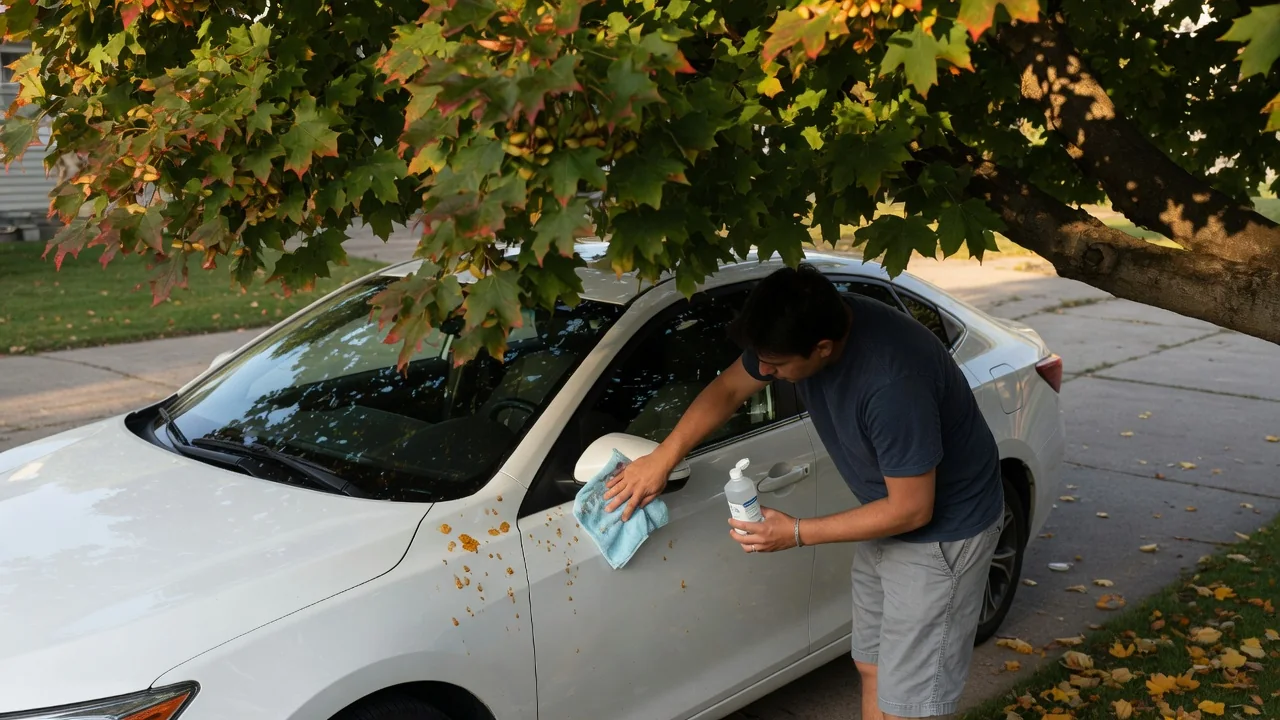
Knowing how to remove tree sap from car paint comes down to patience more than force. Sap bonds to the clear coat as it dries, and scraping or reaching for harsh solvents can do more harm than the deposit itself. A gentler approach softens the resin first, checks any product on a hidden spot, and finishes by restoring protection to the cleaned area.
Soften deposit
Fresh sap is sticky and amber or clear, while older deposits harden into a brittle, raised dot that feels like a bead of glue under a fingertip. In both cases, the goal is to loosen the bond before anything touches it with pressure. Washing the panel with car shampoo and warm water removes grit around the spot, so dust is not dragged across the clear coat later. It also shows whether the deposit is truly sap or something else, such as tar or overspray.
Warmth and moisture do most of the softening. A microfiber towel soaked in warm, soapy water and laid over the spot for several minutes lets the resin absorb moisture and relax. Working in shade on a cool panel keeps the towel from drying out too quickly. A softened deposit usually looks cloudier and feels tacky instead of glassy. Hardened sap on a car that has sat under pines for weeks may need the soak repeated several times before it gives at all.
Test product
When soaking alone is not enough, a dedicated automotive sap or bug-and-tar remover is the usual next step, since these are formulated with painted surfaces in mind. Diluted isopropyl alcohol on a soft cloth is another commonly used option. Whatever the choice, test it first on an inconspicuous area, such as a lower door jamb or the inside edge of the fuel door. Finishes differ between vehicles, and repainted panels, single-stage paint, matte finishes and vinyl wraps can react differently than a factory clear coat.
After applying a small amount to the test spot, wait a minute, wipe it away and look at the surface in good light. Dulling, haze, softening or color transferring onto the cloth are signs to stop and choose something milder. If the finish looks unchanged, dab the product onto the sap and let it dwell as the label directs rather than scrubbing. The deposit should begin to smear or lift with light passes of a clean microfiber, folded often so removed resin is not rubbed back in.
Rinse and protect
Once the sap has lifted, rinse the area thoroughly with clean water so no remover is left sitting on the finish. Cleaners that dissolve resin can also keep working on wax, sealant and nearby rubber or unpainted plastic trim if they are left behind. A second wash with car shampoo clears away residue and reveals what remains. Running a clean fingertip, or a hand inside a thin plastic bag, across the panel helps detect any slight roughness the eye misses.
Sap removal almost always strips the wax or sealant from that patch, leaving the clear coat bare. Water behaves differently there, sheeting flat instead of beading as it does on the surrounding paint. Reapplying a wax, sealant or spray protectant restores that barrier and makes future deposits easier to release. Vehicles with a ceramic coating or paint protection film may call for the coating maker's or installer's recommended products, because some cleaners and toppers are not suited to those surfaces.
Everyday Use and Observations
Where a car is parked shapes how often this job comes up. Pines, maples, birches and other trees tend to drip most in warm months, and horizontal panels such as the hood, roof and trunk lid collect the most. Not every sticky speck is sap, either; a fine, uniform mist is often honeydew from insects feeding in the canopy, which usually washes off with ordinary shampoo. Thick, isolated droplets that resist washing are more likely true resin.
Timing matters as much as technique. Sap caught within a day or two typically releases after a warm soak, while deposits baked by sun over weeks grow harder and darker and cling more stubbornly. Dark paint shows residue and any haze more readily, and it heats faster in sunlight, which accelerates hardening. A quick walk around the car after parking under trees, plus a regular wash routine, keeps small spots from becoming a longer project. Glass tolerates the same gentle methods, though wiper blades smear sap if it is left on the windshield.
Limits and Next Steps
Gentle methods have limits. Sap left for a long time can etch or stain the clear coat, leaving a dull ring or faint outline even after the resin itself is gone. A clay bar with plenty of lubricant can lift the last bonded traces, but it will not fix a mark that sits in the finish rather than on it. Light polishing may improve such marks, though it removes a small amount of clear coat and is best approached cautiously.
It is worth resisting razor blades, abrasive pads, fingernails and strong solvents such as lacquer thinner or acetone, since each can scratch or soften paint faster than it removes sap. If a deposit refuses to budge after repeated soaking and a tested remover, or if the paint beneath looks damaged, a professional detailer can assess the finish and correct it safely. That is especially sensible for older, thin or already compromised paint, where the margin for error is small and the vehicle's finish history is unknown.