How to Remove Rust From Car Parts, Bolts and Hardware
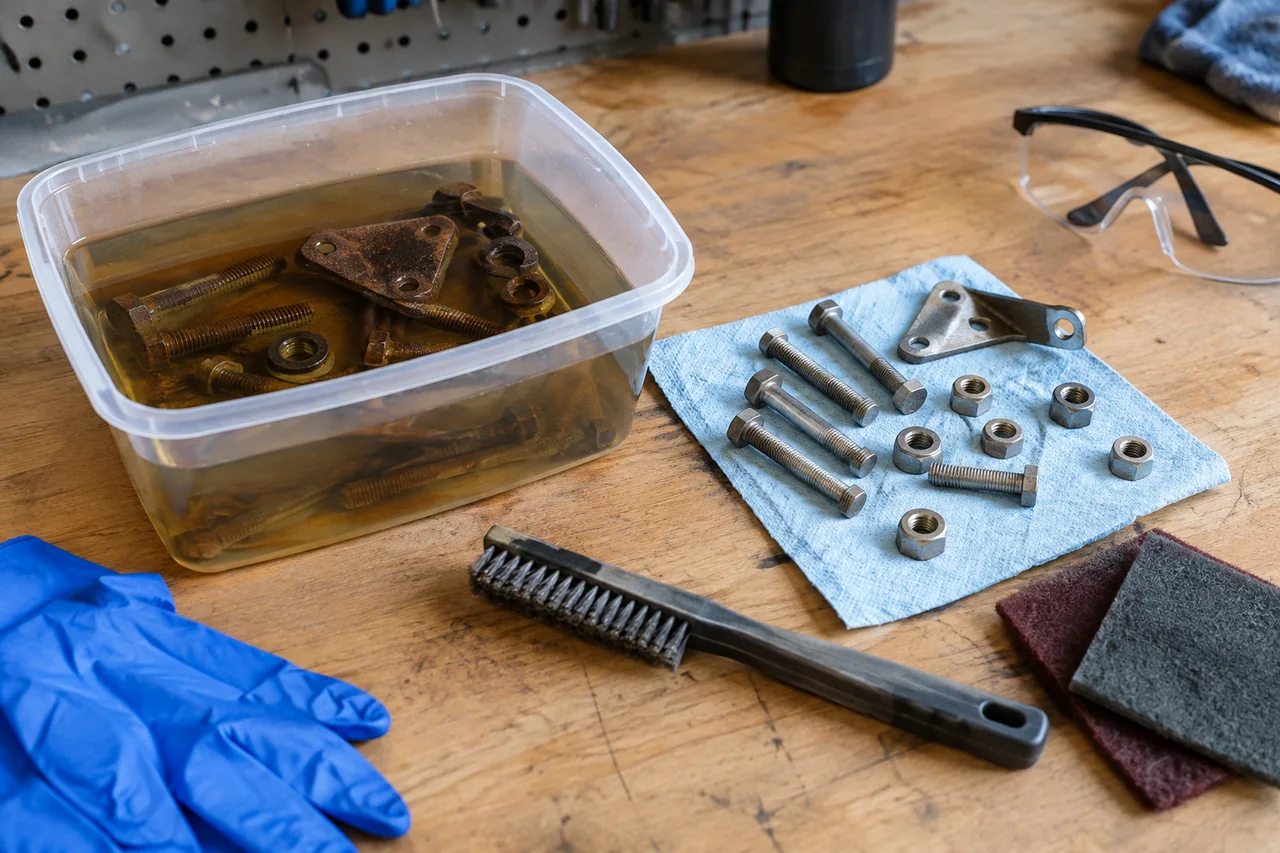
Removing rust from car parts, bolts, and hardware starts with knowing what you're working with. The same part can have light surface rust, deep pitting, or a weakened structure, and each calls for a different approach. This guide covers judging parts, soaking fasteners, using chemicals and mechanical methods safely, and protecting clean metal from flash rust. The goal is to restore useful components without creating unsafe conditions.
Judging Rusted Parts Before You Start Cleaning
Judge rust by depth and pattern before reaching for any cleaner. Light surface rust is an even orange discoloration that has not changed the part's shape, while flaking scale sits in crusty layers and deep pitting leaves visible craters. A magnet and a stiff pick can help separate superficial corrosion from a part that has lost significant cross-section. If pitting reaches into threads or a load-bearing area, cleaning may only hide a structural problem rather than fix it.
Identify the base material and plating, because the same rust removal method acts differently on bare steel, cast iron, zinc or cadmium plating, and aluminum. Dense wire wheels and strong acids strip soft plating and can gouge aluminum, while cast iron tolerates more aggressive blasting. Degrease every part first, since oil and road grime block both chemical and mechanical rust removal. A clean, dry surface lets the chosen method reach the corroded metal instead of working through a greasy barrier.
Soaking Bolts, Nuts and Small Hardware to Dissolve Rust
Soaking small parts in a mild acid or chelating rust remover works by loosening corrosion at the metal surface, but time is the key variable. Check hardware every 30 to 60 minutes, because threads and plating are thin and can be etched once the rust is gone. A plastic container is safer than metal, and the parts should be spread in a single layer so the solution can circulate. Over-soaking is the most common way to turn a surface rust problem into damaged fasteners.
After soaking, rinse with water and follow the product label for neutralizing. Some acid-based removers need a baking soda or alkaline rinse, while chelating products may only need clean water. Dry the parts immediately with compressed air or a towel, because fresh bare steel can flash rust in minutes. Run a thread chaser or a clean brass brush along fine threads to remove leftover residue, but replace any fastener with nicked, stretched, or thinned threads instead of reusing it.
Using Chemical Rust Removers and Rust Converters Safely
A chemical rust remover strips corrosion back to bare metal, while a rust converter reacts with existing rust to create a paintable surface. Removers are the right choice when you need threads to fit precisely or want to inspect the metal below the corrosion. Converters work best on parts that cannot be fully cleaned, but they do not restore lost steel, so they are not suitable for structural repairs or heavily pitted load-bearing areas.
Gel and spray formulations make sense for parts too large or awkward to submerge, such as suspension arms or body brackets. They cling to vertical surfaces and can be worked into seams, but they still need enough dwell time to work. Always work outdoors or with strong ventilation, wear chemical-resistant gloves and eye protection, and never mix products from different brands or types, because combining acids and other cleaners can release dangerous fumes or cause a violent reaction. Dispose of used solutions according to product instructions and local rules, never down a storm drain.
Mechanical Rust Removal With Brushes, Abrasives and Blasting
Hand wire brushes, abrasive pads, and sandpaper remove light rust without changing the part's shape, but they are slow on heavy scale. A drill-mounted wire wheel or an abrasive disc removes flaking rust faster and can polish bare steel back to a uniform color. The trade-off is heat and pressure, both of which can remove metal from threads, sealing faces, bearing surfaces, and other machined areas. For those spots, switch to a softer pad or mask the zone so the aggressive abrasive never touches it.
Media blasting cleans deeply pitted parts and complex shapes that brushes cannot reach, but it requires proper equipment, media, and containment. Dry blasting can leave fine abrasive packed into oil galleries, blind holes, and threaded passages, so every cavity must be cleaned afterward with brushes, compressed air, and solvent. The work itself creates hazards: rust dust, loose wire bristles, flying debris, and loud noise. Use sealed safety glasses, heavy gloves, hearing protection, and a dust mask rated for fine particles, and stop if any tool begins to throw wires.
Protecting Clean Metal So Rust Does Not Come Back
Bare steel exposed by rust removal can flash rust within hours, especially in humid conditions, so protection must go on immediately after cleaning and drying. For brackets, body braces, and visible panels, apply a rust-inhibiting primer and then a topcoat or chassis paint. The paint film blocks oxygen and moisture, which are the two things rust needs to return. Any delay between cleaning and priming only invites a new layer of corrosion to form.
Stored parts that will sit before installation are best protected with a rust-preventive oil, a wax film, or a vapor-corrosion-inhibiting bag. These coatings are thinner and easier to remove later than paint, and they protect threads and machined surfaces without adding thickness. On hardware, use only the thread compound or lubricant specified by the vehicle manufacturer, because many coatings change friction and therefore clamping force on torque-critical fasteners. Keep cleaned parts dry, covered, and raised off concrete floors, because concrete holds moisture that can start rust through the bottom of a box or bin.
When Cleaning Is Not Enough and a Professional Should Check the Part
Some parts should never be cleaned and reused, and the clues are usually visible. Heavy pitting that thins a structural web, cracks at bolt holes or bends, seized moving parts, and threads that will not clean up with a chaser all point to replacement. Rust removal is cosmetic; it cannot reveal microscopic cracks or fatigue damage inside the metal. For brake, steering, suspension, and fuel system parts or their fasteners, have a professional inspect any part with more than light surface rust, because the cost of failure is far higher than the cost of a new part.
Rust on the parts you removed is also a signal to look at the rest of the vehicle. If a bracket is badly corroded, the mounting area and nearby lines or connectors may be starting to rust too, and that can affect the next repair. Replacement fasteners should be purchased as correct-spec new hardware from a trusted source and confirmed for the specific vehicle, because thread pitch, grade, and plating are chosen for a reason. A clean used bolt with uncertain history is still a gamble.