How to Remove Control Arm Bushings Without a Press
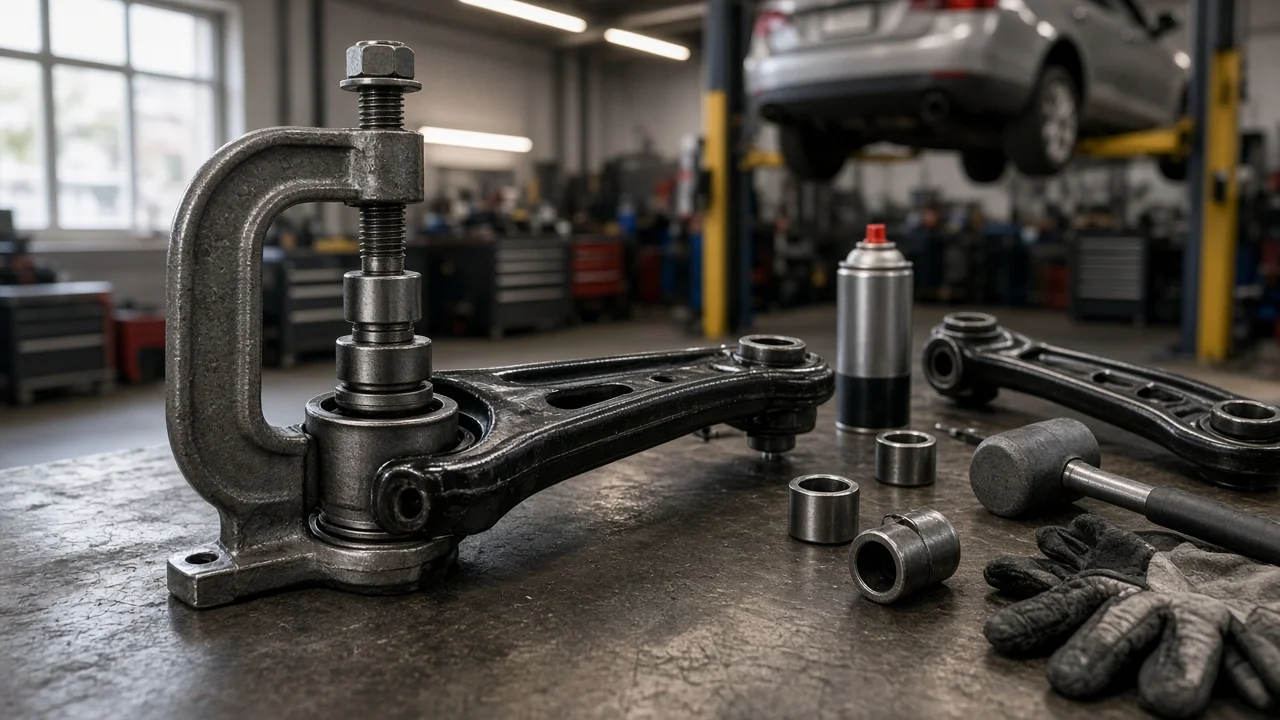
Worn control arm bushings can cause clunks over bumps, vague steering and uneven tire wear. A hydraulic shop press is not the only way to replace them. With a threaded drawbar, receiver cups or a rented bushing tool kit, many owners can remove and fit bushings in the driveway or with the arm on a bench. This guide covers how to confirm the repair is right, work safely, extract the old bushings without damaging the arm and check the result.
Confirm the part and repair scope
Before buying parts, make sure the bushings are actually the problem. Typical signs of failure include cracked or torn rubber, an inner sleeve that sits off-center in its housing, fluid leaking from a hydraulic bushing, and visible movement when you lever gently between the arm and its mounting points with a pry bar. Worn ball joints, tie rod ends, sway bar links and strut mounts can make similar noises. Check each of these for joint play so you do not replace good bushings and leave the real fault in place.
Next, confirm fitment. On some vehicles the bushings are serviced separately. Others only sell the control arm as an assembly with bonded bushings and a ball joint. Match the part to your vehicle by VIN or exact model data, and confirm the position (front or rear bushing, upper or lower arm, left or right side) and the type: solid rubber, hydraulic or polyurethane. If the arm is badly corroded or the ball joint is also worn, a complete arm may be the more sensible repair than pressing bushings by hand.
Prepare tools and safe access
Proper vehicle support comes first. Work on level, solid ground and chock the wheels that stay on the ground. Lift only at the manufacturer's jacking points, then lower the vehicle onto rated jack stands at the specified support locations. Never work under a vehicle held only by a jack. Get the service information for your exact model. It gives the removal sequence, the fastener specification for every bolt, and any fasteners the manufacturer says must be replaced rather than reused.
A typical no-press setup includes: a length of high-grade threaded rod or a long bolt with nuts and hardened washers, a receiver cup slightly larger than the bushing's outer shell (a large socket or short section of thick pipe works), and a pusher slightly smaller than the shell. Add penetrating oil, thread lubricant, a drill, a hacksaw blade, a chisel, a bench vise, a torque wrench, eye protection and gloves. Many parts stores rent bushing kits with matched cups. Leave the job to a professional if the arm carries coil spring load or requires spring compression, if the subframe must be lowered, or if you are unsure how to support the suspension safely.
Remove without avoidable damage
In most cases it is easier and safer to remove the control arm than to fight the bushing in place. Photograph the arm and mark its orientation. Then disconnect the sway bar link, any ABS sensor wiring or brake line brackets, and the ball joint, following the service procedure. Remove the pivot bolts last. Before extracting each bushing, mark its position relative to the arm. Many bushings have voids, tabs or arrows that must face a specific direction when the new part goes in.
To use the drawbar method, clamp the arm securely. Place the receiver cup against the arm on the exit side and the pusher on the bushing's outer shell on the other side, then pass the threaded rod through both. Lubricate the threads and tighten the nut steadily while keeping everything square. If the cups tilt, the bushing can cock in its bore and gouge it. If the bushing will not start, apply penetrating oil and allow time to soak rather than adding more force.
For a seized bushing, drill a ring of holes through the rubber around the inner sleeve and pull the sleeve and rubber out. Carefully saw through the remaining outer shell with a hacksaw blade, stopping before the blade reaches the arm's bore. Then collapse the shell inward with a chisel and tap it out. Avoid burning the rubber out with an open flame: the smoke is toxic, nearby fuel and brake lines create a fire risk, and heat can weaken the arm, especially an aluminum one. Afterward, inspect the bore for cracks, scoring or an out-of-round shape.
Install and restore the system
Clean the bore and remove any burrs without enlarging it. Use only the lubricant the bushing manufacturer recommends, since petroleum grease can degrade many rubber compounds. Line up the orientation marks or voids with the marks you made earlier; direction is especially important for hydraulic bushings. Reverse the drawbar setup so the pusher bears only on the outer shell, never on the rubber or inner sleeve. Draw the bushing in straight until it reaches the seated position or depth given in the instructions.
Reinstall the arm and start the pivot bolts, but do not fully tighten them yet. Reconnect the ball joint, sway bar link, sensors and brackets, and tighten those fasteners to specification. Many manufacturers require bushing pivot bolts to be torqued with the suspension at normal ride height, either with the vehicle's weight on the wheels or with the suspension jacked to that position. Tightening at full droop twists the rubber, which can shorten bushing life and change how the vehicle sits. Follow your service information for the exact procedure and values. Because control arm position affects camber, caster and toe, schedule a wheel alignment after the repair.
Check the completed work
Before lowering the vehicle, confirm that every fastener is installed and tightened, any cotter pins are in place, and sensor wiring and brake lines are routed clear of moving parts. Once the wheels are back on and the lug nuts are torqued to specification, look at the new bushings: the rubber should sit evenly without visible twisting or bulging. Then take a slow test drive in a safe area, checking braking, turning and travel over small bumps.
Have the work inspected if you notice any of the following: a clunk that persists, a pull to one side, a steering wheel that sits off-center, vibration, a warning light, or a difference in ride height from side to side. An off-center wheel or pull usually means the alignment still needs to be done. Noise or looseness may point to a fastener problem, a bushing that is not fully seated, or another worn component. Recheck the fasteners and the bushings after a short period of driving, and watch tire wear over the following weeks.