How to Remove a Chevy Silverado Rear Axle Shaft
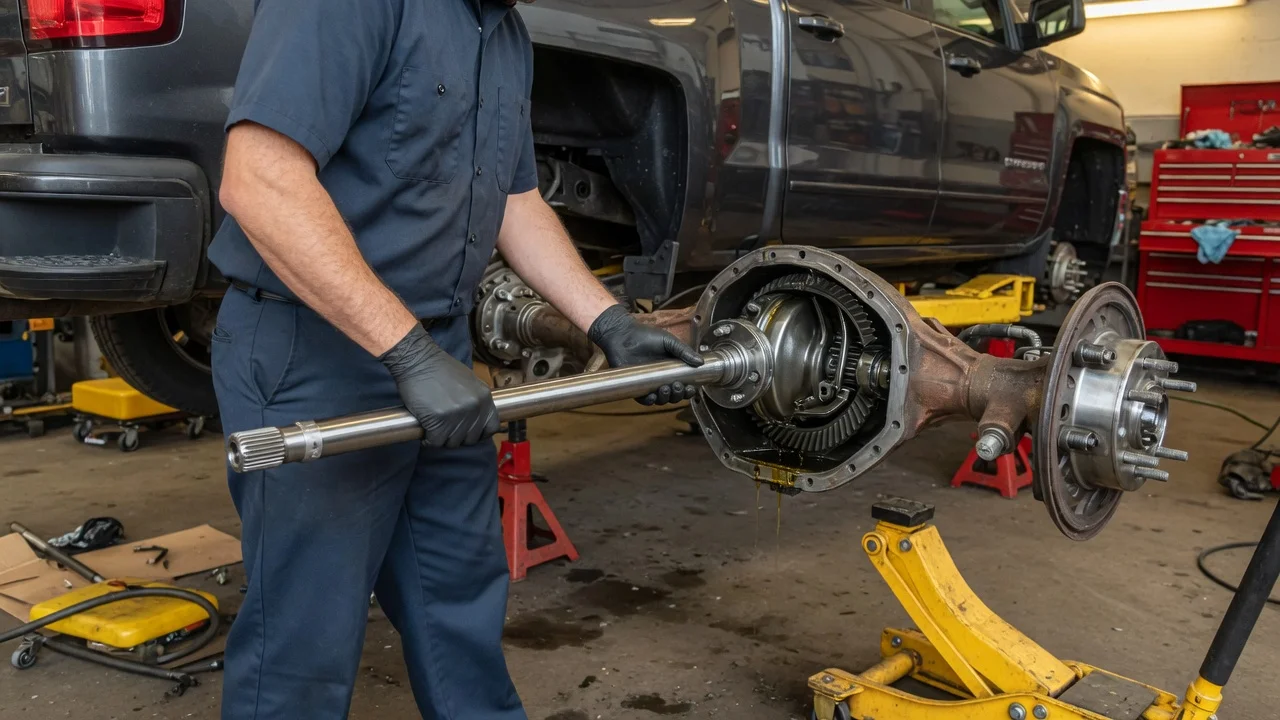
Pulling a rear axle shaft on a Chevy Silverado is a common repair for a leaking axle seal, a noisy wheel bearing or a damaged shaft. The procedure depends on which rear axle your truck has. Most half-ton trucks use a semi-floating axle held in by C-clips inside the differential, while many heavy-duty trucks use a full-floating design bolted at the hub. This guide covers both approaches, with the caveat that your vehicle-specific service information should always govern details such as torque values and fluid specifications.
Confirm the part and repair scope
Before removing anything, confirm that the axle shaft is actually involved. Gear oil on the inside of the wheel or brake parts usually points to a failed axle seal. A growl or hum that changes with speed can come from a rear wheel bearing, but tires and differential gears can make similar noises, so careful inspection matters. A shaft that is broken, bent, or has a worn bearing surface where it rides in the housing will need replacement rather than just a new seal and bearing.
Next, identify your exact vehicle configuration. Silverado trucks have used several rear axles over the years, and they differ in shaft length, spline count and retention method. The service parts identification label, which lists the RPO codes for the axle and gear ratio, together with the VIN, is the reliable way to match a replacement shaft, seal or bearing. A quick visual check also helps: if you can see a ring of bolts in the center of the rear hub, the truck most likely has a full-floating axle; if the hub face shows only lug studs, it is likely a semi-floating C-clip design.
Prepare tools and safe access
Park on firm, level ground, chock the front wheels and loosen the rear lug nuts before lifting. Raise the rear of the truck with a suitable jack and support it on rated jack stands placed at proper lifting points; never work under a vehicle held only by a jack. You will typically need basic sockets and wrenches, a drain pan, a gasket scraper or new cover gasket or sealant, a seal puller, and fresh gear oil that meets manufacturer specifications. Replacing a pressed-in bearing requires a slide hammer with a bearing puller attachment and a correctly sized driver.
Look up the service procedure for your model year before starting, because torque values, thread-locking requirements and fluid capacity vary by axle. If the truck has a locking differential, extra steps may be needed to clear the C-clips. Owners who are uncomfortable supporting a heavy truck, working with brake components, or reaching inside an open differential should consider having a shop handle the job, since mistakes here can affect braking and wheel retention.
Remove without avoidable damage
On a semi-floating axle, remove the wheel, then the brake caliper and its bracket, hanging the caliper with wire so the hose is not stretched. Remove the rotor; if it sticks on the parking brake shoes, back off the parking brake adjuster rather than prying hard. Trucks with rear drums need the drum removed instead. Keep the wheel speed sensor and its wiring clear of tools. Place the drain pan under the differential, remove the cover bolts and let the gear oil drain.
Inside the differential, remove the lock bolt that secures the pinion cross shaft and slide the cross shaft out, taking care not to drop it or disturb the spider gears. Push the axle shaft inward toward the center of the differential to expose the C-clip at its inner end, remove the clip, then pull the shaft straight out of the housing. Support its weight as it comes out so the splines and bearing surface do not drag across the seal bore or the bearing. If you are servicing the other side, keep parts organized so each component goes back in its original position.
A full-floating axle is simpler: remove the bolts around the hub flange and withdraw the shaft from the hub. The differential cover normally stays in place, but expect some gear oil to escape, and plan to replace the flange gasket or seal. Removing the hub itself or adjusting the wheel bearings on these axles is a separate job with its own procedure.
Install and restore the system
With the shaft out, inspect the bearing surface on the shaft and the bearing in the housing. Replace the axle seal whenever the shaft is removed, and replace the bearing if it shows wear, roughness or pitting. Drive new parts in squarely with the correct tool so the seal lip is not distorted. Lubricate the seal lip before sliding the shaft back in, and guide the shaft carefully until the splines engage the differential side gear.
Push the shaft inward, install the C-clip in its groove, then pull the shaft outward so the clip seats in the side gear recess. Reinstall the pinion cross shaft and its lock bolt, following service information on whether a new bolt or thread locker is required and on the correct torque. Clean the cover and housing mating surfaces, install the cover with a new gasket or the specified sealant, and refill with the correct gear oil type and quantity, including any additive the manufacturer specifies for your differential. Reinstall the rotor or drum, caliper, bracket and wheel, torquing fasteners to specification. For a full-floating axle, install the shaft with a new gasket and tighten the flange bolts to specification, then check the fluid level.
Check the completed work
Before lowering the truck, spin the wheel by hand and listen for scraping or binding, and confirm that the parking brake holds and releases properly. Recheck the differential fluid level at the fill plug and inspect the cover and axle seals for seepage. Pump the brake pedal several times before driving so the pads seat against the rotors.
On a short road test at low speed, listen for clicking, grinding or humming from the rear and watch for ABS or traction control warnings, which can indicate a disturbed wheel speed sensor. After the drive, check the seals and cover again and retorque lug nuts according to your maintenance schedule or service information. Persistent noise, fresh leaks, or a shaft that moves in and out noticeably are signs that something is not seated correctly and needs further diagnosis. Record the repair in the truck's service history, including the parts and fluid used, so future work can be matched to the same configuration and operating conditions.