How to Remove a Stuck Oil Filter
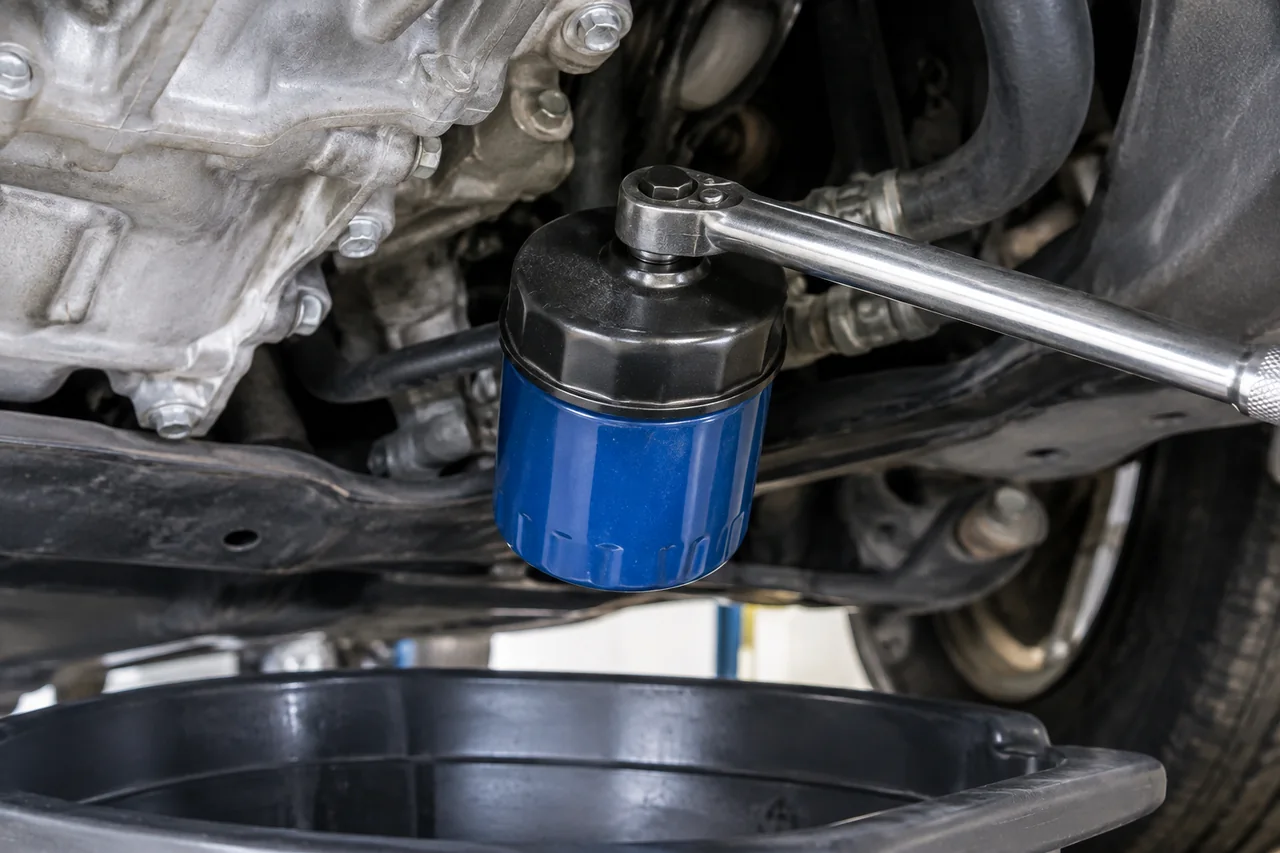
A spin-on oil filter that will not turn by hand is a common oil-change snag, not a reason to force the canister. When you need to loosen an oil filter, take it off, or get a stuck oil filter off, the useful sequence is identification, cooling, a correct loosening direction, a matching tool, and a stop point if the housing starts to collapse. Preparation also prevents a double gasket and the next seized install.
Confirm the Filter Type and Prepare for Safe Access
Before you try to remove an oil filter, confirm it is a replaceable spin-on oil filter and not a cartridge housing with a separate cap. Cartridge units follow a vehicle-specific procedure, and treating that housing like a spin-on canister can damage the mount. Park on level ground, switch the engine off, and let hot metal and oil cool so residual pressure and heat are not in your hands. That pause is part of how to take off an oil filter safely, not a delay you skip.
If access requires raising the vehicle, use the approved lifting and support procedure and never work beneath a vehicle held only by a jack. Position a drain pan under the filter so leftover oil is captured when the seal breaks. Wear eye protection and gloves, because oil can splash from the filter gasket as soon as rotation starts. Consult the vehicle's oil-change procedure before loosening anything so you know drain-plug sequence and whether the filter is reached from above or below.
Check the Loosening Direction and Try a Firm Hand Grip
A conventional right-hand-threaded spin-on oil filter loosens counterclockwise when you look from the closed end toward the engine. An awkward viewing angle under a fender or from the wheel well can reverse that picture, which is why people think they cannot loosen oil filter hardware that is actually being tightened. Wipe oil from the canister so your hands can actually grip it. Try a firm hand grip only when the filter is cool and you can reach it without stretching across a hot exhaust or bracing on fragile parts.
Apply controlled turning force along the filter's axis. Do not yank sideways, and do not use nearby hoses, wiring, or plastic covers as a brace. Resistance alone does not prove the unit was overtightened, the filter gasket bonded to the mounting surface, varnish locked the threads, or the canister is deforming. If a cool filter still will not budge with a solid hand grip, move to a tool rather than trying to free the threads with extra body weight.
Choose and Seat an Oil Filter Removal Tool
When a hand grip is not enough to loosen an oil filter, choose a removal tool that actually matches the canister. A cup-style filter socket must fit the real diameter and end flutes; a near-size cup that rocks will round the profile. Confirm the size against the filter in your hand or the markings on the replacement, not against a generic assumption. Seat the cup squarely on the closed end so the drive turns the filter instead of camming off one edge.
If surrounding clearance allows, a correctly sized strap wrench or band-style oil filter wrench can wrap the filter body and provide grip without needing the end profile. Seat any tool according to its instructions and apply steady manual force while watching for slip or canister crush. If the tool walks, stop and reassess fit rather than adding leverage. Restricted access, an uncertain bite, or a filter that starts to oval are reasons to seek professional help instead of forcing another pull on a rounded can.
Know When a Seized Filter Needs Professional Removal
An oil filter is stuck in a way that needs a shop when the canister collapses or tears, the tool keeps slipping, the mounting assembly itself moves, or you cannot get a secure bite at all. Those signs mean the housing or the adapter may be failing, not merely that you need more force. Do not puncture the canister with a screwdriver, hammer the body, use open flame, run an impact tool, or add improvised extension pipes. Those methods can split the can, spray hot oil, or twist the mount.
Penetrating spray on the exterior may never reach a bonded filter gasket or the hidden threads, so a wet canister does not prove the cause of a stuck filter and should not be treated as a completed repair. If controlled attempts fail, have the filter removed professionally. Do not start the engine or drive if the filter is damaged, leaking, or only partly loosened, or if the oil has already been drained. At that point, removal is a machining and sealing problem, not a roadside twist.
Finish Removal and Check the Mounting Surface
Once the filter turns freely, keep supporting it while you unscrew it so it does not drop, and keep residual oil aimed into the drain pan. That catch is how you take the oil filter off without coating the subframe. Confirm the old sealing gasket came away with the filter. A gasket left on the engine becomes a double gasket under the new unit, and that stacked seal can crush, leak, and dump oil onto a hot exhaust. Check the old filter face before you set it aside.
Inspect the accessible filter mounting surface and the threaded mount for leftover rubber, grit, or visible damage. Wipe debris with a clean cloth; do not scrape or gouge the sealing face, because a scratched ring will not hold the next gasket. If threads look pulled, the mount feels loose, or the sealing surface cannot be cleaned without cutting metal, stop and get professional assessment. Getting a stuck oil filter off is unfinished until that pad is intact enough to seal, not merely until the old can is off.
Install the Replacement Without Creating the Next Stuck Filter
Verify the replacement against reliable vehicle and filter application data. Physical resemblance is not compatibility, and a similar-looking spin-on can still have the wrong thread, height, or gasket diameter. Follow the new filter's instructions for lubricating the gasket and for installation, including any specified turns after the gasket contacts the mount or any stated installation torque. Start the filter by hand so it threads true. Extra tightening beyond that procedure is a common path to the next stuck oil filter.
Complete the vehicle's oil refill and level-check steps from its oil-change procedure, then do an oil leak check from a safe position after a brief run to operating pressure. Shut down immediately if oil weeps at the filter or if the oil-pressure warning stays on. Removing the old filter is only half of the job; the new unit must seal, and used oil plus the old filter belong in recycling, not in household trash. That close-out keeps the next change from starting with a seized can and a contaminated bay.