How to Put a Home Car Workshop Back in Order After a Repair
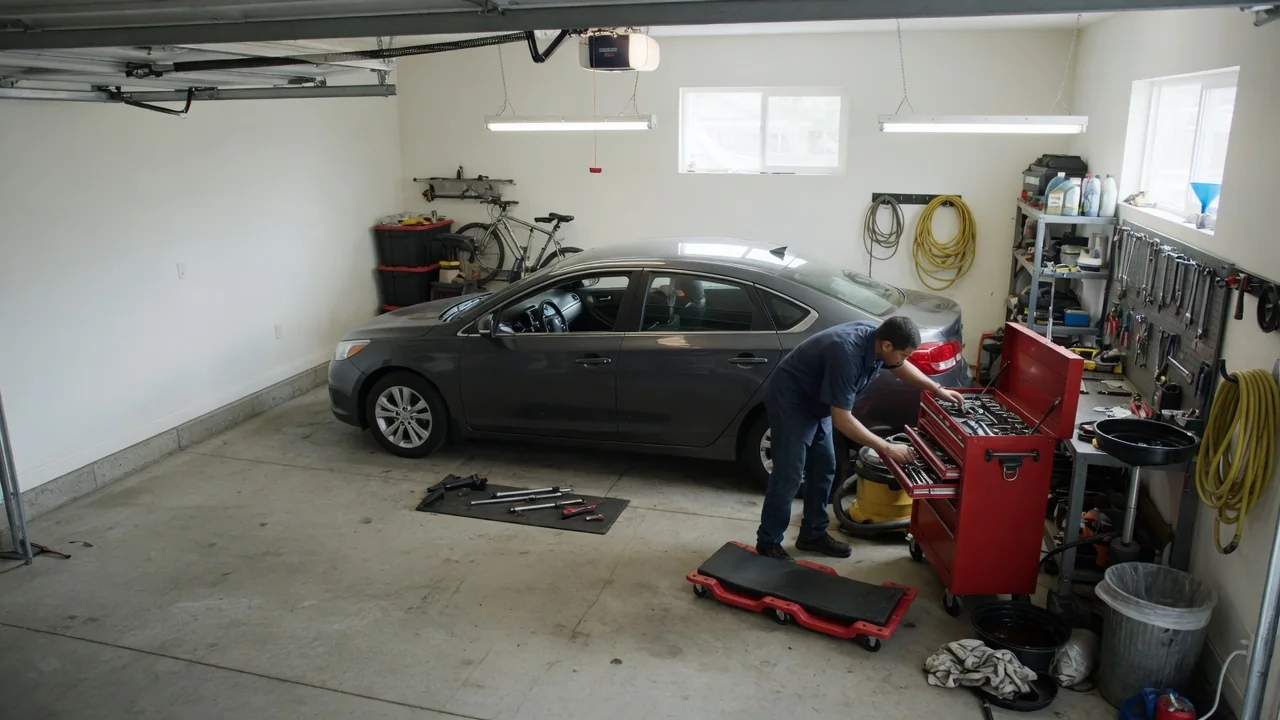
Finishing a repair is only part of the job. Putting a home car workshop back in order protects the next project, keeps the space safe, and confirms that the vehicle is ready to drive. A sensible garage cleanup after car repair follows three threads: accounting for every tool, dealing responsibly with drained and spilled fluids, and checking the car before it leaves the work area. The sections below walk through each one in turn.
Tools
Start with a tool count before anything goes back into storage. A missing socket or wrench is more than a nuisance; a tool left in an engine bay can foul a drive belt, rest against a hot exhaust component, or wedge against a moving part when the engine starts. Lay out everything used on the job on a tray or clean shop towel, compare it with what the drawer or case normally holds, and search the engine compartment, the underside of the car, the wheel wells, and the cowl area for anything unaccounted for. A flashlight and a magnetic pickup tool make this search faster, especially for small fasteners that roll out of sight.
Clean tools before storing them. Oil, grease, brake fluid, and coolant residue attract dirt, make handles slippery, and can degrade finishes and rubber grips over time. Wiping hand tools with a rag is usually enough; heavily soiled items can be cleaned with a suitable degreaser and dried before they go back in a drawer. While each tool is in hand, look for damage such as rounded sockets, cracked extensions, or dull bits, and set those aside for replacement. Click-type torque wrenches are commonly stored at the low end of their scale to relieve the internal spring, but the instructions supplied with the specific wrench should take priority.
Lifting equipment deserves separate attention. Lower and wipe down the floor jack, inspect jack stands for bends or damaged locking pins, and store them where they will not be tripped over. Coil air hoses and extension cords loosely, unplug chargers and power tools, and keep cordless batteries in a dry spot. Giving every item a fixed home is what makes the next tool count quick and reliable.
Fluids
Drained fluids should be contained as soon as the work ends rather than left in open drain pans. Transfer used engine oil, gear oil, and similar products into sealable containers with secure caps, and label each one clearly. Keeping fluids separate matters, because collection points that accept used motor oil may refuse a container mixed with coolant, brake fluid, solvents, or fuel. Never use food or drink containers for automotive fluids, since they invite accidental ingestion.
Floor spills create slip, fire, and contamination hazards. Cover fresh liquid with an absorbent material such as a commercial spill absorbent or clay cat litter, let it soak up the fluid, then sweep it up and wipe the remaining film with a cleaner suited to the floor surface. Coolant needs particular care because glycol-based antifreeze is toxic and can attract pets, so clean it up completely rather than letting it dry in place. Fuel spills should be ventilated and kept well away from ignition sources such as heaters, pilot lights, and running power tools.
Disposal rules vary by location, so the safe general practice is to take used fluids, old filters, and contaminated absorbent to a facility that accepts automotive waste, such as a household hazardous waste site or a business with a collection program. Do not pour fluids into drains, onto soil, or into household trash. Rags soaked with solvents or certain finishing products can build up heat as they dry, so keep them in a closed metal container until they are disposed of. Return unopened new fluids to the shelf with caps tight and labels visible.
Final vehicle check
Before the car moves, walk around it with the repair in mind. Confirm that every fastener touched during the job was tightened, ideally to the value in the vehicle's service information, and that clips, hoses, electrical connectors, and covers removed for access are back in place. Check the level of any system that was opened, using the method that vehicle specifies, since some fluids are checked hot, some cold, and some with the engine running. If wheels were removed, verify lug nut torque; many service sources advise rechecking it after a short drive.
Next, look for leaks. A clean sheet of cardboard placed under the work area while the engine idles makes fresh drips easy to locate and identify by color. Keep the hood open, listen for unfamiliar noises, and watch the instrument cluster for warning lights that were not present before the repair. If the cooling system was opened, some vehicles need a specific bleeding procedure, and the level may drop after the first warm-up. Disconnecting the battery can reset learned settings on some cars, so idle relearn, window calibration, or radio codes may need attention as described in the owner's manual.
Once the underside is clear of tools, drain pans, and work lights, lower the vehicle from its stands onto a level surface. If the brakes were serviced, pump the pedal until it feels firm before moving the car, because the pistons need to seat against the pads. Then make a short, low-speed test drive in a safe place, checking steering, braking, and the original symptom, and look underneath again once the car is parked.
Practical implications and limits
Cleanup takes time, and it is tempting to postpone it after a long day under a car. The cost of skipping it usually appears later, as a missing tool in the middle of the next job, a dried stain that is harder to remove, or a drain pan knocked over in poor light. Counting the cleanup as part of the job, rather than an afterthought, makes it far more likely to happen. A short written checklist kept inside a cabinet door helps most on multi-day projects, where the car may sit partly disassembled and steps are easy to forget.
This guide describes general practice, not the requirements of any particular vehicle. Fluid specifications, torque values, bleeding procedures, and relearn steps differ between makes, models, and model years, and the service information for the specific car is the authority on them. Local regulations likewise decide how automotive waste must be handled. When work involves safety-critical systems such as brakes, steering, suspension, or fuel delivery and the final check leaves any doubt, having a qualified technician inspect the result before regular driving is a reasonable limit for a home workshop.