How to Protect Car Door Seals in Winter
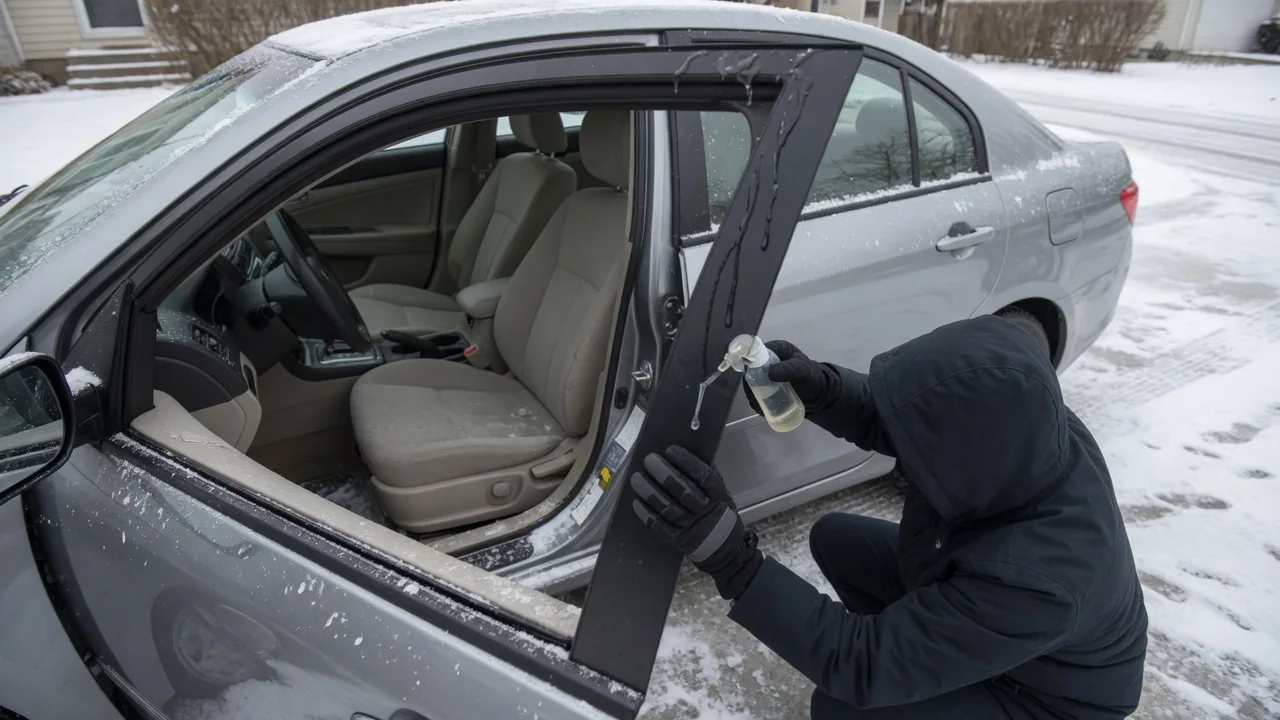
Knowing how to protect car door seals in winter comes down to a few unglamorous habits: keeping the rubber clean, keeping it dry, and noticing damage early. Weatherstripping freezes to the door frame because of trapped water, not because of cold alone. This guide explains the cleaning and care steps that make sense, and where the owner's manual or a technician should take over.
Inspect and clean
Door seals are hollow or sponge-like rubber profiles pressed onto the body flange or clipped to the door itself, and they work by compressing evenly when the door closes. Road salt, sand, and gritty film collect on that sealing surface during cold months, holding moisture against the rubber and acting as an abrasive each time the door shuts. Open every door, including the liftgate or trunk, and look along the full perimeter for dirt lines, flattened sections, cracking, or spots where the strip has pulled away from its channel.
Cleaning is simple: a soft cloth dampened with water and a small amount of mild car wash soap removes most grime without attacking the rubber. Wipe the painted surface the seal contacts as well, since grit there is half the problem. Harsh solvents and stiff brushes are best avoided because they can dry or scuff the material. Layouts differ between vehicles; some have a secondary seal on the body, frameless-window cars rely on the glass seating into the seal, and drain holes at the door bottom deserve a look too.
Dry after wash
Water is what actually bonds a seal to the door frame. After a car wash, a thaw, or freezing rain, moisture sits in the groove between rubber and metal, and when the temperature falls overnight it turns into a thin layer of ice that grips both surfaces. Pulling hard on a frozen door can then tear the weatherstrip or peel it off its retainer. Drying the seals before the car sits in the cold removes the ingredient that causes the trouble.
After washing, open each door and run a clean, absorbent microfiber towel along the rubber and the door jamb, paying attention to the lower corners and sill where runoff pools. Automatic washes with blowers rarely reach these hidden areas. Watch for water trickling out of the mirror housing, door handle, or window channel, since it can refreeze around the latch or glass. Where possible, wash on a milder day or let the car sit in a garage briefly so remaining moisture can evaporate.
Monitor tears and leaks
Small damage matters more in winter because it lets water in where it will freeze and expand. During inspection, look for splits at the corners, sections that stay flattened instead of springing back, hardened or chalky rubber, and gaps where the strip has lifted from its flange. The upper door edge and the area near the hinges are easy places to miss. A seal that no longer compresses evenly cannot keep meltwater, slush spray, or wind out of the cabin.
Leaks often announce themselves indirectly. Damp carpet near the sill, fogged windows that take unusually long to clear, frost forming on the inside of the glass, a musty smell, or new wind noise at highway speed all suggest moisture is getting past somewhere. These signs do not prove the door seal is at fault, since clogged drains, sunroof channels, and windshield bonding can produce similar symptoms. Noting which door, which corner, and under what conditions the dampness appears makes later diagnosis much easier.
Everyday Use and Observations
Daily habits do as much as periodic cleaning. Brushing snow off the roof and door tops before opening a door keeps it from falling onto the seal and sill, where it melts from cabin heat and refreezes later. Knocking slush off boots helps too, because salty water on the threshold wicks toward the lower weatherstrip. If a door resists opening, steady pressure against the door edge to break the ice is kinder than yanking the handle, and trying another door is often the gentler choice.
Pay attention to how the doors behave over the season. A door that suddenly needs more effort to close, a window that hesitates in its channel, or a frameless glass that fails to drop slightly on opening may indicate ice rather than a mechanical fault. Forcing power windows against frozen seals can strain the regulator. Many drivers also ask about rubber conditioners; the owner's manual is the right reference here, because some manufacturers specify a particular rubber care product and others recommend nothing beyond cleaning.
Limits and Next Steps
Cleaning and drying reduce freezing, but they cannot restore rubber that has aged. A seal that is torn, permanently compressed, or shrunk away from the corners will keep letting water through regardless of care. Home remedies such as cooking oils or petroleum-based household products are frequently suggested, yet their effect on a given rubber compound is uncertain, and some can cause swelling or leave a residue that attracts dirt. Sticking to mild soap, water, and manufacturer-approved products avoids trading one problem for another.
When damage or persistent dampness shows up, the sensible next step is a professional assessment. Replacement weatherstripping is specific to the vehicle, body style, and sometimes door position, so the correct part has to be confirmed rather than assumed. A technician can also check door alignment, latch adjustment, and drain paths, any of which can mimic a failed seal. Until then, keep the affected area as dry as practical, dry the interior carpet to prevent odor and corrosion, and avoid forcing a frozen door.