How to Prime a Fuel Pump After Replacement or Running Out of Fuel
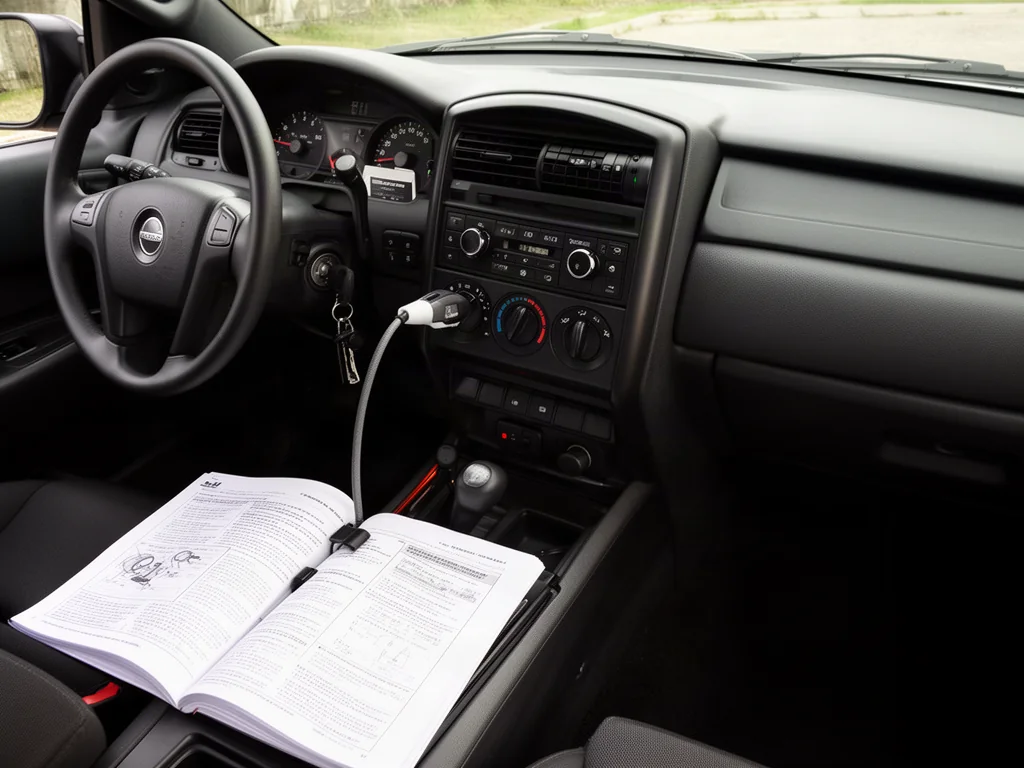
Fuel pump priming restores fuel delivery after the tank has run dry, a pump has been replaced, or the fuel system has been opened. Air in fuel lines can delay pressure build-up, so some vehicles use an ignition key cycle, a fitted manual primer bulb, or a documented service procedure. Priming a fuel pump is not always required; many systems fill automatically. Starting trouble alone does not prove a priming problem.
When Fuel Pump Priming Is Needed
A fuel pump prime is meant to place fuel where the engine needs it before the starter is used. On systems that run under pressure, that step also helps the pump and lines recover fuel pressure so injection or carburetion can work as designed. Air in fuel lines is handled differently from one layout to another. Some return unused fuel and purge air during a short run of the pump. Others keep a residual charge in a fuel filter housing. Priming therefore restores supply; it does not always mean every bubble has been forced out.
Running out of fuel, replacing a pump, or opening lines, filters, or the tank can empty the path the pump uses. In those cases an approved priming procedure may be needed so the first start is not a long, dry crank. Many late-model vehicles fill automatically when the ignition is switched on, so a separate owner step is not always part of fuel pump priming. A no-start or hard start can also come from ignition, battery, or mechanical faults, so those symptoms by themselves do not establish a priming problem.
Identify the Vehicle's Approved Priming Procedure
The owner's manual and vehicle-specific service information identify how to prime a fuel pump for that engine and fuel system. Gasoline in-tank electric pumps, mechanical pumps, and diesel layouts do not share one method. Check whether the vehicle uses automatic electric priming, permitted ignition cycles, a fitted fuel pump primer, or a shop procedure that needs a service tool. Using the wrong sequence can leave the rails empty or encourage unnecessary cranking. The documented path is the one that matches the pump control strategy and any installed primer hardware.
Before any priming attempt, confirm that the tank holds enough of the correct fuel, the battery can support the pump and starter, and reassembly after a pump replacement is complete. Loose fittings, unfinished electrical connections, or a dry tank will prevent fuel delivery no matter how carefully the key is cycled. If you see visible fuel leakage or smell a strong unexplained fuel odor, stop. Do not try to start the engine. Address the leak path first, because running the pump against an open joint can spray fuel.
Use Ignition Cycles Only When the Electric Pump Supports Them
When an electric pump is designed for key-on priming, the approved sequence is to switch the ignition on without cranking, wait until that priming stage finishes, then switch off before any permitted repetition. That ignition key cycle lets the pump move fuel and, on pressurized systems, recover rail or line pressure before the starter is engaged. Cycle duration and how many times the key may be used this way belong in the vehicle's instructions. A universal timing recipe does not fit every control module or pump relay strategy.
Push-button start vehicles still need their documented ignition-on procedure rather than an assumed key-twist habit. The cluster or power mode that energizes the pump may differ from a simple accessory position. A brief pump sound can mean the motor ran, but it does not confirm adequate fuel pressure at the injectors or carburetor. Silence alone does not prove the pump has failed either, because some units are quiet, the listen point may be poor, or the control module may not command a prime in that ignition state.
Use a Fitted Manual Primer as Directed
A fitted fuel pump primer, often a manual primer bulb, plunger, or lever, is there to move fuel by hand when the design calls for it. Confirm the part's identity before squeezing or pumping anything, because nearby hoses and filters can look similar. Operate that installed primer only as the vehicle's instructions describe, including the specified endpoint such as a firm bulb, a stated stroke count, or a change in resistance. Stopping at that point avoids overworking a diaphragm or flooding a housing that is already full.
A mechanical pump does not necessarily include a hand primer, and diesel systems may rely on an electric pump cycle or a service-tool procedure instead of a bulb on the line. Do not improvise fuel feeding, prefill a fuel filter housing unless the manufacturer explicitly approves that step, or loosen fuel lines to bleed air. Those actions can introduce more air, create leaks, or release pressurized fuel. Any procedure that requires opening the fuel system belongs with a professional who can contain a spill and restore sealed connections.
Check Whether Priming Restored Normal Starting
Attempt a start only after the approved priming procedure is finished and only within the vehicle's starter operating limits. Long, repeated cranking heats the starter and can draw the battery down before fuel delivery is even in question. Record what happens: a normal start, extended cranking, a start that is followed by stalling, or continued failure to start. Those notes help later diagnosis, but they do not measure fuel pressure and they do not separate a fuel issue from ignition, air, immobilizer, or mechanical starting faults.
If leakage appears, a strong fuel odor develops, or the engine runs in a severely abnormal way, shut down immediately. Continuing to crank or idle in that condition can spread fuel or damage the engine. Smooth running after a documented prime suggests fuel reached the engine, yet it still does not prove every joint is sealed or that pressure will hold on the next cold start. Treat the first run as a check, not as confirmation that the entire fuel path is healthy.
What to Do When the Pump Will Not Prime
When the pump will not prime, keep owner checks limited. Confirm that fuel is actually in the tank, reread the correct procedure, note battery condition or warning-light symptoms, and look for leaks without disturbing lines, the pump, or the filter. Possible causes include interrupted electrical supply, air entry after a dry tank or open joint, restricted fuel flow, or an installation problem after replacement. None of those is confirmed by a failed start. A stored fault is evidence to interpret, not proof that the pump itself has failed.
Do not keep using extended cranking, bypass pump controls, apply power directly to the pump, or open high-pressure fuel connections. Those shortcuts can injure people, damage modules, or release fuel under pressure. Professional testing is needed when the approved prime does not restore starting or when leaks, electrical warnings, or an incomplete replacement are in play. A technician can use electrical checks, fuel pressure measurements, and installation inspection to establish the cause. Provide the repair history, whether the tank ran dry, the priming steps attempted, and the symptoms that followed.