How to Prepare a Parts-and-Tools List Before Car Work
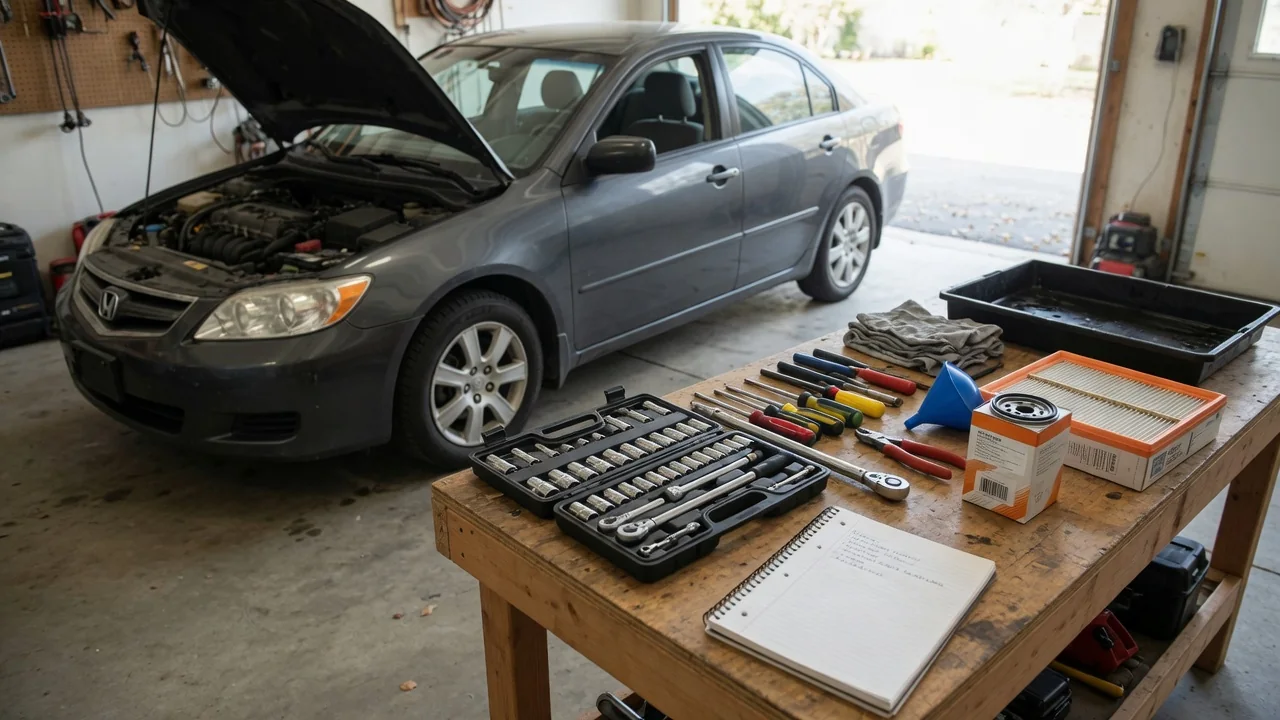
A parts-and-tools list turns a repair plan into something you can check off before the car is lifted or a single bolt is loosened. A good list starts with a clearly defined job. It also confirms that every part and tool actually fits your vehicle and covers the small extras that tend to stop work halfway. This guide explains how to build a practical car repair tool and parts checklist without relying on guesswork.
Identify the Task and Its Full Scope
Start by naming the job precisely. 'Fix the brakes' is too vague to shop for, while 'replace front brake pads and inspect rotors' tells you exactly where to look. Once the job is defined, work through the repair procedure for your specific vehicle, ideally from the factory service manual or a reputable repair guide. Break it into stages: gaining access, removing the old component, installing the new one, adjusting or bleeding if required, and verifying the result. Each stage tends to reveal its own tools and supplies. Removing a wheel, for example, already implies a jack, jack stands, wheel chocks and the correct lug nut socket, even before you reach the part you actually intend to replace.
Sort the list into categories so nothing hides inside a general note. Primary parts are the components you set out to replace. Supporting hardware includes gaskets, seals, O-rings, crush washers, clips and fasteners. Manufacturers sometimes specify certain fasteners and seals as single-use, so the procedure should tell you which ones need replacing rather than reusing. Fluids and chemicals include oil, coolant, brake fluid, cleaners, lubricants and thread locker where called for. Tools should be split into common hand tools, specialty tools, measuring tools such as a torque wrench, and lifting and safety equipment. Writing each category separately makes gaps much easier to spot.
Finally, add a short contingency section. Older or high-mileage vehicles can reveal problems once parts come apart: a seized bolt, a cracked hose, a torn boot or a worn component next to the one being replaced. You do not have to buy every possible extra, but deciding in advance what you will do if you find one of these issues keeps a surprise from becoming a stalled project.
Confirm Fit Before You Buy or Start
Parts fitment depends on more than make and model. Record the full vehicle details: model year, engine, transmission, drivetrain, trim level and, where available, the vehicle identification number. A single model name can cover several part variations depending on options, production period or market, so two cars that look identical may need different components. When a parts supplier offers lookup by VIN, it is generally more reliable than selecting from a menu. If the old part carries a visible part number, write it down and compare it to the replacement listing.
Pay attention to details that are easy to overlook. Some parts are specific to the left or right side, the front or rear axle, or a particular version of a system. Fluids should match the specification listed in the owner's manual, not just a generic type name, since requirements can differ between vehicles that seem similar. For tools, check fastener types and sizes: some vehicles mix metric and SAE hardware, and some use Torx or other specialty heads that ordinary socket sets do not cover. When possible, compare the new part side by side with the old one before installation, checking mounting points, connectors and overall shape.
Fit also applies to your equipment. Confirm that your jack and stands are rated for the vehicle, that your torque wrench covers the values the procedure calls for, and that you have the correct adapters or extensions to reach fasteners in tight spaces. Write torque values and any special instructions directly on the list so you are not searching for them with dirty hands.
Avoid Interruption During the Job
Most interruptions come from small items rather than major parts. Order your list in the same sequence as the procedure, then read the entire procedure once more against it before you begin. Stage everything within reach: parts unboxed and checked, tools laid out, fluids opened only when needed. Make sure cordless tools are charged, work lights function and any borrowed or rented tools are already on hand. This dry run often exposes a missing socket, extension or adapter while you can still get one.
Include the consumables that are easy to forget: penetrating oil, shop rags, a drain pan, gloves, eye protection, cleaner, small containers or bags for fasteners, and labels or tape for marking connectors and hoses. Taking photos before disassembly helps with reassembly and costs nothing. Plan how you will store and dispose of used fluids and old parts, since many areas have rules about disposing of oil, coolant and similar materials.
Think about timing as well. If the car is your daily transportation, start early enough that a parts store is still open if something is missing, and avoid beginning a job you cannot finish before you need the vehicle again. Keep the old parts until the repair is complete and verified; they are useful for comparison and may be required for a core return or warranty claim.
Practical Implications and Limits
A well-prepared list reduces risk, but it cannot predict everything. Corrosion, previous repairs by other owners and wear you could not see from outside all affect what a job actually requires. Generic checklists are a starting point, and the service information for your specific vehicle remains the authority on procedures, specifications and parts. Where the two disagree, follow the vehicle-specific source.
Building the list also helps you judge whether a job belongs in a home workshop at all. If the procedure requires expensive specialty tools, dealer-level diagnostic equipment, alignment after the repair, or work on systems that are regulated or safety-critical, the list makes that visible before you commit. At that point, renting or borrowing tools, buying only the parts and having a shop install them, or leaving the job to a professional may be the more sensible choice. Contingency parts carry a similar trade-off: buying them ahead can prevent delays, but it is worth checking return policies so unused items do not become a wasted expense.
Once the job is done, keep the finished list along with part numbers, fluid specifications, torque values and notes on anything unexpected. For routine maintenance that repeats at intervals, that record becomes a ready-made checklist next time and shortens preparation considerably.