How to Photograph a Car Before Disassembly
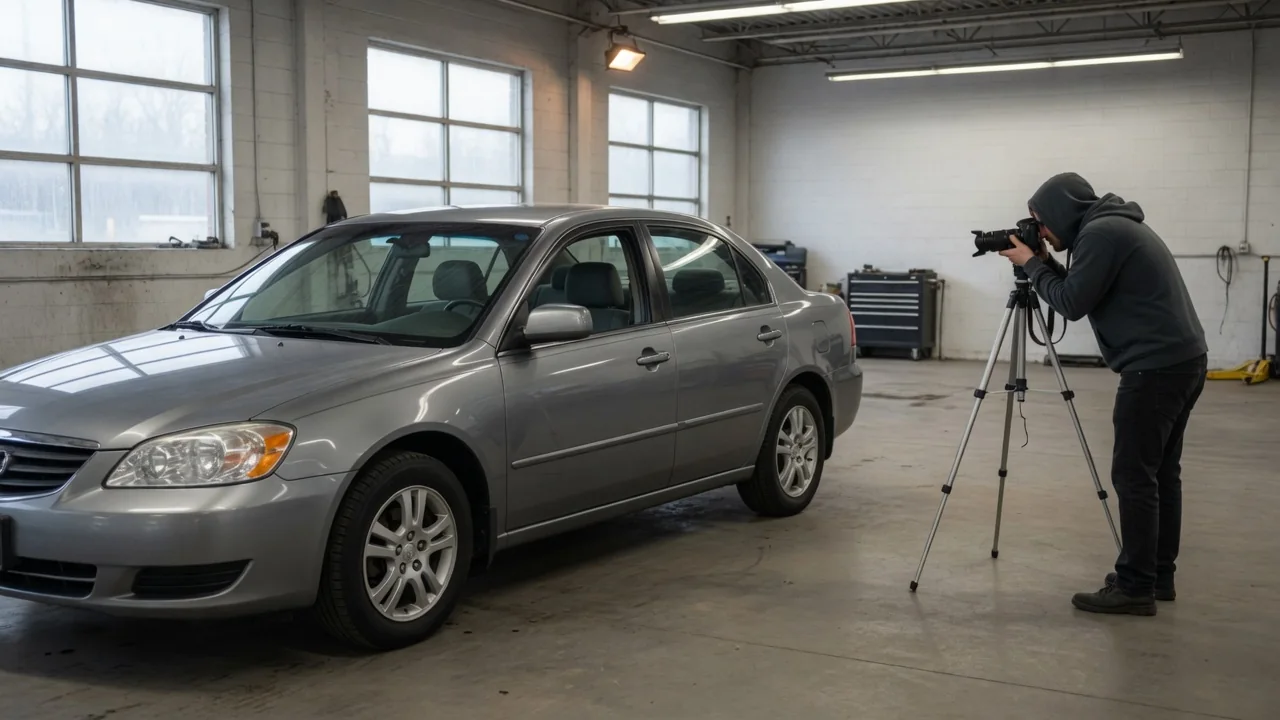
Before the first bolt comes out, a deliberate photo record can save hours of guesswork when the car goes back together months or years later. Knowing how to photograph a car before disassembly comes down to capturing what memory will not hold: how parts connect, which fasteners go where, and how each assembly looked as a whole. Good restoration disassembly photos are planned around those future questions rather than taken at random.
Connections: Wiring, Hoses, Lines, and Cables
Connections are the details most easily forgotten because they look obvious while still attached. Wiring harness plugs, vacuum lines, fuel and brake lines, coolant hoses, ground straps, and control cables all follow specific paths, and many connectors look alike. A useful habit is to shoot each area in three steps: a wide photo that shows where the area sits in the car, a medium photo that shows the group of connections, and close-ups of each individual plug or fitting. The wide shot gives context, so a close-up of a single connector can later be matched to its location without guessing. Take these photos before anything is loosened, since a disturbed harness or a hose pushed aside no longer shows its original routing.
Pay attention to orientation and routing, not just the endpoints. Photograph which way a connector latch faces, which side of a bracket a harness passes, where clips and tie points hold it, and how hoses are clamped, including the direction the clamp screw or tab points. Ground straps deserve their own close-ups, because their mounting points are easy to overlook and can affect electrical behavior if moved. For throttle, shift, clutch, or parking brake cables, capture any adjustment points and visible thread positions before loosening them. Placing a numbered tag or a strip of masking tape with a written label on each connector or hose end, and keeping that label visible in the photo, ties the image to the physical part.
Light and angle matter more than camera quality. Engine bays and undersides are full of shadows, so a work light or diffused flash helps reveal routing behind other components. When a line disappears behind a part, take a second photo from another angle rather than assuming one view tells the whole story.
Fasteners: Recording What Holds Each Part
Fasteners that look identical may differ in length, thread pitch, head style, or the washers and spacers that go with them, and a bolt that is too long can bottom out or interfere with something behind it. Photograph fasteners in place first, showing their position relative to the part they secure. After removal, lay them out on a clean surface in the same arrangement they had on the car, or next to the bracket or panel they came from, and photograph them again. This second shot preserves both the set of hardware and the relationship between each piece and its hole.
Include a scale reference such as a ruler or tape measure in fastener photos so lengths can be compared later without relying on perspective. Record the stacking order of washers, lock washers, spacers, shims, and grommets, since the order is often not apparent once they are in a bag. Note whether a location uses a bolt, a stud with a nut, a captive nut, or a clip, and whether a single fastener also holds a bracket, clamp, or ground. Shims in particular can control alignment or clearance, so their number and position should be captured exactly as found.
Link photos to storage. Write a clear label on each bag or container, then take a photo of the label next to its contents. When the photo sequence runs location, removal, labeled bag, the chain from car to container stays traceable.
Reassembly Reference: Organizing Photos for the Way Back
A large photo collection is only useful if the right image can be found quickly. Organize by system or area, such as engine bay, interior, doors, front suspension, or rear axle, and keep photos in the order they were taken so the sequence mirrors disassembly. Reassembly generally follows that sequence in reverse, so chronological order within each folder is valuable. A practical approach is to start each group by photographing a handwritten card naming the area and date, which acts as a divider when browsing a camera roll or a folder on a computer. Renaming or tagging files after each work session, while details are fresh, is far easier than sorting hundreds of images at the end.
Photos work best alongside brief notes. A quick written or spoken note can record things an image does not show clearly: a part that was difficult to remove, a step that required removing something else first, a damaged connector, or a hose that was already cracked. Short video clips are useful for complex harness routing or linkages, because moving the camera along a path shows continuity that still photos can break up. Simple sketches marked with tag numbers can tie the whole area together.
Store copies in more than one place, such as a computer and an external drive or cloud storage. A restoration can stretch over a long period, and losing the only copy of a photo set can undo much of the documentation effort.
Practical Implications and Limits
Photos record the car as found, which is not necessarily how it left the factory. Previous owners or shops may have rerouted wiring, substituted hardware, added aftermarket parts, or left out brackets and clips. Treat the photos as evidence of the current state and cross-check them against the factory service manual, parts catalog diagrams, or other reliable documentation for the specific vehicle before assuming a configuration is correct. When photos and documentation disagree, that difference is worth noting rather than reproducing automatically.
Images also cannot capture everything needed for correct reassembly. Torque values, tightening sequences, sealant or thread-locker requirements, clearances, and preload settings come from service information, not from a picture of a bolt. Some fasteners are designed for single use, and a photo will not reveal that. Documentation also takes time, and the right depth depends on the project: a car that will be apart briefly, or a system the restorer knows well, may need less detail than a full body-off restoration that sits for years. The practical aim is coverage of anything that would be ambiguous later, not an exhaustive archive of every surface.