How to Organize Removed Parts During a Restoration
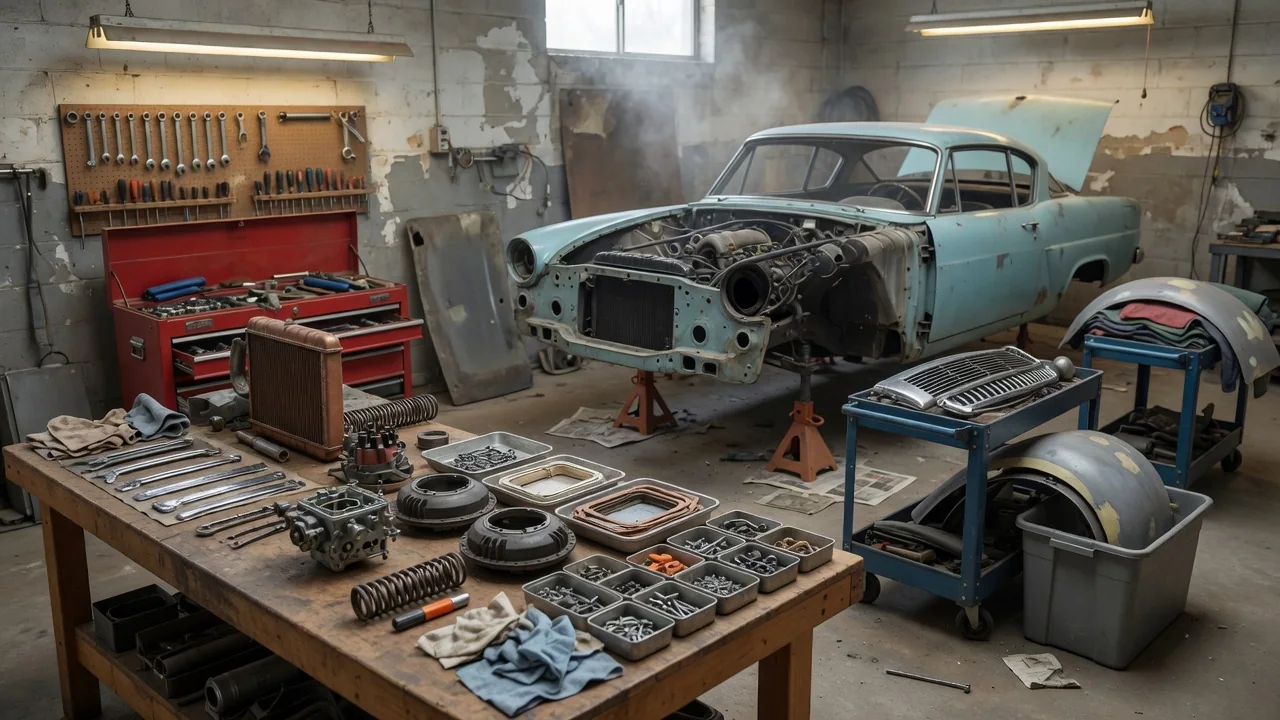
A restoration can stretch over months or years, and parts removed in the first weekend still have to make sense long after memory fades. Organizing removed parts during a restoration comes down to three habits: labeling everything in a way that survives handling, bagging fasteners with the component they hold, and protecting stored parts from damage and corrosion. The general methods below apply to most vehicles, while exact fasteners and procedures depend on the specific make and model.
Labeling: Recording What Each Part Is and Where It Came From
Every label should answer the questions you will have during reassembly: what the part is, where it was mounted, which side of the car it came from, and which way it faced. A consistent naming pattern helps, such as area, then system, then component, for example front left door, window regulator. Decide early how left and right are defined. Most people define them from the driver's seat looking forward. Write that convention at the top of your parts log so its meaning does not change partway through the project. Mirror-image parts such as hinges, brackets, and trim pieces are a common source of confusion, so mark them even when the difference seems obvious.
Restoration parts storage labels have to survive grease, cleaning solvents, moisture, and repeated handling. Common options include paper tags fastened with wire or zip ties, printed adhesive labels, and masking tape marked with permanent marker. Each has weaknesses. Masking tape can lose its grip as it ages, and marker ink can wipe away when a part is degreased. A simple safeguard is to label twice: once on the part or its attached tag, and once on the bag or bin that holds it. Give each part or group a number and record it in a central list. If a label is damaged, you can still match the part to its entry.
Photographs fill gaps that words cannot. Take pictures before removal and at each stage of disassembly. When possible, keep the label or number visible in the frame. Capture wiring routes, hose orientation, linkage positions, and the stacking order of shims and spacers. Organize the photo set with the same numbering scheme as the physical parts. The written log, whether a notebook or a spreadsheet, can then record the number, description, storage location, and status, such as removed, cleaned, sent out for refinishing, or ready to install.
Fastener Bags: Keeping Hardware With the Part It Holds
Loose hardware is the easiest thing to lose track of during a teardown. Bolts that look alike can differ in length, thread pitch, grade, or head style. Using the wrong one can strip threads, bottom out in a blind hole, or leave a joint underfastened. The most reliable habit is to bag fasteners by removal step rather than by type. For example, one bag holds the screws from a single trim panel, another the bolts from one bracket, another the nuts from a particular manifold. Mark each bag with the same number and description as its part so the two can be reunited without guesswork.
When one component uses several different fasteners, record their positions as well as their identity. One common method is to push the bolts through a piece of cardboard in the same pattern as the mounting holes and label the outline. Another is to tape small groups together with a note about where each group goes. Keep washers, spacers, clips, and grommets with the fastener they belong to, in the order they came off. Factory service literature lists some fasteners as single-use. Flag anything that looks stretched, deformed, or specially coated, and check it against the manual for that vehicle before reusing it.
Use sturdy resealable bags and write on the outside, because a paper note sealed inside with oily hardware can become unreadable. Sharp or heavy items can puncture thin bags, so double-bag them or use small lidded containers. Fasteners that are cleaned or plated in a batch come back mixed. Photograph and list each group beforehand, or process them in separate lots. Grouping finished bags into bins by vehicle area keeps hundreds of small packets from turning into one unsorted pile.
Protection: Preventing Damage and Corrosion in Storage
Bare steel corrodes when exposed to moisture. Parts are often most vulnerable right after cleaning, because the old grease and coatings that shielded them are gone. A light film of rust-preventive oil or a corrosion inhibitor helps on machined and bare surfaces. For smaller items, vapor corrosion inhibitor bags or paper are another option. Store parts on shelves or pallets rather than directly on a concrete floor, which can transfer moisture. Avoid sealing damp parts in airtight plastic, where trapped condensation can do more harm than open air.
Physical damage is the other risk. Wrap chrome, polished trim, glass, and painted panels in soft material, and store them so nothing heavy rests on them. Rubber seals, plastic trim, and upholstery tend to deteriorate faster with heat and sunlight, so keep them in a shaded, reasonably stable environment. Large panels are usually safer stored upright and supported. Stacked flat, their weight and any shifting can cause dents and scratches.
Open passages need attention too. Cap or plug fluid lines, fittings, intake and exhaust openings, and engine or transmission ports so dirt, debris, and pests cannot get inside. Cover exposed threads that could be nicked, and bag electrical connectors to keep terminals clean. Keep brake parts and friction surfaces away from oil, solvents, and other contaminants. Mark on the label any item that has been cleaned and is ready to install so it is handled with care later.
Practical Implications and Limits
An organizing system works only if it is applied consistently from the first part removed to the last, so set it up before disassembly begins. It also costs time and space. Bagging, labeling, and photographing slow the teardown. A fully disassembled vehicle typically takes up far more room than the assembled car, so plan shelving and bin capacity in advance. Arrange storage by subsystem rather than by removal date. Reassembly often follows a different sequence than disassembly, and this arrangement makes parts easier to find.
Careful records show how the car came apart, not necessarily how it should go back together. Previous repairs may have introduced incorrect hardware, nonstandard routing, or substitute parts, and a well-labeled bag will faithfully preserve those mistakes. Factory service manuals, parts catalogs, and assembly references for the specific vehicle remain the authority on correct fasteners, orientation, and part numbers. Protective measures also slow deterioration rather than stop it. Humidity and temperature swings in the storage area still matter, so inspect stored parts occasionally over a long project.