How to Keep Used Car Parts for Diagnosis Temporarily
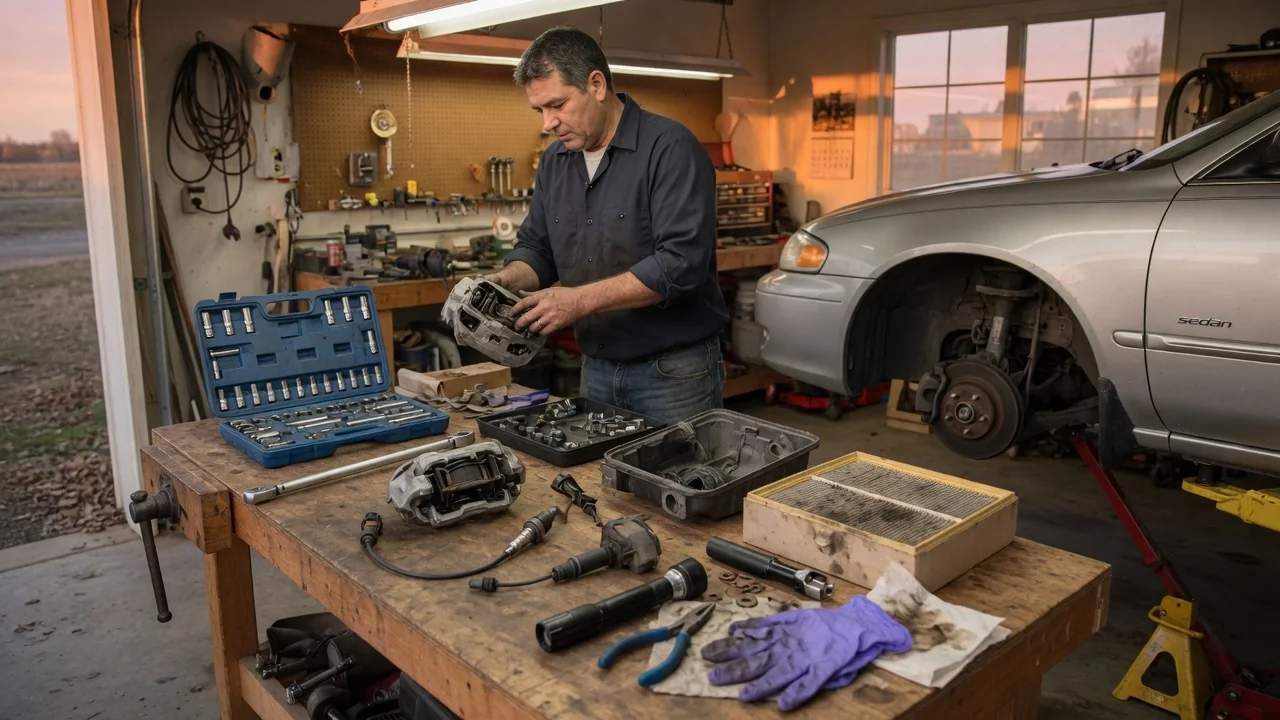
When a repair does not go as planned, the part you just removed is often the best evidence you have. Keeping replaced components for a short period lets you confirm the diagnosis, check that the new part matches, and return cores or warranty items correctly. This guide explains how to save replaced car parts in a home workshop so they stay useful for diagnosis. It covers how to label them clearly, how to compare them methodically, and how to dispose of them appropriately once they have served their purpose.
Label Every Part Before It Leaves Your Hands
A loose part on a bench loses most of its diagnostic value quickly, because memory fades faster than people expect. Attach a label as soon as the component comes off the vehicle, not at the end of the job. A useful label records the vehicle, the date, the odometer reading, and the exact location the part came from. It also notes the symptom that prompted the repair and why this particular part was removed. Location matters more than many owners realize. Tag an ignition coil, injector, or spark plug with its cylinder number. Mark wheel-end parts such as brake pads, calipers, or wheel bearings as front or rear and left or right. If the part carries a stamped or printed part number, copy it onto the label as well, because markings can later be worn away, corroded, or hidden by grime.
Packaging is part of labeling, because the goal is to keep the evidence in the condition it was in when removed. Resist the urge to clean the part. A technician or parts supplier will often want to see exactly the deposits, discoloration, fluid residue, and wear patterns that cleaning would remove. Drain what fluid you reasonably can, then place the part in a sealed plastic bag or a lidded container and set it on a drip tray or in a bin. Cap open ports and protect electrical connectors so the pins are not bent or contaminated. Take a few photos of the part in place before removal and again on the bench. They add context that a written tag cannot capture, such as how a hose was routed or where a leak trail began.
Compare Old Parts Against New Ones and Each Other
Make the first comparison before the new part goes in. Set the old and new components side by side and check that they match in the ways that affect fit and function. Look at mounting points, overall dimensions, connector shape and pin count, hose or port sizes, and any orientation marks. A parts catalog can list several variants for the same model depending on build date, engine, or trim. A physical comparison catches mismatches that a lookup alone may miss. If something looks different, stop and confirm compatibility rather than assuming the change is a harmless revision.
The second comparison looks for patterns. When several identical parts come out at once, such as spark plugs, injectors, or brake pads, lay them out in their installed order. Watch for a single component that looks noticeably different from its neighbors, such as a plug with unusual deposits or a pad worn much further than its partner. That kind of difference can point to a problem in that specific location rather than general wear. Uneven wear between inner and outer brake pads, or between the left and right sides, often means something beyond the pad itself is worth inspecting. These observations do not prove a cause on their own, but they help narrow down where to look next.
Retained parts become especially valuable if the original symptom returns after the repair. With the old part labeled and intact, you can reassess whether it was genuinely faulty, show it to a professional, or support a warranty conversation with the parts supplier. Without it, the discussion relies on memory and assumption.
Dispose of Retained Parts Appropriately
Before throwing anything away, check whether the old part has somewhere it is supposed to go. Many remanufactured components, such as alternators, starters, and some brake calipers, are sold with a core charge that is refunded when the old unit is returned. Warranty replacements may also require the failed part to be sent back. The seller sets the terms, including any return deadline and required condition, so read the receipt or ask when you buy the part. A core return generally goes smoothly if you avoid adding damage to the old unit and pack it in the original box, if you kept it.
Parts that hold fluids or contain hazardous materials need more care than general trash. Never pour used engine oil, coolant, brake fluid, or transmission fluid into drains or onto the ground, and do not put used oil filters in household trash. Many auto parts retailers, service shops, and municipal household hazardous waste programs accept these materials. What each location takes varies, so check locally before you go. Lead-acid batteries are widely recycled and are commonly accepted wherever new batteries are sold. Do not keep airbag modules, seat belt pretensioners, or other parts with pyrotechnic charges lying around, and do not discard them with household waste. Follow the service information for the vehicle and local rules for handling them.
Parts that are mostly metal and hold no fluids can often go to a scrap metal recycler. This includes brake rotors, exhaust pieces, brackets, and many suspension components. Catalytic converters contain valuable metals and are subject to specific rules in some areas, so confirm local requirements before selling or scrapping one. Rubber, plastic, and mixed-material parts usually go in regular waste unless your area offers a dedicated program.
Practical Implications and Limits
Deciding how long to keep a part is a judgment call rather than a fixed rule. A sensible approach is to hold on to the old component until the repair has proven itself under the conditions where the original symptom appeared. Depending on the problem, that could mean cold starts, highway speeds, wet weather, or a full heat cycle. Intermittent faults may need more driving before you can be confident. Return deadlines for cores and warranty items still take priority. If you may want a record of a part's condition, photograph and document it before sending it back.
Stored parts have limits as evidence. Visual inspection cannot confirm many electrical faults. A sensor or module that looks perfect may have failed internally, while one that looks worn may still have been working. Rubber seals and hoses can harden or crack in storage, bare metal can corrode, and residue can dry and change appearance. A part examined weeks later may not show what it showed when it came off. How a component fails, and which signs are meaningful, also depends on the specific vehicle. The service information for your model remains the reference for interpreting what you find. Finally, storage carries a small responsibility of its own. Keep drained parts sealed, off the floor, and out of reach of children and pets until they leave the workshop.