How to Keep Car Cupholders Clean
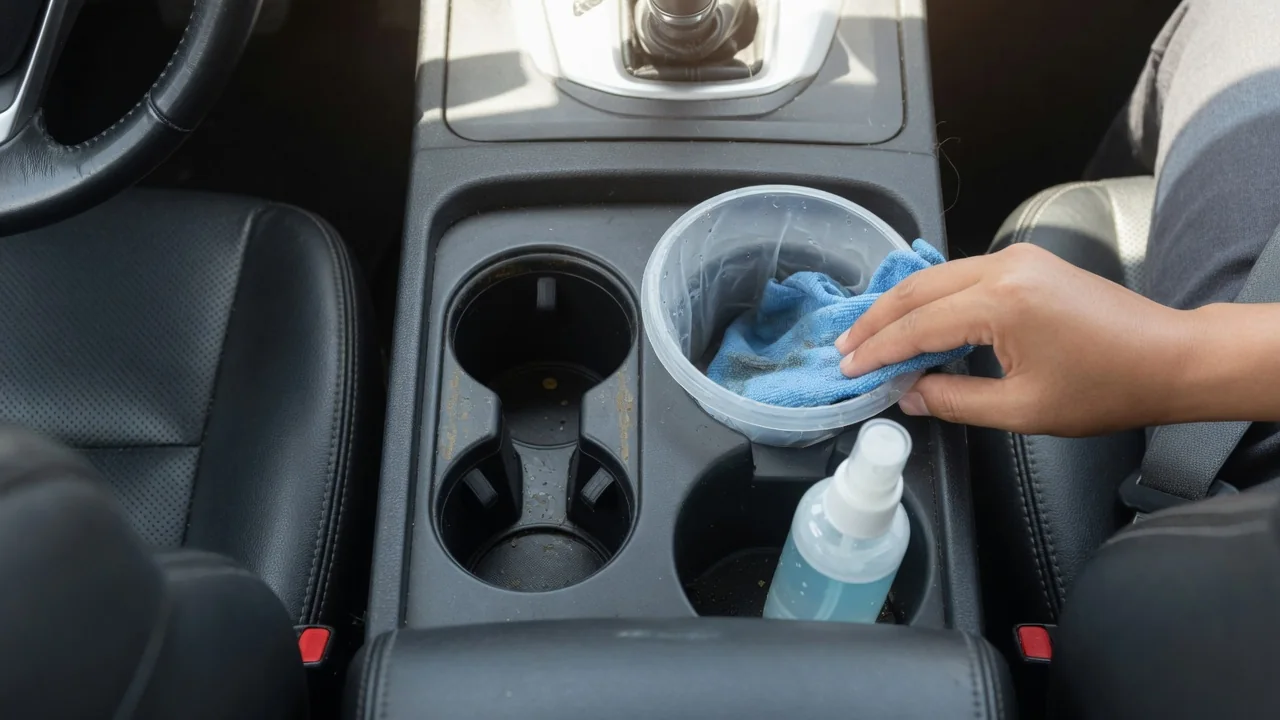
Cupholders collect more grime than almost any other part of a cabin, because they sit directly under drinks, snacks, and loose change. Learning how to keep car cupholders clean comes down to a simple routine: clear out the loose material, dissolve the sticky film, dry everything thoroughly, and build small habits that stop the mess from returning.
Remove debris
Start by emptying the holder completely, including coins, receipts, straw wrappers, and anything wedged under the spring-loaded tabs that grip a cup. Many vehicles have a rubber or silicone insert at the bottom of each well, and it often lifts out with a fingertip at the edge. Pulling it out exposes the crumbs and grit that slip beneath it, which is usually where the worst buildup hides. If the liner does not lift with light pressure, assume it is fixed and leave it in place.
A vacuum with a narrow crevice nozzle handles most of the loose material, especially the fine grit that settles in the seam where the well meets the console. A soft detailing brush or a clean, dry paintbrush loosens particles from the grip tabs and the corners so the vacuum can collect them. Designs vary considerably: some consoles have deep single wells, others have shallow paired holders with a divider, and door-pocket bottle holders often have drain-like gaps that trap debris in different places.
Clean sticky residue
Dried soda, coffee, and juice leave a tacky film that vacuuming cannot touch. Removable inserts are the easy part, since they can be washed in a sink with warm water and a little dish soap, then scrubbed with a soft brush to clear the textured grooves. For the fixed well, a microfiber cloth dampened with warm soapy water or a mild interior cleaner works best. Letting the damp cloth rest on a hardened spill for a minute softens the sugar so it wipes away instead of smearing.
Crevices need smaller tools. A cotton swab, a foam detailing swab, or a cloth wrapped around a blunt plastic trim tool reaches the ring at the base and the gaps around the grip tabs without scratching. Use a damp applicator rather than a wet one, because liquid poured into the well can run into seams near shifter trim, switches, or charging ports. Harsh solvents and abrasive pads can dull or discolor plastics and soft-touch coatings, so test any cleaner on a hidden spot first.
Dry before use
Moisture left behind undoes much of the work. A damp well attracts dust immediately, and water trapped under a liner can leave a musty smell or a cloudy ring on the plastic. Wipe the well with a dry microfiber cloth, then run a dry swab around the bottom seam and behind the tabs where water tends to pool. Leaving the doors open for a few minutes in mild weather helps the last traces evaporate from places a cloth cannot reach.
Washed inserts should be fully dry on both sides before they go back in, since the underside is often ribbed and holds droplets. Shake them off, towel them, and let them air dry on a clean surface. This matters more in vehicles with illuminated cupholder rings, heated or cooled holders, or nearby wireless charging pads, where electrical components sit close to the well. In those designs, keeping liquid to a minimum during cleaning is as important as the drying step itself.
Everyday Use and Observations
Daily habits decide how often a deep clean is needed. Condensation from cold drinks and drips from loose lids are the main sources of residue, so cups with secure lids and a quick wipe after a spill prevent most of the sticky film from forming. Aftermarket silicone liners or absorbent coasters sized for the well catch drips and lift out for rinsing, which is useful when the factory holder has no removable insert. Check the fit, because an oversized liner can keep a cup from seating securely.
A quick look during fueling or a weekly tidy tells you a lot. A cup that sticks slightly when lifted, a dark ring at the base, or grip tabs that move sluggishly all point to residue building up. Treating the holder as a drink space rather than a catchall for coins, gum wrappers, and food scraps also keeps debris out of the seams. Families with children, rideshare drivers, and commuters who eat on the road will generally see buildup return faster than occasional drivers.
Limits and Next Steps
Surface cleaning has limits. A large spill can travel past the well into the console, under the shifter trim, or into switch assemblies, where it may leave buttons sticky or cause odors that wiping the holder will not fix. Stains that have set into light-colored or soft-touch plastic may fade but not disappear, and worn rubber liners can stay discolored even when clean. Prying at trim to reach deeper areas risks breaking clips, so avoid forcing any panel that does not release easily.
When a spill has reached electrical controls, or a switch near the console starts behaving oddly afterward, a professional detailer or a repair shop is the sensible next stop. The owner's manual usually notes which cupholder parts are removable and which cleaners suit the interior materials, and it is worth checking because layouts differ widely between vehicles. If a factory insert is damaged or missing, a dealer parts counter can confirm the correct replacement for the specific vehicle rather than relying on a generic fit.