How to Keep an EV Charging Cable Clean and Dry
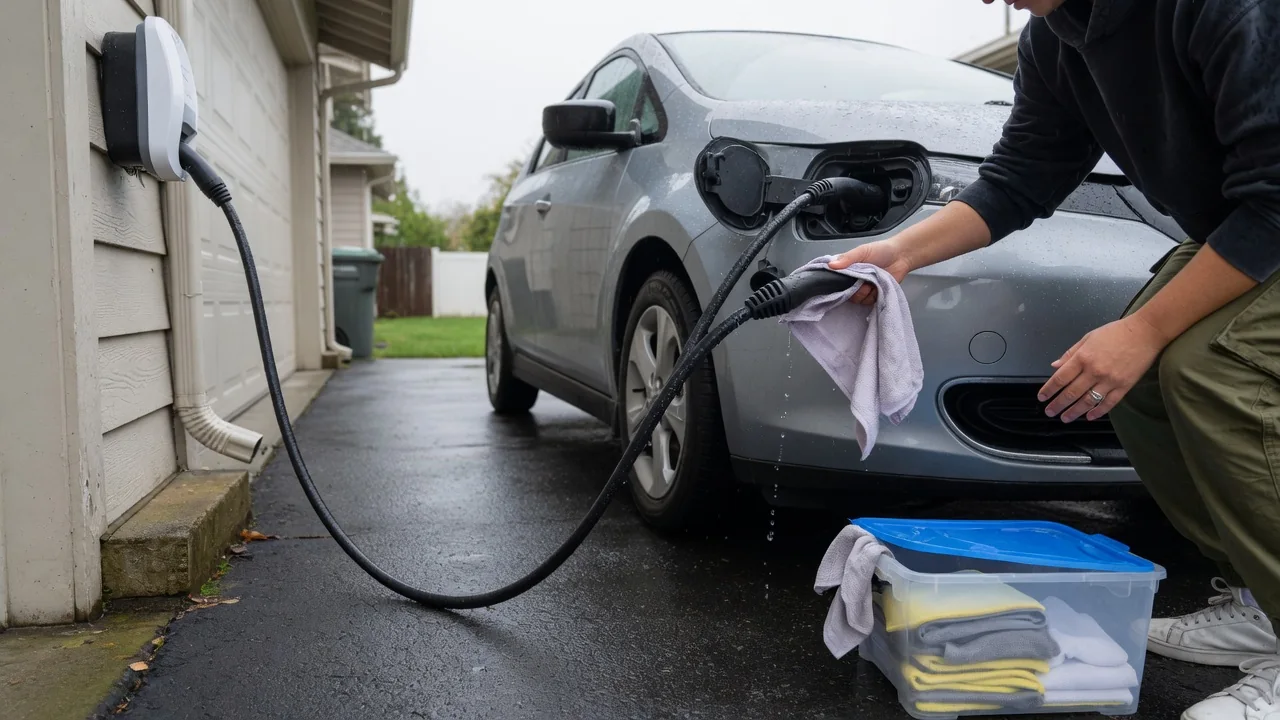
Learning how to keep an EV charging cable clean and dry comes down to a few habits: checking the connector before each session, storing the cable where water and grit cannot collect, and respecting the limits set by the equipment maker. These steps protect the electrical contacts, reduce charging interruptions, and help the cable last through years of daily plugging and unplugging.
Inspect ends
The connector ends do the real electrical work, so they deserve a quick look before every charge. Hold the handle in good light and check the pin cavities for sand, leaf fragments, road salt residue, or beads of water. Metal contacts should look bright and uniform rather than dull, green, or darkened. Discoloration or a melted-looking area around a pin suggests heat from a poor connection, and that is a reason to stop using the cable until it has been evaluated by someone qualified.
The vehicle side matters just as much. Open the charge port door and look at the inlet, its seal, and any drain path molded into the housing, since debris that sits there transfers straight onto the plug. Connector shapes differ by vehicle and region, and some inlets have a secondary flap covering the fast-charging pins, so what you see will vary. Also check the latch, the rubber cap if one is fitted, and the strain relief where the cable enters the handle for cracks or loose fit.
Keep off ground
A cable left lying on a driveway or garage floor picks up exactly what you are trying to avoid. Puddles, snowmelt, mud, and winter brine wick into the connector if the open end rests face down, and grit embeds in the outer jacket where it later rubs against paintwork. Driving over the cable is another risk, because tire weight can crush the conductors inside without leaving an obvious mark outside. Hanging the cable removes all of these problems at once.
A wall hook, a holster, or the dock built into many home charging units keeps the plug pointed downward so any moisture drains out instead of pooling around the pins. Coil the cable in wide, relaxed loops rather than tight wraps, which stress the jacket and the internal wiring near the handle. For a portable cable carried in the car, a ventilated bag or the dedicated storage compartment works well, provided the cable is wiped off first so it is not sealed away damp against carpet or trim.
Follow equipment instructions
The manual supplied with the charging equipment is the authority on cleaning and weather exposure, and its guidance differs more than many owners expect. Some units are built for permanent outdoor mounting, while certain portable cables have a control box that should not sit in standing water or be left out in heavy rain. The printed ratings on the equipment and the wording in the instructions tell you which situation applies, so check them rather than assuming all cables tolerate the same conditions.
Cleaning methods are also specified by the manufacturer. A common recommendation is a soft, dry or slightly damp cloth on the handle and jacket with the cable unplugged from both the power source and the vehicle, but confirm that for your equipment. Pressure washers, solvent sprays, compressed air aimed into the pins, and metal tools pushed into the contacts can force moisture deeper or damage plating. The vehicle owner's manual adds its own advice about the charge port, including whether adapters or extension leads are permitted.
Everyday Use and Observations
Day-to-day routine does most of the work. In rain, keep the plug pointed down as you carry it from the holder to the car, and connect promptly instead of setting it on the ground or hood. After charging, refit the protective cap if the cable has one and close the charge port door fully so its seal can do its job. In freezing weather, clear snow and ice from around the port by hand before opening it, and never chip at the connector with a hard object.
Pay attention to how the connection feels and behaves. A plug that seats smoothly and latches with a clear click is normal, while gritty resistance, a loose fit, or a latch that will not release points to contamination or wear. A handle that becomes noticeably hot, charging sessions that stop unexpectedly, or a warning on the dashboard or the charging unit are all worth noting. Indicator light colors and messages vary between vehicles and equipment brands, so look up their meaning in the relevant manual.
Limits and Next Steps
Careful cleaning and dry storage prevent many problems, but they cannot repair physical damage. A cut or bulging jacket, exposed wire, bent or burnt pins, a cracked handle, or a connector that has been submerged puts the cable beyond routine care. Stop using it and contact the equipment manufacturer, the vehicle dealer, or a qualified electrician. Opening the handle, taping over damage, or drying the internals with heat are not safe substitutes, because these cables carry high current and depend on intact insulation and sealing.
Fault messages deserve the same measured approach. A charging error or stored diagnostic code is evidence to interpret, not proof that the cable itself has failed, since the cause could lie in the inlet, the wall unit, the household supply, or the vehicle's onboard charger. Many of these codes are manufacturer-specific and need confirmation for the exact vehicle. Trying a different, known-good charging point is a reasonable observation to pass along, and warranty terms for the cable and vehicle may shape what happens next.