How to Inspect a Used Tesla Before You Buy
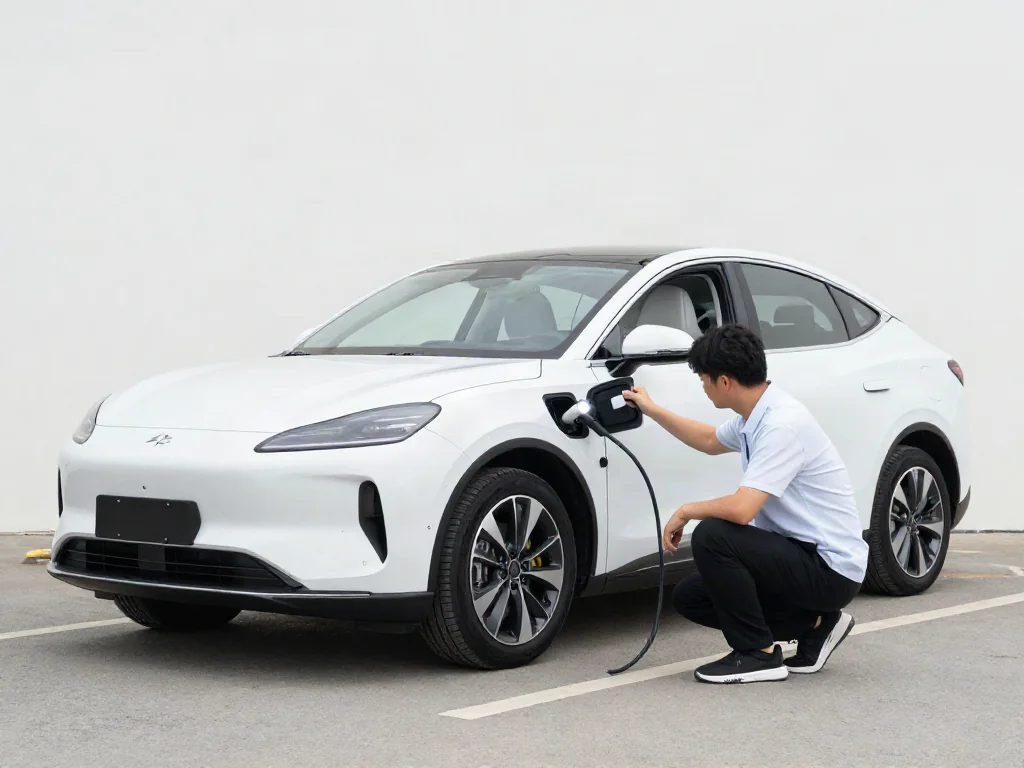
Buying a used Tesla involves unique checks that go far beyond a standard used-car lookover. Because the powertrain, battery, software, and even ownership transfer are deeply integrated, a focused tesla used car inspection can reveal costly issues before you pay. This guide walks through the key areas to evaluate—from battery health and charging behavior to drive unit noises and panel alignment—so you can approach the purchase with clear evidence and realistic expectations.
Planning a Used Tesla Inspection: Records, History and Ownership Transfer
A used Tesla inspection should start with documentation that tells the car's story. Ask for service records, repair invoices, the title, and any vehicle history report. Gaps in maintenance or unexplained bodywork warrant follow-up questions. Unlike a gas car, a Tesla's history also includes software and battery-related events, so records of firmware updates or battery service can be just as important as oil changes.
Confirm the remaining factory warranty by contacting Tesla with the specific VIN; do not rely on the seller's general claims. Before paying, make sure the seller removes the car from their Tesla account, and understand how app ownership transfer works, since that controls key features and future service access. Schedule your inspection in daylight with enough state of charge for a meaningful test drive and a charging test at a known working station.
Checking Battery Health and Estimated Range Without Overreading the Numbers
Battery health is the heart of any used Tesla purchase, but the displayed range is only an estimate. Note the range at a known state of charge and remember that temperature, charge limit settings, and recent driving style can shift that number significantly. A low reading on a cold morning does not mean the battery is failing; a high reading after gentle driving does not prove it is perfect.
Some capacity loss over time is normal for lithium-ion batteries. Ask the seller about their charging habits and how often they used DC fast charging, but recognize those answers are not precise data. Watch for battery-related alerts on the touchscreen and treat them as a reason for professional or Tesla service evaluation, not self-diagnosis. Never open, probe, or disturb high-voltage components or orange cabling during any inspection.
Testing the Charge Port, Cables and Charging Behavior
Start the charging check by looking at the charge port door, port pins, and surrounding area. Look for physical damage, debris, burn marks, or corrosion, but do not insert any tools into the port. A clean, undamaged charge port with a smooth-acting door is a good sign, while any discoloration around the pins could indicate overheating or poor contact during previous charging sessions.
Plug in with a known working charger and confirm that charging starts normally and the displayed charge rate is reasonable for that charger type. If you are using a Level 2 station, the car should show a rate consistent with that station's output. Note any charging-related messages or interruptions, and ask which charging accessories come with the car, such as a mobile connector or adapters, without assuming what was originally included. Any charging fault should be professionally tested rather than diagnosed on the spot.
Reviewing Software, Screens, Features and Connectivity
The touchscreen is the control center for nearly every Tesla function, so test it thoroughly. Look for dead zones, flicker, delamination, or yellowing around the edges. Open the camera app and confirm all feeds display clearly, and check that the screen responds accurately to touches across its entire surface. A single missed tap may be nothing, but consistent unresponsiveness in one area points to a digitizer problem.
Find the installed software version in the settings menu and confirm the car accepts updates if any are pending. Do not assume specific features are tied to any version. Verify with Tesla which paid or optional software features are attached to the car and whether they transfer to a new owner, rather than trusting a listing. Test key cards, phone key setup, app connectivity, climate controls, heated seats, windows, locks, and audio. Intermittent electronic glitches may not appear during a short inspection, so ask directly about any recurring issues.
Test Drive Checks for Drive Units, Brakes and Unusual Noises
A quiet EV makes unusual noises easier to hear, so pay attention during the test drive. Listen for whines, clunks, grinding, or vibration during gentle acceleration, cruising, and regenerative slowing. A high-pitched whine under load may be normal motor sound, but a new clunk when transitioning between acceleration and regen could point to a drive unit or mount concern. Note any noise and its conditions.
Observe regenerative braking behavior in a safe, low-traffic setting. When you lift off the accelerator, the car should slow smoothly and predictably. Then test the friction brakes gently; they should feel firm and stop the car without pulsing or pulling. Watch for any warning lights or driver assistance alerts during the drive and record them rather than interpreting them as a specific fault. Steering pull, wandering, or an off-center steering wheel are observations that point to an alignment, tire, or suspension evaluation.
Body, Panels, Glass, Tires and Suspension Observations
Walk around the car and look at panel gaps, paint match, overspray, and mismatched fasteners. Uneven gaps alone do not prove an accident—Tesla's factory tolerances have varied—but combined with paint texture differences or non-original bolts, they may suggest past repair. Use a flashlight to inspect door edges, hood, trunk, and frunk seams. Any evidence of bodywork deserves a closer look and a conversation with the seller.
Check all glass, including the glass roof, for chips, cracks, and seal condition. Look inside the trunk, frunk, and cabin carpets for signs of water entry, such as stains, musty smells, or dampness. Inspect tires for uneven wear patterns; feathering or cupping can hint at alignment or suspension issues, though a specific cause requires professional measurement. Safely view the visible underbody from ground level for scrapes, dents, or damage to protective shields. Listen for knocks or creaks over bumps and report those symptoms to a qualified inspector.
When to Get a Professional Pre-Purchase Inspection
Even a careful buyer cannot match a professional pre-purchase inspection by a shop experienced with electric vehicles. Such an inspection adds value by using diagnostic tools to read battery and system health, lifting the car properly to inspect suspension and brake components, and checking underbody protection. Ask the inspector to cover battery diagnostics, suspension, brakes, and underbody condition, and to provide a written report.
Remember that any inspection has limits: it cannot guarantee future reliability or reveal every intermittent fault. A clean report lowers risk but does not eliminate it. If the seller refuses an independent inspection, or if findings raise unresolved concerns, be prepared to walk away or renegotiate. A used Tesla inspection is about gathering enough evidence to make a confident decision—not about proving the car is perfect.