How to Inspect a Serpentine Belt for Wear, Glazing, and Cracks
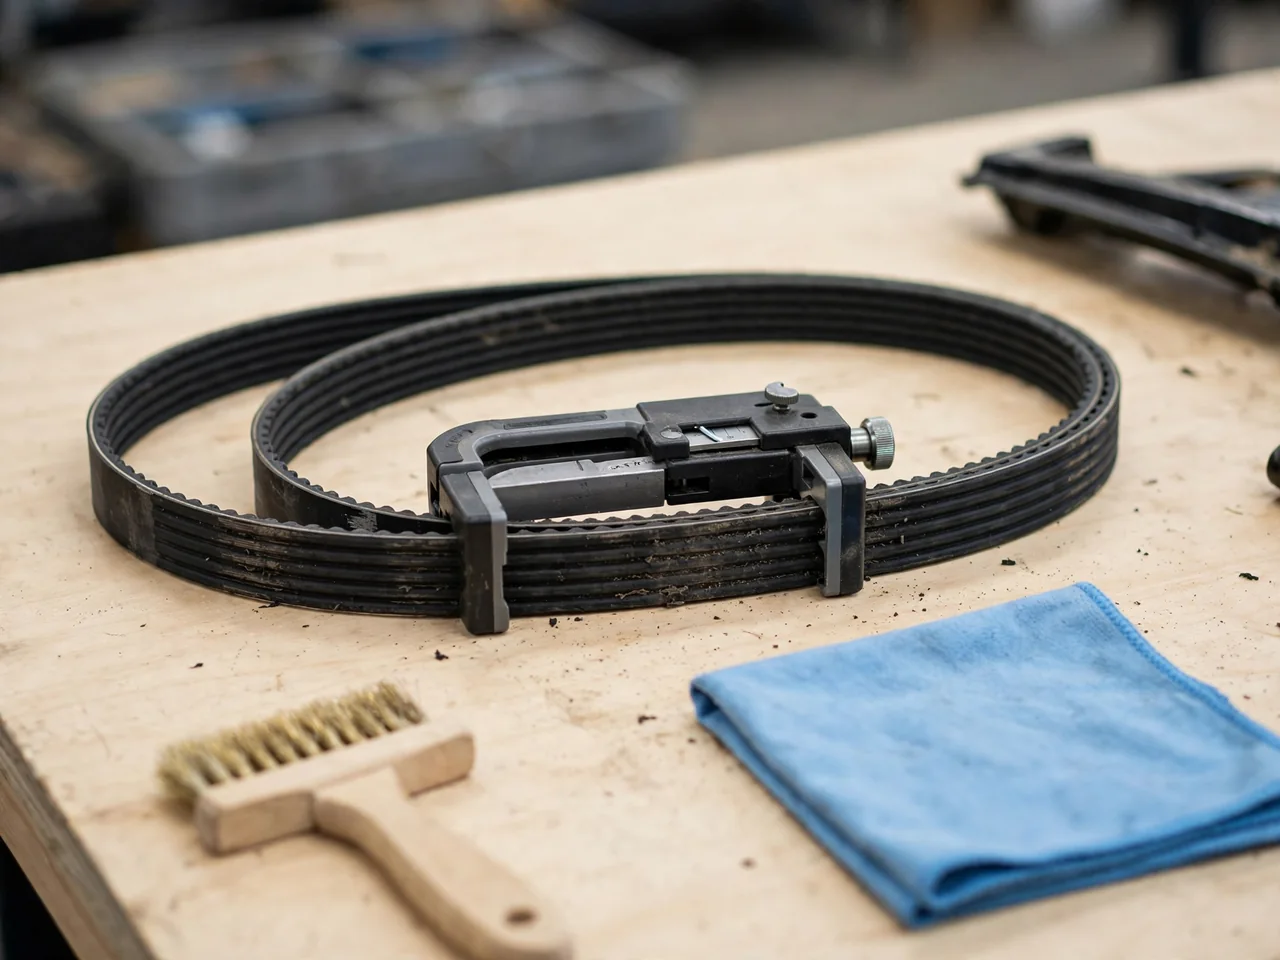
A serpentine belt inspection takes only a few minutes with the engine off. It can reveal problems before the belt slips or breaks and leaves the accessory drive without power. This guide covers how to look for rib wear, glazing, cracks and contamination, and how a wear gauge adds evidence. It also explains when your findings point toward replacement or toward a professional diagnosis.
Prepare for a Safe, Engine-Off Belt Inspection
Start by confirming which belt you are looking at. The owner's manual or the routing diagram under the hood usually shows the serpentine belt's path around the crankshaft pulley, alternator and other accessories. It runs on the outside of the engine. A timing belt or chain is different: it sits behind covers and is not part of this inspection. Note which stretches of belt you can see from the engine bay without removing covers or components, because those are the only sections you can judge.
Park on level ground, set the parking brake and turn the vehicle fully off. If the vehicle uses a key fob, keep it away so the engine cannot be started by accident. Let the engine cool so hot manifolds and hoses cannot burn you. Electric cooling fans can switch on even with the engine off, so keep your hands clear of the fan shroud, and never touch a moving belt. A flashlight helps, but a partial view cannot confirm the condition of the whole belt. Leave repositioning or removing it to a technician.
Check the Ribs, Edges, and Backing for Wear
Look closely at the ribbed side wherever it is visible. Healthy ribs have a consistent profile with defined peaks and grooves. Findings worth noting include ribs that look shallow or rounded from lost material, chunks missing from individual ribs, splits along or across the belt, frayed edges, and cords showing through the rubber. Photograph anything unusual. Many current belts use EPDM rubber, which tends to wear away gradually instead of cracking, so a belt with no cracks can still be worn out.
When you do find cracks, judge them by how deep and widespread they are and whether missing chunks or splits come with them. Follow the belt or vehicle manufacturer's guidance rather than a single crack-count rule. Edge damage and uneven wear deserve extra attention because they often reflect how the belt is running, not just its age. A frayed edge can point to a misaligned pulley, a wobbling tensioner arm or a worn bearing that lets a pulley tilt. If you replace the belt without checking the drive, the same wear pattern may come back.
Recognize Glazing and Surface Contamination
Glazing looks like a smooth, shiny, sometimes hardened finish on the rib faces that touch the pulleys. It often means the belt has been sliding instead of gripping, and the heat from that friction polishes the rubber. Appearance alone cannot tell you why the belt slipped. A weak tensioner, worn pulley surfaces, a dragging accessory or the wrong belt can all contribute. That is why a glazed belt is a reason to have the tension and pulleys checked professionally, not just to swap the belt.
Contamination looks different. Oil or coolant can leave a wet or dark film on the belt, and rubber exposed to these fluids may swell, feel soft or tacky, or lose its rib shape. Any fluid on the belt means the source has to be found, such as a leaking seal, pump or hose, or a new belt will break down the same way. Don't use belt dressing, solvents or sandpaper to quiet noise or restore grip. They can hide symptoms and may damage the rubber, and they do nothing to fix the underlying fault.
Use a Wear Gauge to Assess Rib Material Loss
A wear gauge is a small tool that sits in the belt's grooves and shows how much rib material has worn away. Modern belts can lose material without cracking, so the gauge catches wear your eye can miss, especially in poor light. It adds to a visual inspection but does not replace it. The gauge measures groove depth only where you place it, while your visual check covers cracks, fraying, contamination and glazing. Use a gauge made for the belt's rib profile, because a mismatched gauge can give a misleading result.
Follow the gauge maker's instructions for placing and reading it, and measure only on sections you can reach safely with the vehicle off. Don't reach into tight spaces between pulleys, and don't turn the engine or the drive to bring another section into view. Judge the result by the gauge manufacturer's criteria, not by an assumed universal depth limit. A failing reading is strong evidence of wear. A passing reading in one spot does not rule out damage elsewhere on the belt or problems in the rest of the drive.
Connect Belt Symptoms With Findings Without Guessing the Cause
Many owners inspect the belt because they have already heard something. Squealing at startup, chirping at idle, or noise during sharp turns or with the air conditioning on can all hint at a belt-drive problem. So can accessories that work only some of the time. Treat these as reasons to inspect, not as a diagnosis, and don't open the hood with the engine running to watch or listen near the belt. A worn belt can cause noise, but so can a weak tensioner, a dry pulley bearing, misalignment, contamination or a struggling accessory.
A belt that fails completely causes more serious signs, and which ones you see depends on what the belt drives on your vehicle. If it turns the alternator, a battery or charging warning may appear. If it drives the water pump, engine temperature can climb quickly. If it powers a hydraulic power steering pump, steering can suddenly get heavy. If any of this happens, stop somewhere safe, turn the engine off and call for help. Don't keep driving to confirm the cause, because overheating and lost steering assist are both serious risks.
Decide When Belt Findings Require Replacement or Professional Testing
Some findings clearly call for a prompt replacement assessment: cords visible through the rubber, heavy fraying along an edge, missing sections of rib, or a gauge reading that fails the gauge maker's criteria. A belt in that condition can slip, jump off its pulleys or break. Glazing, contamination and recurring noise are different, because they often point to a problem in the drive as much as in the belt. In those cases, find the cause before treating a new belt as the complete repair, or the new belt may wear out early.
A technician can check how well the tensioner holds and damps the belt and whether the pulleys line up. They can also check whether idler or accessory bearings are rough or loose, and whether a driven component is dragging. Some of these checks need tools and procedures best left to a shop. For timing, go by the vehicle manufacturer's maintenance guidance and the belt maker's recommendations, not a fixed mileage figure. Be wary of any promise about exactly how long a belt will last. Regular inspection catches changes before the belt fails.