How to Flush a Car Radiator
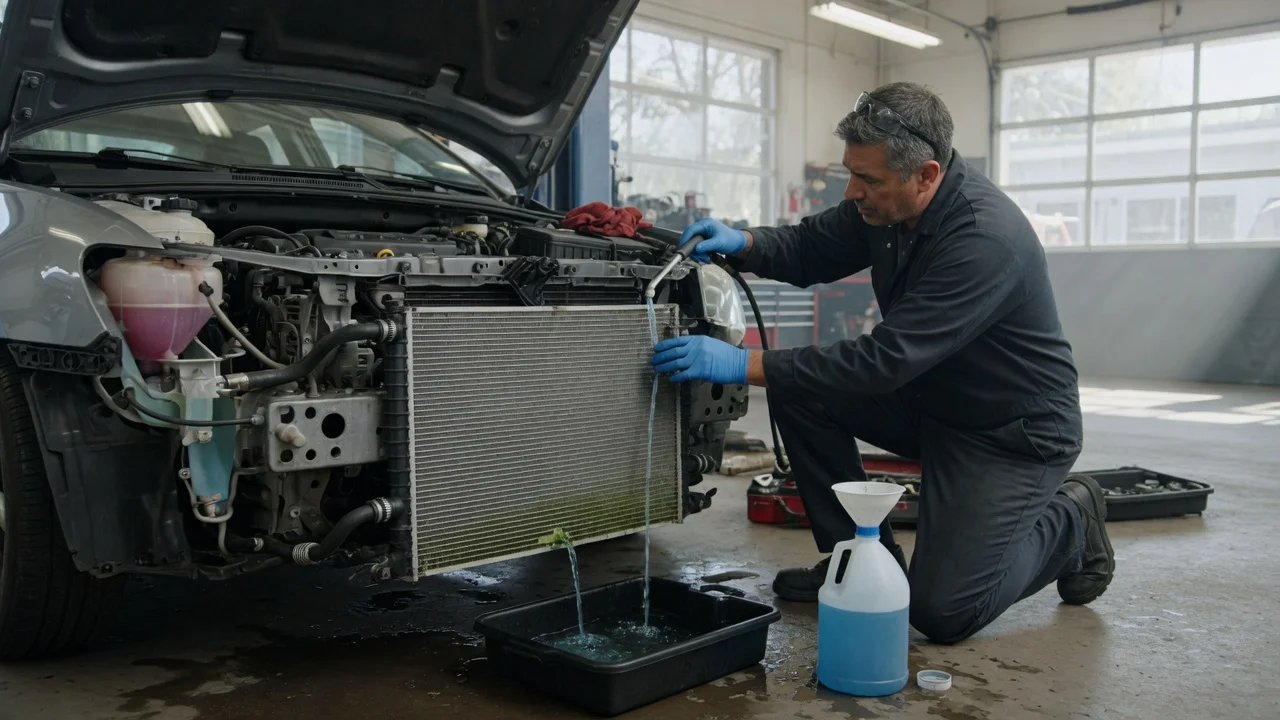
A radiator flush removes old coolant, sediment, and rust particles from the cooling system so the engine can shed heat properly. This procedure applies to a vehicle radiator, not a camera or audio tool, and it must be performed with the engine cool. The task is a local service job: you work directly on the car, and no external service is needed unless the vehicle has a cooling system fault, a damaged drain plug, or disposal requirements you cannot meet.
Before you start
Park the vehicle on level ground, set the parking brake, and let the engine cool completely. Opening a hot cooling system can release pressurized coolant and cause serious burns. Check the owner's manual for the correct coolant type, capacity, and whether the radiator has a drain valve that can be opened by hand. You will need a drain pan large enough for the old coolant, gloves, eye protection, a funnel, replacement coolant, and distilled water if the manual specifies dilution. Confirm local rules for coolant disposal before draining; old coolant is toxic and must not go into household drains or storm sewers.
Step-by-step instructions
1) Drain the old coolant
Place the drain pan below the radiator drain. Open the radiator drain valve or remove the lower radiator hose according to the owner's manual. Let the coolant drain until the flow becomes a slow drip. Close the drain valve or reattach the lower hose before moving on.
On some vehicles the radiator cap and an overflow reservoir both need attention. If the reservoir contains old coolant, remove it, empty it into the drain pan, and rinse it before returning it to its mount.
2) Flush with clean water
Reinstall the drain valve or hose connection if it was removed. Fill the radiator with clean water, or use the water volume and procedure recommended in the vehicle manual. Start the engine and run the heater at its warmest setting so fresh water can move through the heater core. Turn the engine off, let it cool, and drain the water into the drain pan. Repeat until the drained water runs clear or mostly clear of rust and sediment.
3) Refill the system
Close the radiator drain or secure the lower hose once more. Mix the replacement coolant with distilled water only if the product and manual call for dilution. Pour the mixture slowly into the radiator using a funnel to reduce air pockets. Fill the overflow or expansion reservoir to the cold-fill mark. Leave the radiator cap off only if the manual directs a specific air-bleeding method.
4) Bleed air from the cooling system
Air pockets can cause an inaccurate coolant level or poor heater output. With the vehicle parked and the engine running at idle, watch the coolant level and add small amounts until it stabilizes. Some vehicles have a vent screw or bleed valve near the upper hose or thermostat housing. Check the manual for the exact location and sequence before opening it.
Check the output
After refilling, inspect the drain area and hose connections for leaks. Verify that the radiator is filled to the manual-specified level and that the reservoir is between the minimum and maximum marks when the engine is cold. Start the engine and confirm that the temperature gauge reaches its normal operating range without rising beyond it. Cold weather has no direct effect on the car's local image or audio tools because this procedure operates on the cooling system; the expected result is stable coolant level, normal temperature readings, and warm heater output.
Common problems and next steps
If the coolant will not drain freely, check for sediment blocking the drain valve or a collapsed lower hose. If the engine runs hot after the flush, the most likely causes are trapped air, an incorrect mixture, or a thermostat issue. Repeated flushing that still releases brown or oily coolant may indicate rust inside the block or a leaking transmission cooler, and both require diagnosis rather than more flushes. If the heater becomes weak after refilling, check the coolant level again and bleed the system before considering deeper heater core problems. Use the same process for a flush related to a separate engine repair, but replace anything disconnected during that repair according to the manufacturer's procedure.