How to Disconnect Ford Transmission Cooler Lines
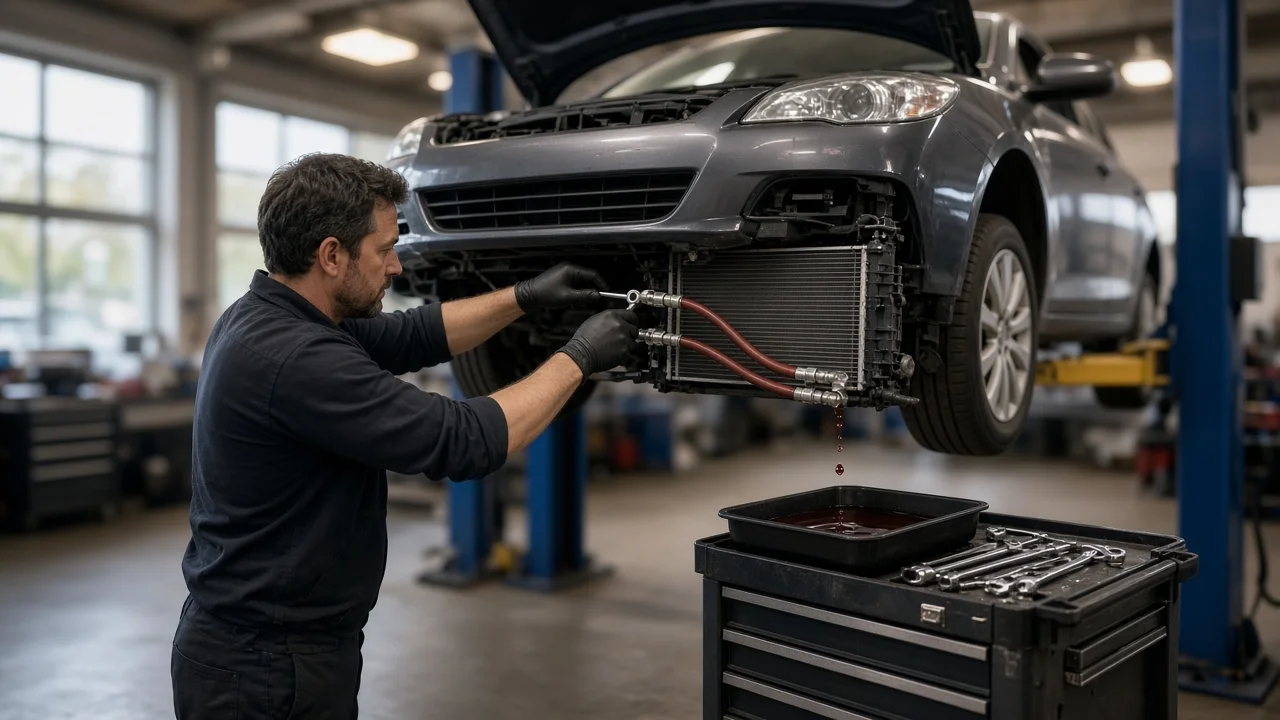
Disconnecting the cooler lines on a Ford automatic is usually simple once you know which fitting holds them. Many Ford trucks, SUVs and cars use push-to-connect fittings at the transmission case, the radiator or an auxiliary cooler. Several of these need a release tool sized to the line rather than a wrench. This guide explains how the fittings work, how to identify yours and how to release the lines without damaging them.
The short answer
On most Ford applications, you disconnect a transmission cooler line by releasing its retainer and then pulling the line straight out of the fitting. If the retainer is an internal spring or set of locking fingers, you need a disconnect tool matched to the line diameter. The tool slides into the fitting, spreads the retainer and lets the tube slide free. If the fitting uses an external plastic or metal clip, you remove the clip first and then pull the line out. Forcing the line with pliers or a pry bar before the retainer is released can damage the tube end, the fitting or the O-rings, and then you have a leak to repair.
Ford has used several fitting designs across transmission types, model years and cooler locations. The right tool and method depend on what is actually on your vehicle. Confirm the fitting style before you buy a tool or pull on anything.
How Ford quick-connect cooler fittings hold the line
A quick-connect cooler fitting has a raised bead or flare on the steel tube. That bead sits behind a retaining element inside the fitting. One or more O-rings seal around the tube. The retainer only keeps the line in place and does not create the seal. When the system is under pressure, the fluid pushes the tube outward and the bead seats against the retainer.
A cooler line disconnect tool is essentially a thin sleeve or split collar that fits around the tube. When you push it into the mouth of the fitting, it lifts or expands the retainer so the bead can pass. Sizing therefore matters. A tool that is too large will not enter the fitting, and one that is too small will not spread the retainer far enough. Ford cooler lines come in more than one diameter, which is why many disconnect kits include several sizes. Match the tool to the tube on your vehicle rather than assuming one size fits every model.
What changes the answer
The biggest variable is fitting style. Some fittings use an internal spring-type retainer and need a sized tool. Others use an external retaining clip, sometimes with a secondary latch, that comes off with a small pick or screwdriver. Some coolers and lines use threaded line nuts or hose clamps instead, especially on aftermarket auxiliary coolers or replacement lines. The transmission end and the radiator end of the same line can use different designs. Service history matters too: a previous repair may have swapped in parts that differ from the original fitment.
Condition and access also change the job. Road salt and corrosion can lock a retainer in place, and old plastic clips often turn brittle and break on removal. On some vehicles the fittings at the transmission case sit close to the exhaust, a crossmember or the transmission mount, which limits tool access. If you will be adding fluid, use the fluid specification for your transmission type. Depending on the unit, that may be Mercon V, Mercon LV or another Ford specification, and they should not be mixed or substituted by guesswork.
Step by step: releasing the lines
Prepare the work area first: Let the vehicle cool, because transmission fluid can be very hot after driving. Support the vehicle securely on stands if you need to work underneath it. Place a drain pan under the fitting. Clean dirt and grit from around the fitting so nothing falls into the open line. Mark or photograph which line goes to which port so the inlet and outlet go back where they came from.
For a fitting with an internal retainer, push the line slightly into the fitting to take tension off the retainer. Snap the correctly sized tool around the tube and push it squarely into the fitting until it seats. Hold the tool in place and pull the line out with a steady, straight pull. If the line will not release, the tool is usually not fully seated or is the wrong size. A gentle back-and-forth twist of the tool can help, but avoid prying sideways. Plastic tools can crack on corroded fittings, so metal tools often work better on older vehicles. For a fitting with an external clip, remove the clip and note its orientation. Some designs require pressing release tabs rather than pulling the clip fully off. Then pull the line straight out. Expect some fluid to drain from both the line and the port. Cap or plug the openings right away to keep contamination out and limit fluid loss.
Reconnecting and checking the work
Before reconnecting, inspect the tube end, the bead and the O-rings for nicks, flattening or swelling. Replace damaged O-rings, clips or retainers with parts that match the fitting. Lightly lubricate the O-rings with clean fluid of the correct specification. Push the line straight in until it seats, then pull back firmly to confirm it is locked. Reinstall any secondary clip or latch.
Refill and check the fluid level using the procedure for your transmission. Some Ford automatics have a conventional dipstick. Many newer units instead use a fill or check plug and require a level check at a specified fluid temperature, which may need a scan tool to read. Run the engine and check every disturbed fitting for seepage. On a test drive, pay attention to shift behavior, then recheck for leaks once the fluid is warm.
Limitations and next step
This guide covers disconnecting the lines, not diagnosing why you need to. Fluid near a cooler fitting can come from an O-ring, the line itself, the cooler, the radiator or a source higher up that runs down to the fitting. Slipping, harsh shifts, overheated fluid or stored diagnostic codes do not by themselves confirm a cooler line fault. Confirm the actual source before replacing parts.
Look up service information specific to your vehicle and transmission for the fitting type, line routing, fluid specification and fill procedure. Consider a professional shop if a fitting is seized or badly corroded, if a line is kinked, or if the level check requires a temperature-controlled procedure you cannot perform. Repair options range from replacing a clip or O-ring to replacing a line section or the complete line assembly. The right choice depends on the damage and on the fitment for your specific vehicle.