How to Cut Open a Used Oil Filter to Inspect Engine Wear
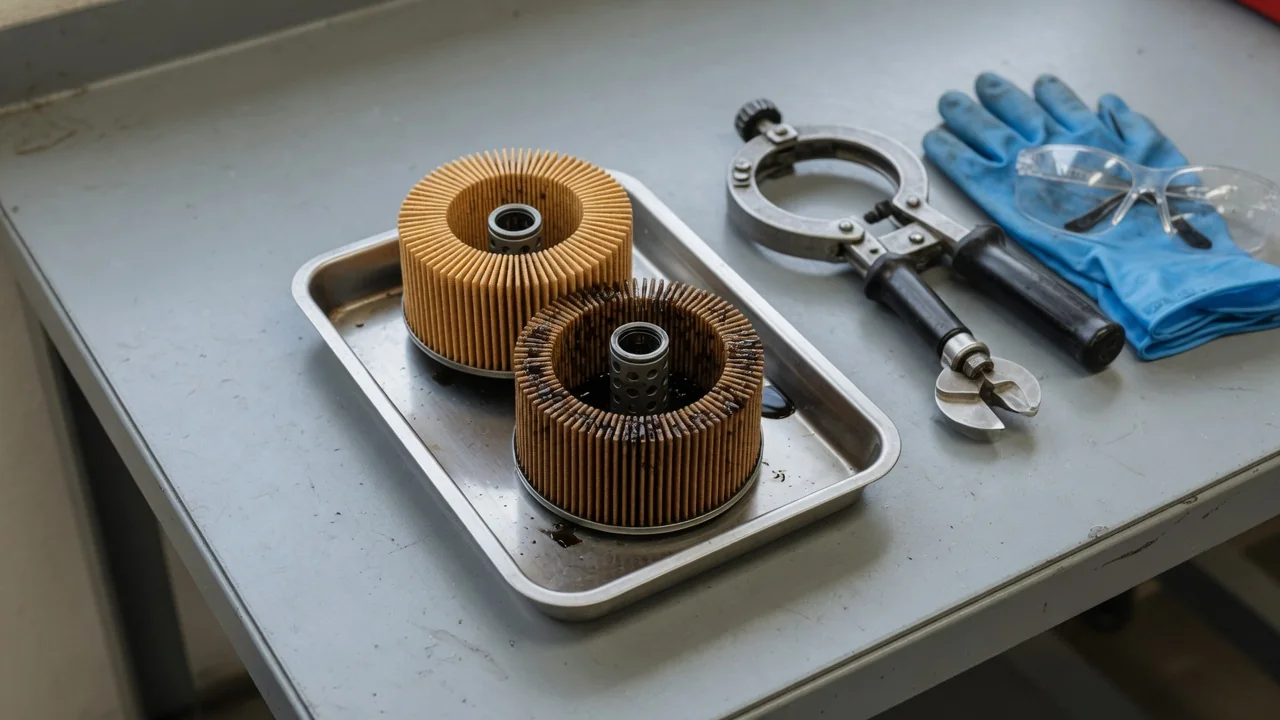
When you cut oil filter housings open after an oil change, the pleated media inside becomes a record of what the engine oil carried between services. Cutting an oil filter will not diagnose an engine by itself, but a careful look at trapped debris can add useful context to used oil analysis, service history, and symptoms. With the right tool and clean habits, it becomes a practical way to monitor engine wear.
What Inspecting a Used Oil Filter Can Reveal
Engine oil picks up whatever it touches: fine metal from bearings, cam lobes, and cylinder walls, carbon from combustion byproducts, gasket fragments, and dirt that slips past the intake. As oil flows through the filter media, much of that material lodges in the filter pleats instead of recirculating. Opening a used filter shows you a sample of what circulated since the last change. This guide covers disposable metal spin-on filters, which have to be opened to reach the element. Removable cartridge elements already expose their media once you lift them from the housing.
What you find is a clue, not a verdict. Visible metal particles can't tell you on their own which component shed them, whether the wear is ongoing, or how serious the engine wear has become. A few specks might come from recent repair work, while a badly worn part could release particles too fine to see. A clean-looking filter also does not rule out an engine problem. Bearing wear, coolant intrusion, or fuel dilution can progress without leaving obvious debris in the media, so treat the inspection as one piece of the picture.
Choosing a Cutter That Fits the Filter
A dedicated oil filter cutter is designed to open a spin-on housing cleanly. It usually rolls a hardened wheel around the can so the shell separates without shredding metal into the element. That controlled cut matters because the goal is to examine debris the engine produced, not fragments created while cutting the oil filter. Oil filter cutters vary in the diameter range they accept and in how they grip the can. Check the tool maker's specified range, any housing restrictions, and the operating instructions against the actual filter you plan to open.
Beyond fit, look for an oil filter cutting tool that holds the filter securely and lets you advance the wheel in small, controlled steps instead of forcing it through in one pass. A clean, sharp, serviceable cutting wheel tracks more predictably and leaves fewer burrs. Service or replace a dull or chipped wheel as the manufacturer directs. Skip improvised methods such as angle grinders, hacksaws, chisels, or tin snips. They can slip, spray oil or sparks, and scatter fresh metal that looks just like the wear debris you are trying to evaluate.
Preparing and Opening the Filter Safely
Start with a filter that has already been removed from the engine and allowed to cool. Stand it on end over a suitable drain container so the leftover oil can run out. Keep used oil off your skin, floors, and benches, since it carries combustion byproducts you don't want spread around the shop. Wear eye protection and suitable oil-resistant protective gloves, and work on a stable surface. Set out a clean inspection tray to catch the element and any oil that drains once the housing opens.
Secure and open the housing exactly as the oil filter cutter tool's instructions describe, without substituting shortcuts. Once the shell comes apart, the cut edges are sharp, so handle the pieces carefully and set them aside instead of reaching past them. If the filter can't be held firmly in the tool or you can't reach the media safely, a shop with the proper equipment can open it for you. Brush away any flakes near the cut line and keep that material separate, because shavings from the housing are easily mistaken for engine debris.
Examining the Pleats Without Contaminating the Evidence
Lift the element into the tray and examine the accessible pleats under bright, even light. A handheld magnifier or loupe helps with fine material. Check several areas, including both ends near the end caps and the middle of the element, because debris does not always settle evenly. Record what you see in practical terms: the size and shape of the particles, whether they look like fine glitter, flakes, or chips, roughly how much there is, and whether it is scattered throughout or concentrated in one area. Describe what you see instead of grading it against made-up acceptable limits.
Photographs make the inspection far more useful later. Include a ruler or coin for scale and note which part of the element each image shows. Contamination during handling is the biggest threat to good evidence. A tray that held another filter, a shop rag carrying grinding dust, a pick used on a brake job, or fingers that touched a parts bin can all add material that hides what the engine actually deposited. Use clean tools and fresh wipes, and touch the pleats as little as possible when spreading them for viewing.
Interpreting Metal, Sludge, and Other Debris
Findings usually fall into a few categories: metallic glitter, flat flakes, larger chips, dark sludgy deposits, and soft fragments that may be gasket, sealant, or other nonmetallic material. Each one calls for context, not an immediate diagnosis of a failed part. A small magnet can help characterize isolated particles, since ferrous debris is attracted to it while nonferrous metals are not. Still, neither magnetic response nor color identifies the exact source. Several components can be made of similar materials, and the way particles look changes with oil staining and lighting.
Seeing no particles also proves little. Microscopic wear metals, fuel dilution, and coolant contamination often need laboratory testing through used oil analysis to detect. Interpretation depends heavily on history. A recently rebuilt engine or a new part may shed break-in material, while oil contaminated by a coolant leak changes how deposits look. Note oil consumption, oil change timing, recent repairs, and symptoms such as knocking, ticking, or warning lights. Without that context, appearance alone can't confirm that a filter is normal or link a particular particle color to a specific failed component.
Deciding When Findings Need Professional Testing
Obvious metal fragments, debris that increases from one filter to the next, or any finding paired with abnormal engine noise calls for prompt professional assessment. If an oil-pressure warning appears or severe mechanical noise develops while driving, stop the engine as soon as it is safe and arrange assistance. Cutting an oil filter must never delay that response. A technician may combine your filter findings with appropriate oil-pressure checks, used oil analysis, and vehicle-specific diagnostic testing to work out whether wear is happening and where.
Good records make each later inspection more meaningful. Log the mileage, the time in service if known, the oil and filter brand and part number, any symptoms, and your photographs, so trends stand out without guesswork. These notes help with interpretation, but they don't replace the vehicle maker's service schedule. If a technician or laboratory wants the element or an oil sample, keep it as they direct. Afterward, take the used oil and the sharp filter remains to an appropriate local collection point, such as a recycling center or a participating parts store.