How to Compress a Shock Absorber for Installation
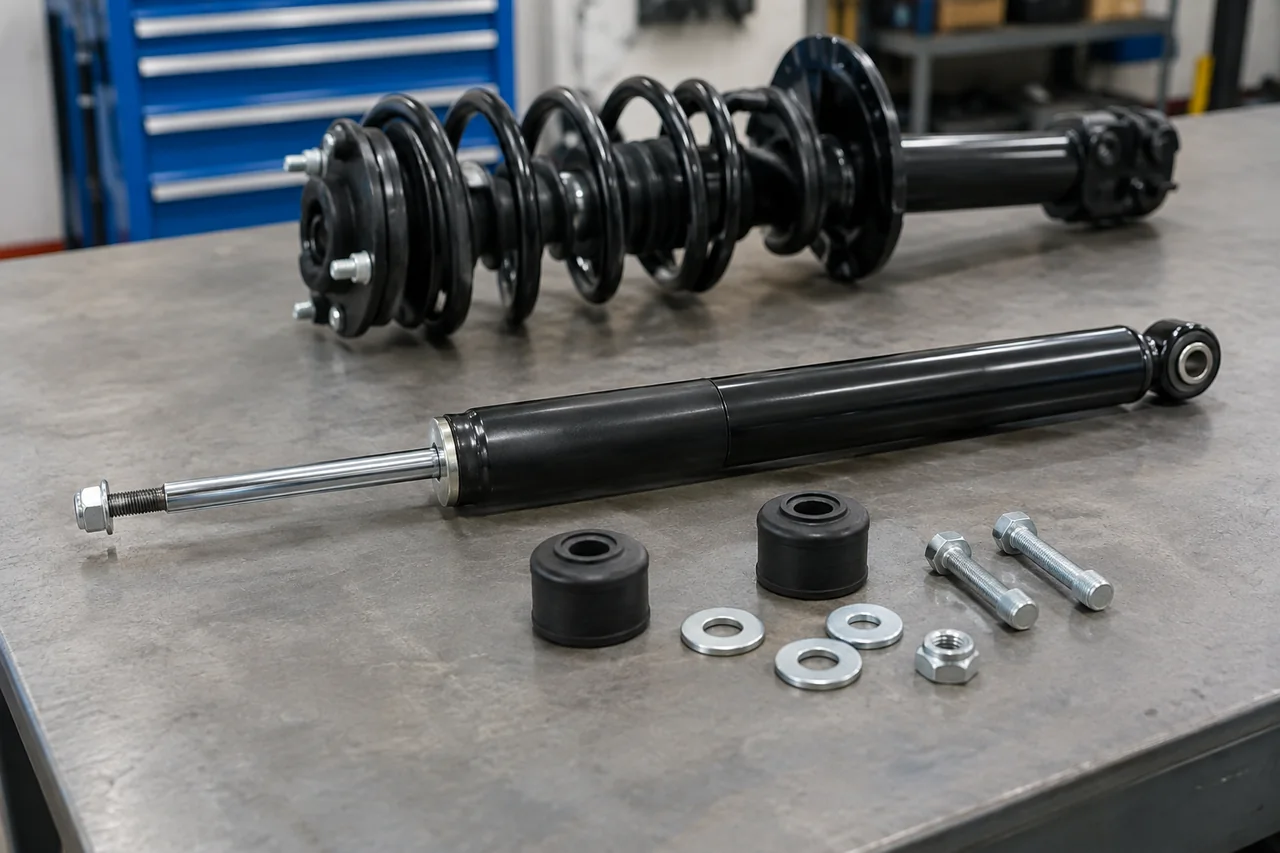
Installing a new shock absorber often surprises home mechanics because the part will not stay at the needed length. Many replacement dampers are gas-charged, so the piston rod extends fully as soon as a shipping strap is removed. Without a shock absorber compression technique, the lower mount may not reach its bracket. This creates confusion between compressing the damper itself and using a spring compressor on a strut assembly. Understanding what must be compressed, and why, prevents damage and wasted time.
Why Gas-Charged Shocks Extend and Need Compressing to Fit
A gas-charged shock contains pressurized nitrogen separated from the hydraulic oil. That pressure acts on the piston rod area and pushes the rod out until internal stops limit travel. When you unbox a new damper and cut its restraint, it extends to full length in a second or two. Trying to hold it back by hand feels like fighting a stiff, springy tube. This self-extending behavior is normal and not a defect.
Most vehicles require the shock to be shorter than its free length during installation. The lower eye or stud must line up with a bracket that is closer to the upper mount. Compressing the shock shortens the distance between mounting points. If you force an extended shock into place by prying or levering the control arm, you can bend brackets or stress bushings. Some replacement shocks ship with a plastic strap or wire band around the rod. The manufacturer's instructions typically say to position the shock first and then release the strap so it extends into the mounts. Releasing a strap before installation wastes that helper and can make the job harder. This process is separate from compressing a coil spring on a strut, which is covered later.
How to Compress a Bare Shock Absorber by Hand
A bare shock is compressed by pushing the ends toward each other along the rod's axis. You can brace the lower mount against a stable surface and press down on the body, or grip the body and press upward on the lower eye if access allows. The key is steady, straight-line force. Twisting or pushing sideways bends the thin piston rod or scores its polished surface. Even a small scratch on the rod can tear the rod seal during the first stroke.
Never clamp the chrome shaft in a vise or grip it with locking pliers. Nicks and burrs cut the seal and cause oil leaks within weeks. To keep the shock short while fitting mounts, many installers tape or cable-tie the body to a suspension arm only if the manufacturer permits a temporary restraint. Your hands and fingers must stay away from mounting eyes and brackets. If the shock slips from your grip, the rod can snap outward suddenly and pinch flesh. Always look up the correct mounting order, orientation, and fastener torque in the vehicle service manual before turning any bolts.
What Shock Absorber Compression Tools and Compressors Do
Searching online for a shock absorber compression tool brings up several designs. One type is a simple clamp or strap that holds a bare gas shock at a reduced length. Another is a coil spring compressor, which is a different tool entirely. Sellers and forums often blur the names. A proper damper-holding tool usually hooks into both mounting eyes or wraps around the body and lower bracket. It keeps the shock collapsed while you align the fasteners.
A home mechanic may find a bare-shock compressor useful when working alone on a lifted truck or any vehicle with limited hand clearance. The tool frees one hand to start a bolt. Before buying or borrowing, read the tool maker's instructions and compare them to your shock type. An improvised ratchet strap can slip, and a damaged compressor can release the rod violently. No holding tool replaces the factory service procedure for tightening sequence and final torque.
How a Shock Compressor Differs From a Coil Spring Compressor
A coil spring compressor squeezes the spring on a strut assembly so the top mount can be removed. It does not compress the shock absorber or damper inside. The compressor jaws grab coil winds and draw them together with threaded rods. If a jaw slips, the spring releases stored energy in a fraction of a second. A gas-charged shock, by contrast, pushes back with relatively modest force that fades as you hold it.
Determine whether your vehicle has separate shocks or struts with the coil spring over the damper. The owner's manual or a factory service document will show the suspension layout. If the spring must be removed from the damper, that is spring work, not shock compression. Spring compressors require training, undamaged equipment, and the exact procedure for the vehicle. This article intentionally does not give step-by-step spring compression instructions because the injury risk is too high.
When to Leave Strut and Spring Work to a Professional
Some strut jobs should go to a professional on the first sign of trouble. Rusted or seized fasteners can strip or snap under breaker-bar force. A cracked or corroded spring seat may fail when the spring is unloaded. If you do not own a spring compressor in good condition, or you have never used one, that is another reason to stop. The labor cost is small compared with a trip to the emergency room.
Complete strut assemblies with the spring already installed are sold for many vehicles, although fitment must be confirmed for your exact model. These loaded units eliminate spring compression entirely because you replace the whole assembly. After any strut or shock replacement, the wheel alignment angles can change. A shop with an alignment rack should measure toe, camber, and caster. If a part starts to move unexpectedly while you are removing it, lower the vehicle carefully and get help.
Checks After Installing New Shocks
Before driving, look at both mounts. The shock should be seated squarely in its brackets with the mounting bushings and washers in the correct order. Check that the new damper body does not touch brake hoses, ABS sensor wires, or the inner CV boot at full steering lock. A quick visual pass takes a minute and catches most installation mistakes that would cause damage on the road.
On a gentle low-speed drive, listen for clunks or knocks over small bumps. A light pull to one side may appear, but tire pressure and road crown also cause that symptom. If a noise is loud or the steering feels loose, park and inspect the fasteners again. Use the vehicle manufacturer's torque specification, not a generic chart. Without a lift and diagnostic tools, a driver cannot fully judge damper behavior, so persistent symptoms call for a shop inspection.