How to Clean Rubberized Interior Controls
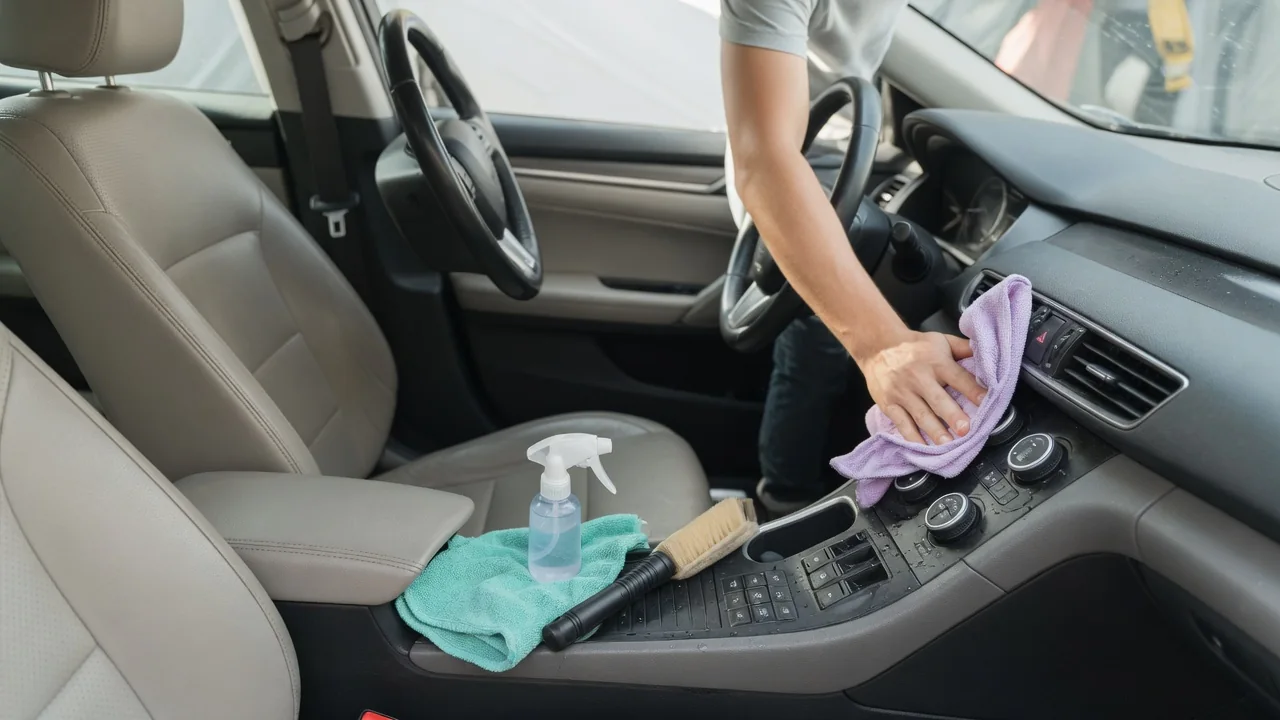
Soft-touch buttons, knobs, and switch surrounds feel pleasant when new, but the thin coating that gives them that grip can soften, turn sticky, or peel with age and harsh chemicals. Learning how to clean rubberized interior controls means working gently, using the least aggressive product that does the job, and knowing when cleaning alone can no longer help.
Check surface
Before any cleaner touches the cabin, look closely at what you are dealing with. Rubberized controls usually have a matte, slightly velvety finish over hard plastic, and they appear on window switches, climate knobs, steering wheel buttons, door pulls, and radio surrounds. Press a clean fingertip against the surface. A healthy coating feels dry and smooth. A degrading one feels tacky, leaves a faint residue on your skin, or shows shiny patches where the matte layer has already worn through to the plastic beneath.
Good light matters here, so hold a flashlight at a low angle to reveal fingerprints, glossy wear spots, lifted edges, and tiny cracks around printed icons. Note whether symbols sit on top of the coating or are etched through it so backlighting can shine out, because etched legends lose their crisp outline if the surrounding layer is disturbed. Materials differ widely between manufacturers and even between model years, so a method that suited one vehicle may not suit another. The owner's manual often describes approved interior care.
Use mild products
Start with the gentlest option, which is a soft microfiber cloth barely dampened with plain water. Body oils, dust, and light grime often lift with that alone. If the film remains, a small amount of pH-neutral interior cleaner or a drop of mild dish soap diluted in water is the next step. Apply the liquid to the cloth rather than spraying the switch, because fluid running into gaps can reach electrical contacts, circuit boards, and the tiny lamps behind illuminated buttons.
Strong solvents are where most damage begins. Concentrated alcohol, acetone, ammonia-based glass cleaner, bleach, and heavy degreasers can dissolve or swell a soft-touch layer, turning a mildly dirty button into a gummy one within seconds. Some disinfecting wipes and hand sanitizers carry enough alcohol to dull the finish over repeated use. Glossy dressings and silicone protectants also cause trouble, leaving a slippery film on controls you need to grip. Whatever you choose, try it first on a hidden spot, such as the underside of a knob.
Avoid abrasion
The coating on these parts is thin, so physical force removes it as readily as chemistry does. Wipe with light pressure in short, straight passes and let the dampness do the work rather than scrubbing. Melamine sponges, scouring pads, stiff brushes, and paper towels all act as fine abrasives and can polish a matte button to a shine or strip the legend off entirely. Fingernails cause the same harm when used to pick at a stubborn spot or a lifting edge.
For seams between buttons and the textured ribs on rotary knobs, a soft detailing brush or a lightly dampened foam swab reaches debris without digging in. Work crumbs outward instead of pushing them deeper into the switch gap. Fold the microfiber often so trapped grit is not dragged across the surface, since a single grain of sand can leave a visible line. If you see dark color transferring onto the cloth, stop immediately, because that is coating material coming away rather than dirt.
Everyday Use and Observations
How controls wear usually reflects how the vehicle is used. The most frequently touched items, such as the driver's window switch, volume knob, and steering wheel buttons, tend to show gloss or stickiness first, while rear switches may look untouched. Sunscreen, hand lotion, insect repellent, and sanitizer on your hands transfer to those surfaces and can soften them over time. Heat adds to the problem, and vehicles parked in strong sun or humid climates often develop tackiness sooner than those kept in a garage.
Light, regular attention works better than occasional heavy cleaning. A quick dry or slightly damp wipe during routine interior care keeps oils from building into a film that later tempts you toward harsher products. A windshield sunshade and cracked-open ventilation where safe can limit cabin heat. Watch for changes between cleanings, such as a button that suddenly attracts lint, a knob that feels greasy soon after wiping, or icons that look blurred. Those signs suggest the coating itself is breaking down rather than simply collecting dirt.
Limits and Next Steps
Cleaning removes contamination, but it cannot restore a coating that has chemically broken down. Once a surface stays sticky after a gentle wash and dry, further wiping tends to smear the softened layer and spread residue onto neighboring trim. Some owners choose to remove a failed coating completely, leaving bare plastic underneath, yet that approach is irreversible, can erase printed markings, and affects how the control looks and feels. Results depend heavily on the part design, so it deserves careful thought rather than a quick attempt.
When damage is past cleaning, replacement switches, knobs, or trim pieces are often the tidier answer, and availability varies by make, model, and year. Controls mounted on or near the steering wheel airbag, or integrated into complex electronic modules, are best left to a qualified technician rather than pried out at home. A professional detailer can also judge whether a surface is salvageable. If a button sticks mechanically, fails to respond, or behaves erratically after cleaning, have it inspected, since moisture or debris may have reached the switch.