How to Clean Parking Sensors Safely and Restore Reliable Alerts
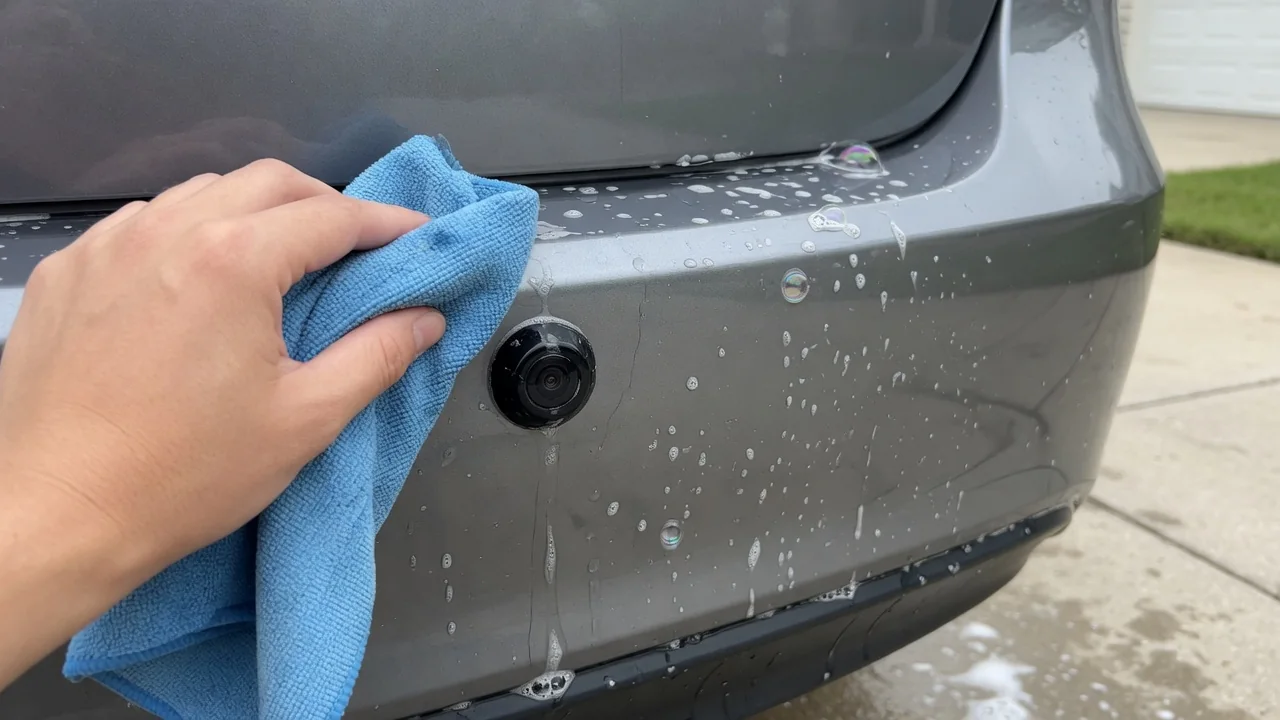
Knowing how to clean parking sensors can save you from false beeps, nuisance warnings and missed alerts. Park assist sensors are small ultrasonic units set into the bumpers, and a thin layer of grime, salt or ice can confuse them. A gentle routine with a microfiber cloth and mild car wash soap usually restores reliable alerts without risking damage to the sensors or the surrounding paint.
Why Dirty Parking Sensors Cause False Beeps or Missed Warnings
Most park assist sensors are ultrasonic bumper sensors. Each one sends out a pulse of high-frequency sound and listens for the echo returning from an obstacle, and the system calculates distance from that timing. This only works when the sensor face is clear and free to send and receive a clean signal. A layer of mud, a crust of road salt residue or a cap of snow can muffle the pulse, scatter it or create a false echo right at the bumper.
Contamination shows up in recognizable ways: constant or random beeping with nothing nearby, a sensor blocked or park assist unavailable style message, or alerts that arrive late or not at all. Typical culprits include road grime, mud, bug residue, salt film, snow, ice and wax or polish left around the sensor. Message wording and system behavior differ between vehicles, so check the owner's manual to learn what your specific park assist warning light or text actually means.
Safe Cleaning Supplies for Sensor Faces and Surrounding Paint
Parking sensor cleaning needs very little equipment. A few clean microfiber cloths, a bucket of lukewarm water and a mild car wash soap formulated for automotive paint handle almost every situation. Because many sensors wear painted caps that match the bumper, treat them as gently as you would the paint itself. Before you start, look through the owner's manual for any manufacturer guidance on approved cleaning products or on caring for the park assist system, since some automakers include specific cautions.
Keep harsh solvents, abrasive pads, rubbing compounds, scrapers and stiff brushes away from the sensor faces. Aggressive chemicals can dull or stain the cap finish, while abrasives can scratch the surface or wear through paint, and a scratched face can collect dirt faster afterward. Set aside one dedicated cloth just for the sensors. Lower bumper panels and rocker areas pick up sand and grit, and wiping the sensors with the same cloth can drag that debris across their surfaces.
Step-by-Step: How to Clean Parking Sensors by Hand
Start by parking on level ground away from traffic, shifting into park, setting the parking brake and switching the engine off. If you have just been driving, let the exhaust area cool before kneeling near the rear bumper. Then walk around the vehicle and locate every sensor. Rear bumper sensors typically sit in a row across the back, front parking sensors across the nose, and corner sensors wrap around the bumper edges, where they are easy to miss.
Rinse loose dirt away first so grit is not ground into the surface. Then wipe each sensor face with soapy water and light pressure, rinse it and pat it dry with your dedicated cloth. Do not press hard, pry at the edges or push on the sensors, because they sit in mounts within the bumper and can be knocked out of position. Finish with a visual check in good light, confirming each face is free of film, streaks and lint.
Dealing with Ice, Snow, Road Salt and Bug Residue
Ice on parking sensors calls for patience. Brush loose snow away by hand or with a soft brush, then melt the remaining ice with lukewarm water rather than hot water, which can stress cold plastic and paint. Never chip or scrape at the sensor face. Even after the visible ice is gone, a thin frozen layer may linger, so the system can keep reporting blockage until it melts completely. A short drive or some time in a warm garage often clears it.
Dried bug residue and salt crust respond better to soaking than scrubbing. Lay a cloth soaked in soapy water over the sensor for a minute or two to soften the deposit, then wipe gently and rinse. If some remains, repeat the soak rather than pressing harder. During winter, or after driving on muddy or freshly salted roads, check the sensors more often, since a film that builds up over a single commute can be enough to trigger false parking sensor alerts.
Pressure Washers, Automatic Car Washes, Wax and Coatings
A pressure washer nozzle held close and aimed straight at a sensor concentrates force on a small, delicate part and can risk damage to its face, seal or mount, so follow any pressure washer distance or angle guidance in your owner's manual. Some vehicles offer a car wash mode or a way to temporarily mute park assist so automatic wash equipment does not trigger alerts, but check the manual rather than assuming yours has one.
Wax, sealant and ceramic coating products can build up on a sensor face and may affect readings, especially when product dries in the seam around the cap. After waxing or detailing, wipe the sensor area with a damp microfiber cloth and a little mild soap to lift any wax residue. Also avoid stickers, bumper guards and bike racks that cover or sit directly in front of a sensor, since they can block its view entirely.
How to Check the Parking Sensors After Cleaning
Test in an empty, open area where nothing can surprise you. With the vehicle in a safe spot, engage reverse or activate park assist and roll very slowly toward a soft, stationary object such as a large cardboard box, or have a helper stand well clear and observe. Normal behavior is easy to recognize: alerts begin at a distance, increase in frequency as the gap shrinks and stop once the obstacle is removed or you move away.
To check individual zones, keep the vehicle stationary and secured with the parking brake set while the system is active, then hold a flat object such as a piece of cardboard in front of each sensor in turn. Each zone should respond, and on vehicles with a display the matching segment may light up. If a warning message persists right after cleaning, some systems need a restart or a short drive to recheck the sensors before it clears.
When Cleaning Doesn't Fix the Warning: Signs You Need Professional Testing
Some signs point beyond dirt. A warning that stays on even when the sensors are clean and dry, one sensor that never responds during a zone test, or alerts that began after recent bumper damage or body repair all deserve closer attention. A cracked, loose, recessed or misaligned sensor, damaged wiring or a control module issue cannot be confirmed by cleaning or by eye alone, because a sensor can look perfect and still fail to operate correctly.
If diagnostic trouble codes are stored, treat them as evidence to interpret rather than proof that a part has failed. Park assist codes are often manufacturer specific, so their meaning should be confirmed with vehicle-specific service information, not a generic list. A dealer or qualified shop can read the codes and properly test the sensors, wiring and module. Until then, treat park assist as unreliable and rely on your mirrors, backup camera and a careful look around the car.