How to Clean and Re-Oil a K&N Reusable Air Filter Step by Step
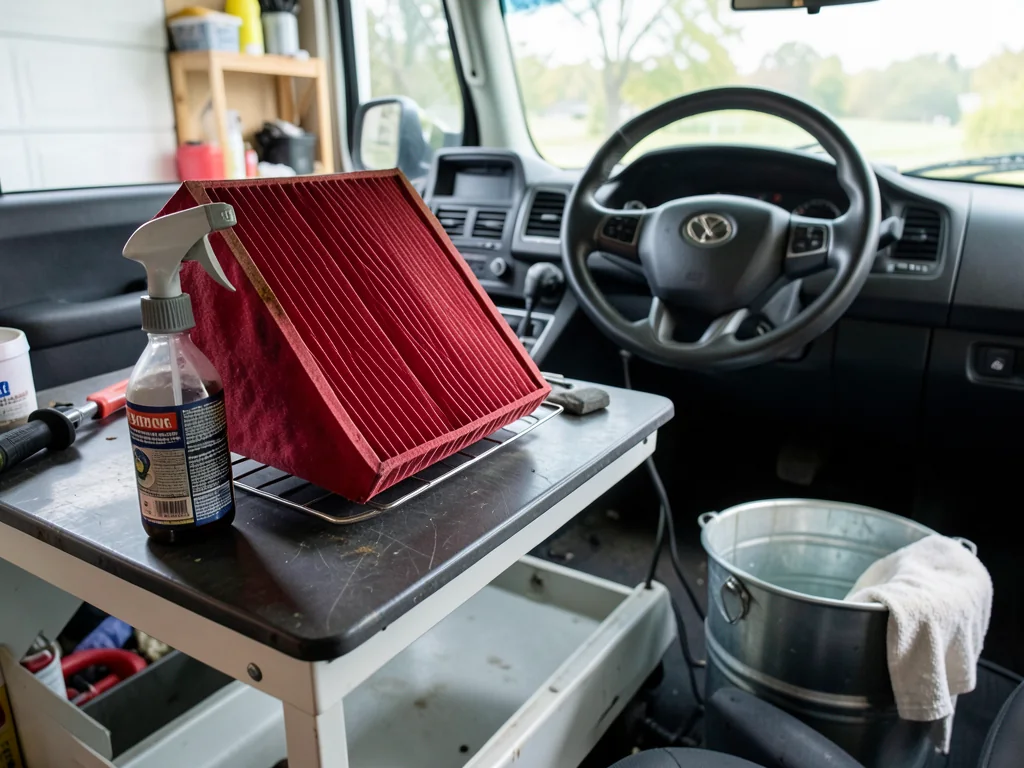
A K&N reusable air filter is designed to be washed and re-oiled rather than thrown away, but the results depend on doing each stage in the right order. Cleaning with the proper kit, rinsing gently, drying fully, and applying just enough oil keeps the cotton media working and protects sensitive intake components from contamination.
When a K&N Reusable Filter Actually Needs Cleaning
An oiled cotton gauze filter works differently from a disposable paper element. Layers of cotton held between wire mesh are treated with a tacky oil, and dirt particles stick to those fibers instead of simply blocking pores. Because the media itself is durable, the filter is meant to be washed and re-oiled when loaded rather than replaced. Knowing when it is genuinely loaded matters, since unnecessary cleaning adds handling and wear without improving filtration.
To check, remove the filter and hold it toward a bright light. If you can still see cotton fibers and the wire mesh across most of the pleats, it is fine to reinstall. A light dusting or discoloration is normal. Heavy caked dirt, debris packed into the pleat valleys, or a uniform gray-brown coating signals service. Dusty roads, off-road trips, and dry climates load filters faster, so follow the manufacturer's inspection guidance. If drivability complaints persist after cleaning, have a technician look for other causes.
What Comes in the Cleaning Kit and What Else to Gather
A K&N recharger kit contains two core products. The filter cleaner spray loosens trapped dirt and dissolves the old oil so both rinse away with water. The filter oil, sold in a squeeze bottle or as an aerosol, restores the tacky coating that actually captures fine dust. Beyond the kit, gather a clean workspace, a sink or bucket with cool low-pressure water, lint-free rags, and a rack or clean surface where the filter can drain and dry undisturbed.
Resist substituting household degreasers, gasoline, brake cleaner, or other strong solvents for the dedicated cleaner. These can weaken the cotton fibers and attack the rubber sealing flange, shortening the filter's life or creating leaks. Before starting, inspect the filter for torn media, separated seams, or a damaged flange, because a compromised filter should be replaced rather than cleaned. Finally, read the instructions printed on your kit, since formulas and directions can change over time.
Washing the Filter: Applying Cleaner and Rinsing Correctly
Remove the filter from the airbox or intake tube, noting how it sits so it goes back the same way. Tap it gently against your palm to knock loose larger debris. Spray cleaner over the entire filter surface: both sides of a panel filter or the full outer surface of a cone filter. Let it soak for the time stated on the kit, and do not allow the cleaner to dry on the media, which makes rinsing harder.
Rinse with cool, low-pressure tap water from the clean side outward, so dirt is pushed back out the way it entered rather than driven deeper into the cotton. Keep rinsing until the runoff is clear. Avoid pressure washers, high-pressure hose nozzles, and scrubbing brushes, which can tear the gauze or open gaps between pleats. Expect some staining to remain after a thorough wash; a slightly discolored filter that rinses clear is normal and ready to dry.
Drying the Filter Without Damaging the Media
After rinsing, give the filter a few gentle shakes to shed excess water, then let it air dry at room temperature. Never use compressed air, heat guns, hair dryers, ovens, or a spot beside a heater to speed things up. Compressed air can force holes in the cotton, and heat can shrink the fibers and damage the sealing rubber, both of which compromise filtration and fit.
A fully dry filter looks uniformly pale, feels dry deep in the pleat valleys, and releases no water beads when tapped. Oiling before that point is a common shortcut with real consequences: oil will not bond to wet fibers, leaving unprotected patches and uneven coverage. Drying time varies with humidity and temperature, so plan the job around it, such as cleaning in the evening and oiling the next day, rather than rushing.
How Much Oil to Apply and How to Spread It Evenly
The oil is what makes the cotton effective. It turns the fibers tacky so they grab fine dust, and a filter left un-oiled lets much of that dirt pass straight into the intake. With a squeeze bottle, run a thin bead along the top of each pleat crown and give it time to wick down into the valleys. With an aerosol, make a light, even pass across the surface, then wait for the oil to spread.
Judge coverage by color. Treated media takes on a uniform tint, and pale patches remaining after the wait mean those spots need a light touch-up. Over-oiling is the bigger risk, because excess can drip onto the mass airflow sensor or collect in the intake tract. If you overdo it, blot the surplus with a clean rag instead of reaching for more cleaner. Follow the manufacturer's amount guidance for your filter size, and never substitute motor oil, transmission fluid, or other lubricants.
Common Mistakes That Ruin Filters or Cause Problems
Most ruined filters trace back to a handful of errors: using the wrong cleaner, rinsing from the dirty side inward, drying with compressed air or heat, and re-oiling before the media is completely dry. Over-oiling deserves special attention. Excess oil can coat a mass airflow sensor's sensing element and contribute to rough idle, hesitation, or a check engine light. Any stored code should be interpreted with vehicle-specific information, not assumed to point at the filter or sensor.
The opposite mistake causes slower damage. Under-oiling or skipping oil entirely lets fine dust slip through, gradually contaminating the intake and sensor. Cleaning too often is also counterproductive, since each wash adds handling wear while a lightly dusted filter still filters effectively. If the filter has been soaked with fuel, coolant, or engine oil from a mechanical issue, or shows torn media, replace it and have a professional inspect the underlying cause.
Reinstalling the Filter and Setting a Service Routine
Before reinstalling, check the airbox or intake tube for leaves, sand, or other debris and wipe it clean with a dry rag. Seat the filter so its rubber sealing edge contacts fully with no gaps, since unfiltered air will take any path around the media. Snug airbox latches securely, and tighten a cone filter clamp just enough to hold firmly without crushing or distorting the rubber flange.
Write the cleaning date and mileage on a service log or the filter box so the next inspection is based on records rather than guesswork. Follow the manufacturer's inspection guidance, shortening the gap for dusty or off-road driving, and let a visual check, not the calendar, decide when to clean. A reusable filter is a long-term component, but media damage, a hardened or cracked sealing edge, or a separated seam means it is time for a replacement.