How to Clean an Ignition Coil Safely
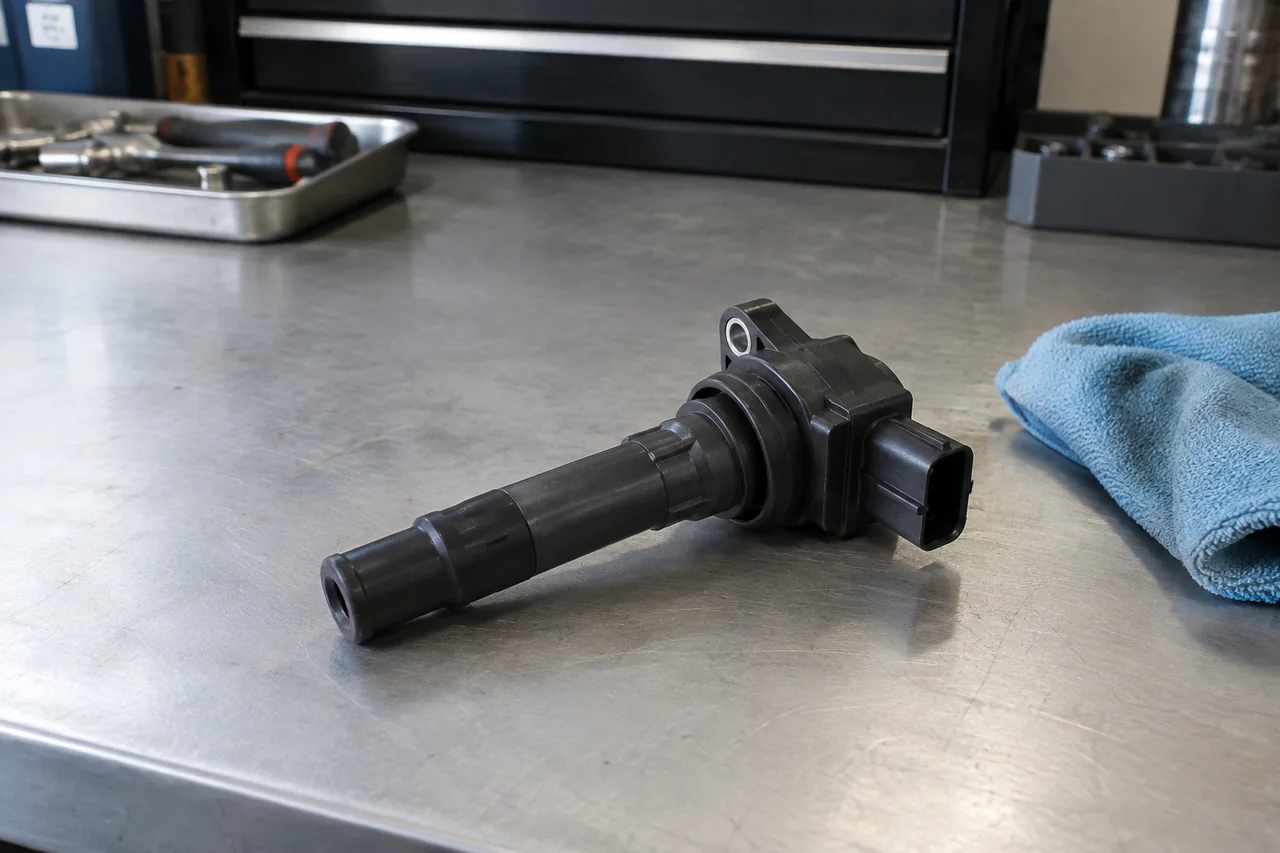
Cleaning an ignition coil can remove accessible dirt, oil film, and moisture from the coil body, spark plug boot, and electrical connector, but it is not a cure for failed windings or insulation. Knowing how to clean an ignition coil safely means matching the method to the material, keeping fluid out of seams and wells, and treating misfire symptoms as clues rather than proof that a dirty coil is the cause.
When Cleaning an Ignition Coil Can Help
Ignition coil cleaning is useful when surface contamination can interfere with heat rejection, connector seating, or the seal around a spark plug boot. Light dust on the coil body is usually cosmetic. Oil contamination, moisture intrusion, and greasy film near the boot or electrical connector are different: they can promote tracking across insulation, trap dirt in the spark plug well, and leave residue that keeps a connection from seating fully. Wiping those accessible surfaces can restore a clean exterior, but it cannot repair internal winding damage or insulation that has already broken down.
Rough idle, hesitation, and an engine misfire stored in a scan tool are reasons to inspect the coil area, not proof that dirt on the housing caused the fault. A misfire code is evidence to interpret: it identifies a cylinder or ignition event that did not complete as expected, and the same symptoms can come from spark plugs, fueling, compression, or wiring. Cleaning ignition coil exteriors may coincide with smoother running if a boot was wet or a connector was filmed, yet that still does not confirm the coil failed or that the original cause has been found.
Prepare Safely Before Touching the Coil
Before any attempt to clean an ignition coil, let the engine cool, switch the ignition off, and take the precautions listed in the vehicle's service information so the engine cannot start accidentally. High-voltage ignition parts can still present a shock hazard if they are energized, so electrical isolation belongs in the service procedure, not in improvised guesses. Limit the work to surfaces you can reach without forcing parts. If coil removal is required for access, follow that vehicle's guidance rather than prying against clips, wiring, or the spark plug well.
Do not unplug coils with the engine running, probe energized ignition components, or improvise a spark test by holding a boot near metal. Those shortcuts can injure you and can damage control modules. Keep loose dirt and cleaning fluid out of electrical connectors and spark plug wells; liquid in a well can create a new path for misfire after the area looks clean. Stop if safe access requires unfamiliar disassembly of covers, intake parts, or harness retainers. Cleaning is not worth a leak, a broken clip, or a connector that no longer seals.
Choose a Cleaner That Suits the Material
Start ignition coil cleaning with a dry, lint-free cloth on the coil body to lift loose exterior dust before any liquid is introduced. If residue remains on an electrical connector, an ignition coil cleaner in this context means a plastic-safe electrical contact cleaner that the label explicitly rates for the connector plastics and seals and that complies with any component guidance you have. A spray that is safe for metal contacts is not automatically suitable for a rubber spark plug boot, an adhesive joint, or a coil housing that can craze or swell.
Do not use gasoline, paint thinner, brake cleaner of unknown plastic rating, abrasive pads, or a pressure washer on ignition parts. Aggressive solvents can attack rubber, dissolve seals, and carry dissolved oil deeper into the spark plug well. Pressure washing forces moisture intrusion into connectors and coil seams that a cloth never reached. A product labeled as an ignition coil cleaner still needs material compatibility on the label; the generic name does not establish safety for every boot, housing, and connector. When the label is silent about plastics or rubber, choose a different product.
Clean Coil Bodies, Boots, and Connectors Gently
Wipe accessible coil housing surfaces with a barely damp cloth or a small amount of approved cleaner on the cloth, not a flood of spray. Soaking the assembly or forcing liquid into seams can trap fluid against windings and circuit boards that are not designed to be washed. For the spark plug boot, clean only the accessible outer surface with a method compatible with rubber, and avoid stretching, scraping, or separating the boot unless vehicle guidance requires that step. Unnecessary pulling can tear the boot lip and leave a path for oil or water into the well.
If an electrical connector is already disconnected and safely accessible, apply only an approved plastic-safe electrical contact cleaner according to its label, then allow the cavity to dry completely before reconnection. Do not scrape terminals or force picks, brushes, or paper into the cavities; plating and locking features are easy to damage. Surfaces must be fully dry, including any fluid that wicked into seals. There is no universal drying time for every cleaner and climate, and dielectric grease should be used only when vehicle or component guidance calls for it, not as a default after every cleaning.
Recognize Damage and Contamination That Cleaning Cannot Fix
Stop cleaning and assess the part if you see cracks in the coil body, burned or melted plastic, a torn spark plug boot, or dark branching marks that suggest carbon tracking. Those marks form when voltage finds a path across a contaminated or degraded insulator instead of jumping the plug gap. Wiping away a visible track can make the surface look better without proving that electrical insulation is still sound underneath or that the same path will not reappear under load. Carbon tracking is a condition to evaluate, not a stain cleaning is guaranteed to reverse.
Oil or water standing in a spark plug well is evidence that something else is leaking or that moisture intrusion is ongoing. Repeated cleaning will not stop valve-cover seepage, a failed well seal, or wash-water entering from above. Find the source rather than wiping the same puddle after every rain or oil change. Corroded, loose, or damaged connector terminals also need proper assessment; do not restore them with sandpaper or a rotary tool. Abrasive work can remove plating, change terminal tension, and create a worse intermittent connection than the film you meant to remove.
Know When Persistent Symptoms Need Professional Testing
After cleaning, reassemble according to the vehicle's guidance and confirm that each electrical connector is fully seated and locked before returning the engine to normal operation. An apparent improvement after you clean an ignition coil does not prove the coil was the original cause. A dried boot, a reseated connector, or even a cooling-off period can change how a misfire presents for a short drive. Treat that change as a clue for further diagnosis, not as confirmation that internal windings are healthy or that related spark plugs, wiring, and fueling can be ignored.
If rough running, warning lights, oil contamination, or moisture return, seek professional diagnosis rather than repeating the same wipe-down. Ignition, fueling, and mechanical faults can share hesitation and misfire symptoms, and manufacturer-dependent codes need vehicle-specific confirmation before any part is condemned. Severe shaking, a flashing malfunction indicator light, smoke, or a strong fuel smell are not cleaning problems. Stop safely, avoid continued driving that could overheat a catalyst, and arrange assistance. Persistent engine misfire after careful exterior work means the next step is testing, not another bottle of cleaner.